Dinosaur Face Paint Guide
Scales, claws, and prehistoric fun for every dino-lover.
Creating a convincing dinosaur face paint involves blending vibrant greens and yellows, creating texture with scales, and adding sharp, contrasting details like teeth and horns. This guide will walk you through a classic T-Rex/Raptor mask design that covers the upper half of the face and down the nose, leaving the mouth free for party food and roaring.
Why is this design so popular?
Dinosaurs are a massive hit with younger boys and girls. A dinosaur face paint allows kids to stomp, roar, and fully embody their favorite prehistoric creature. The design is versatile—it can be made cute and friendly for toddlers, or fierce and scaly for older kids.
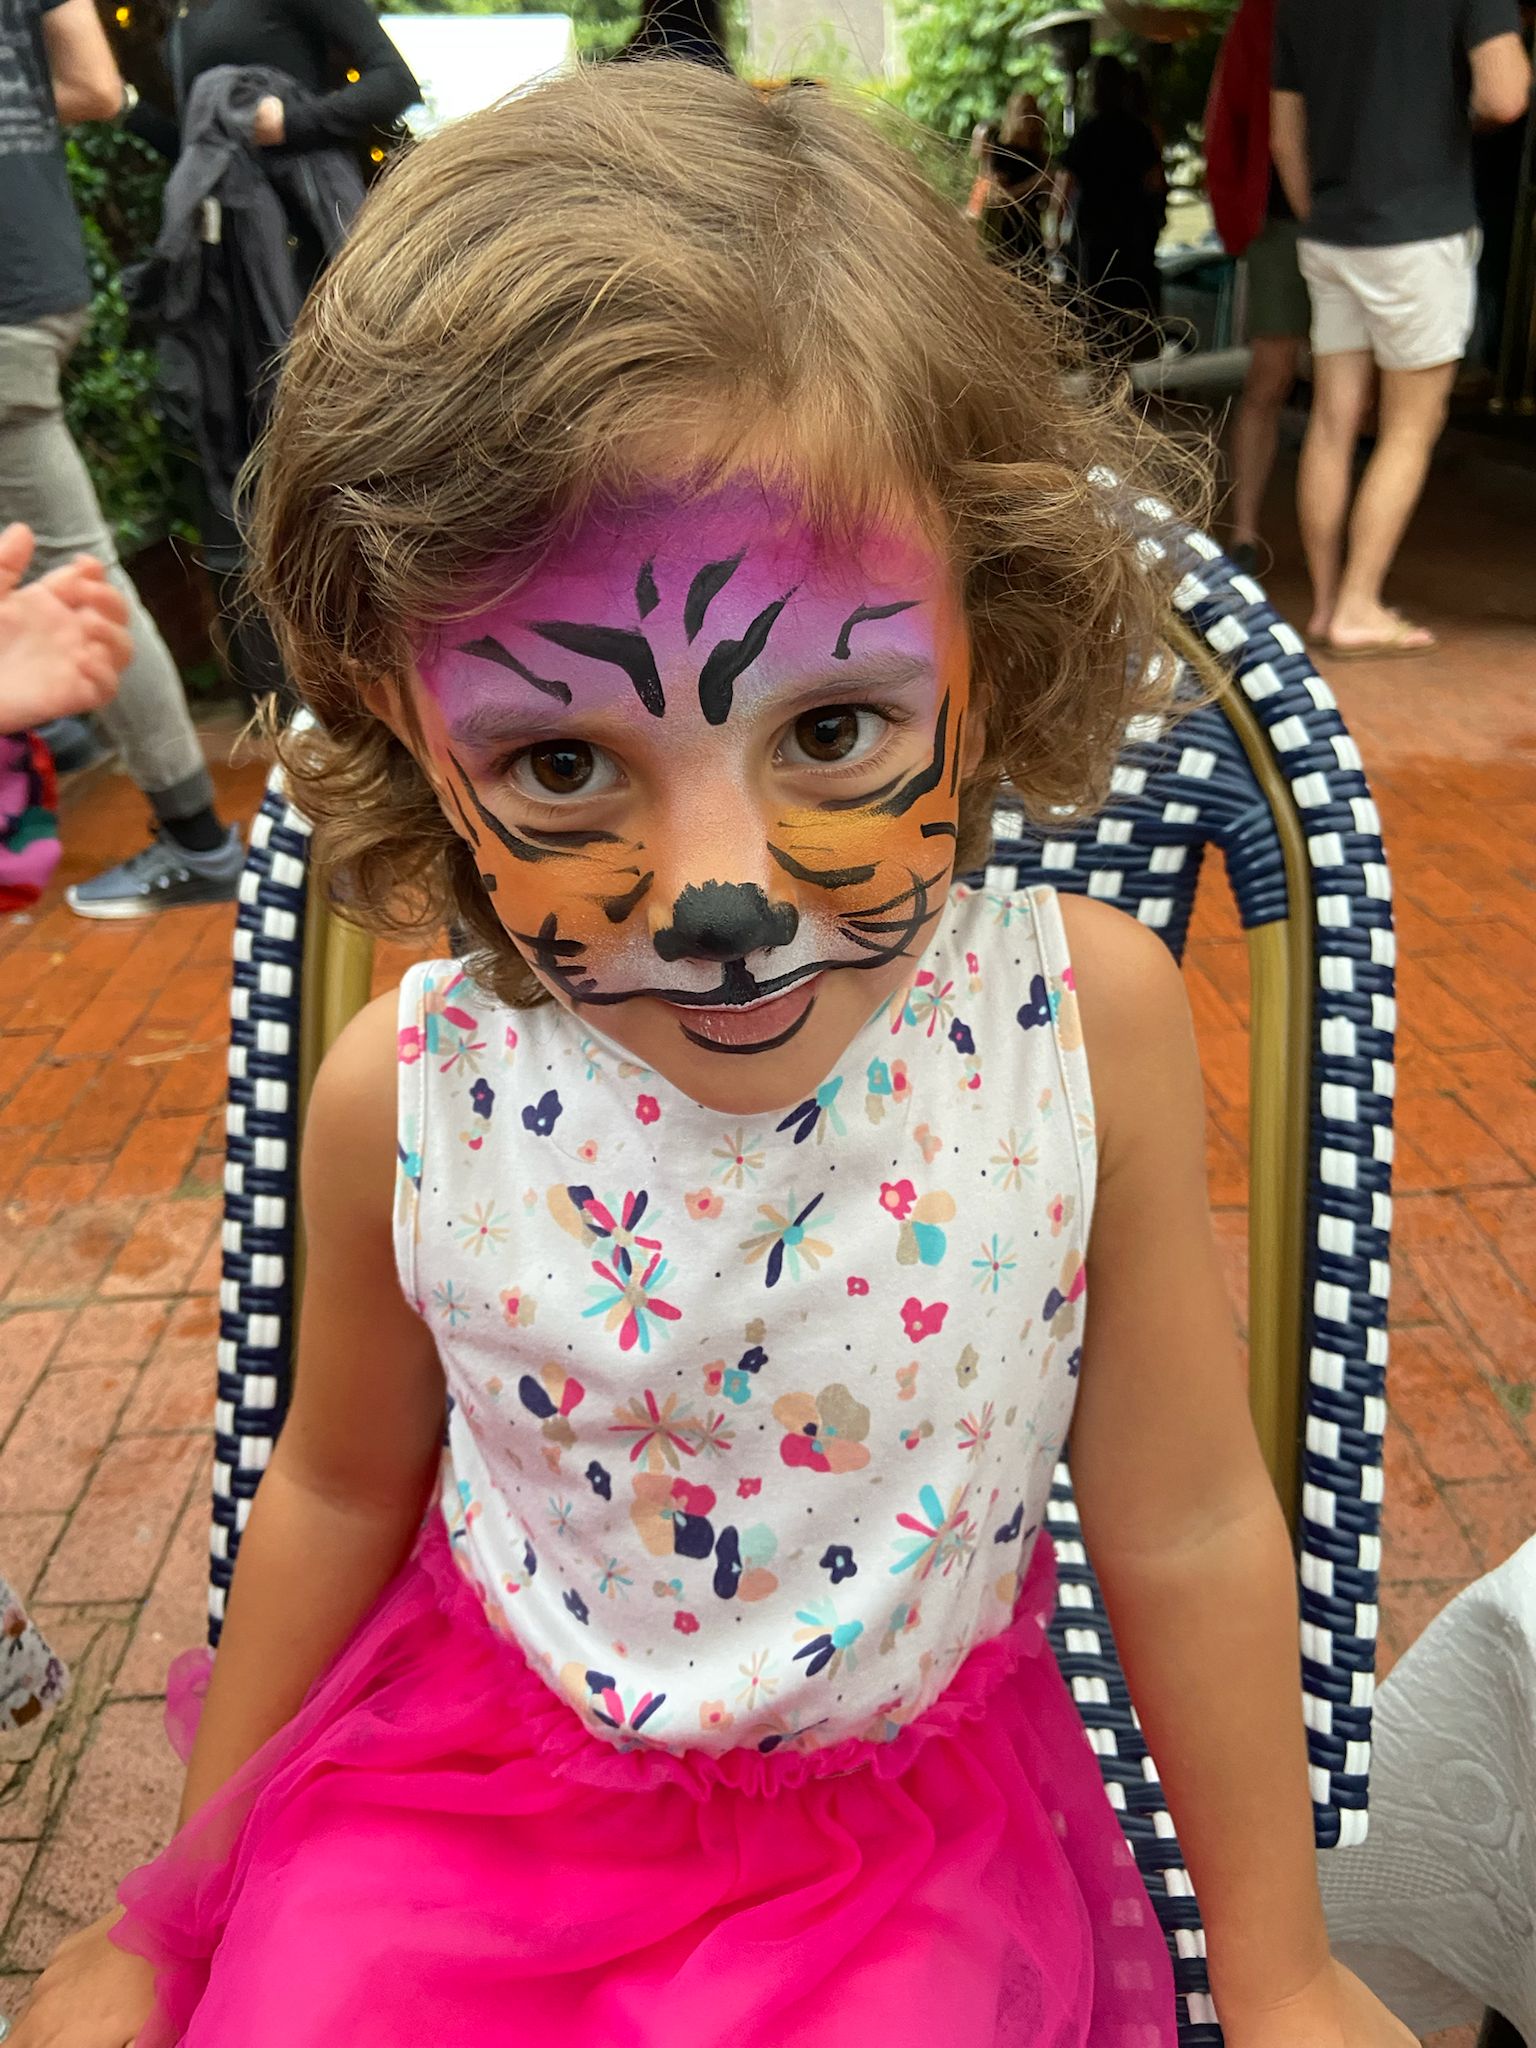
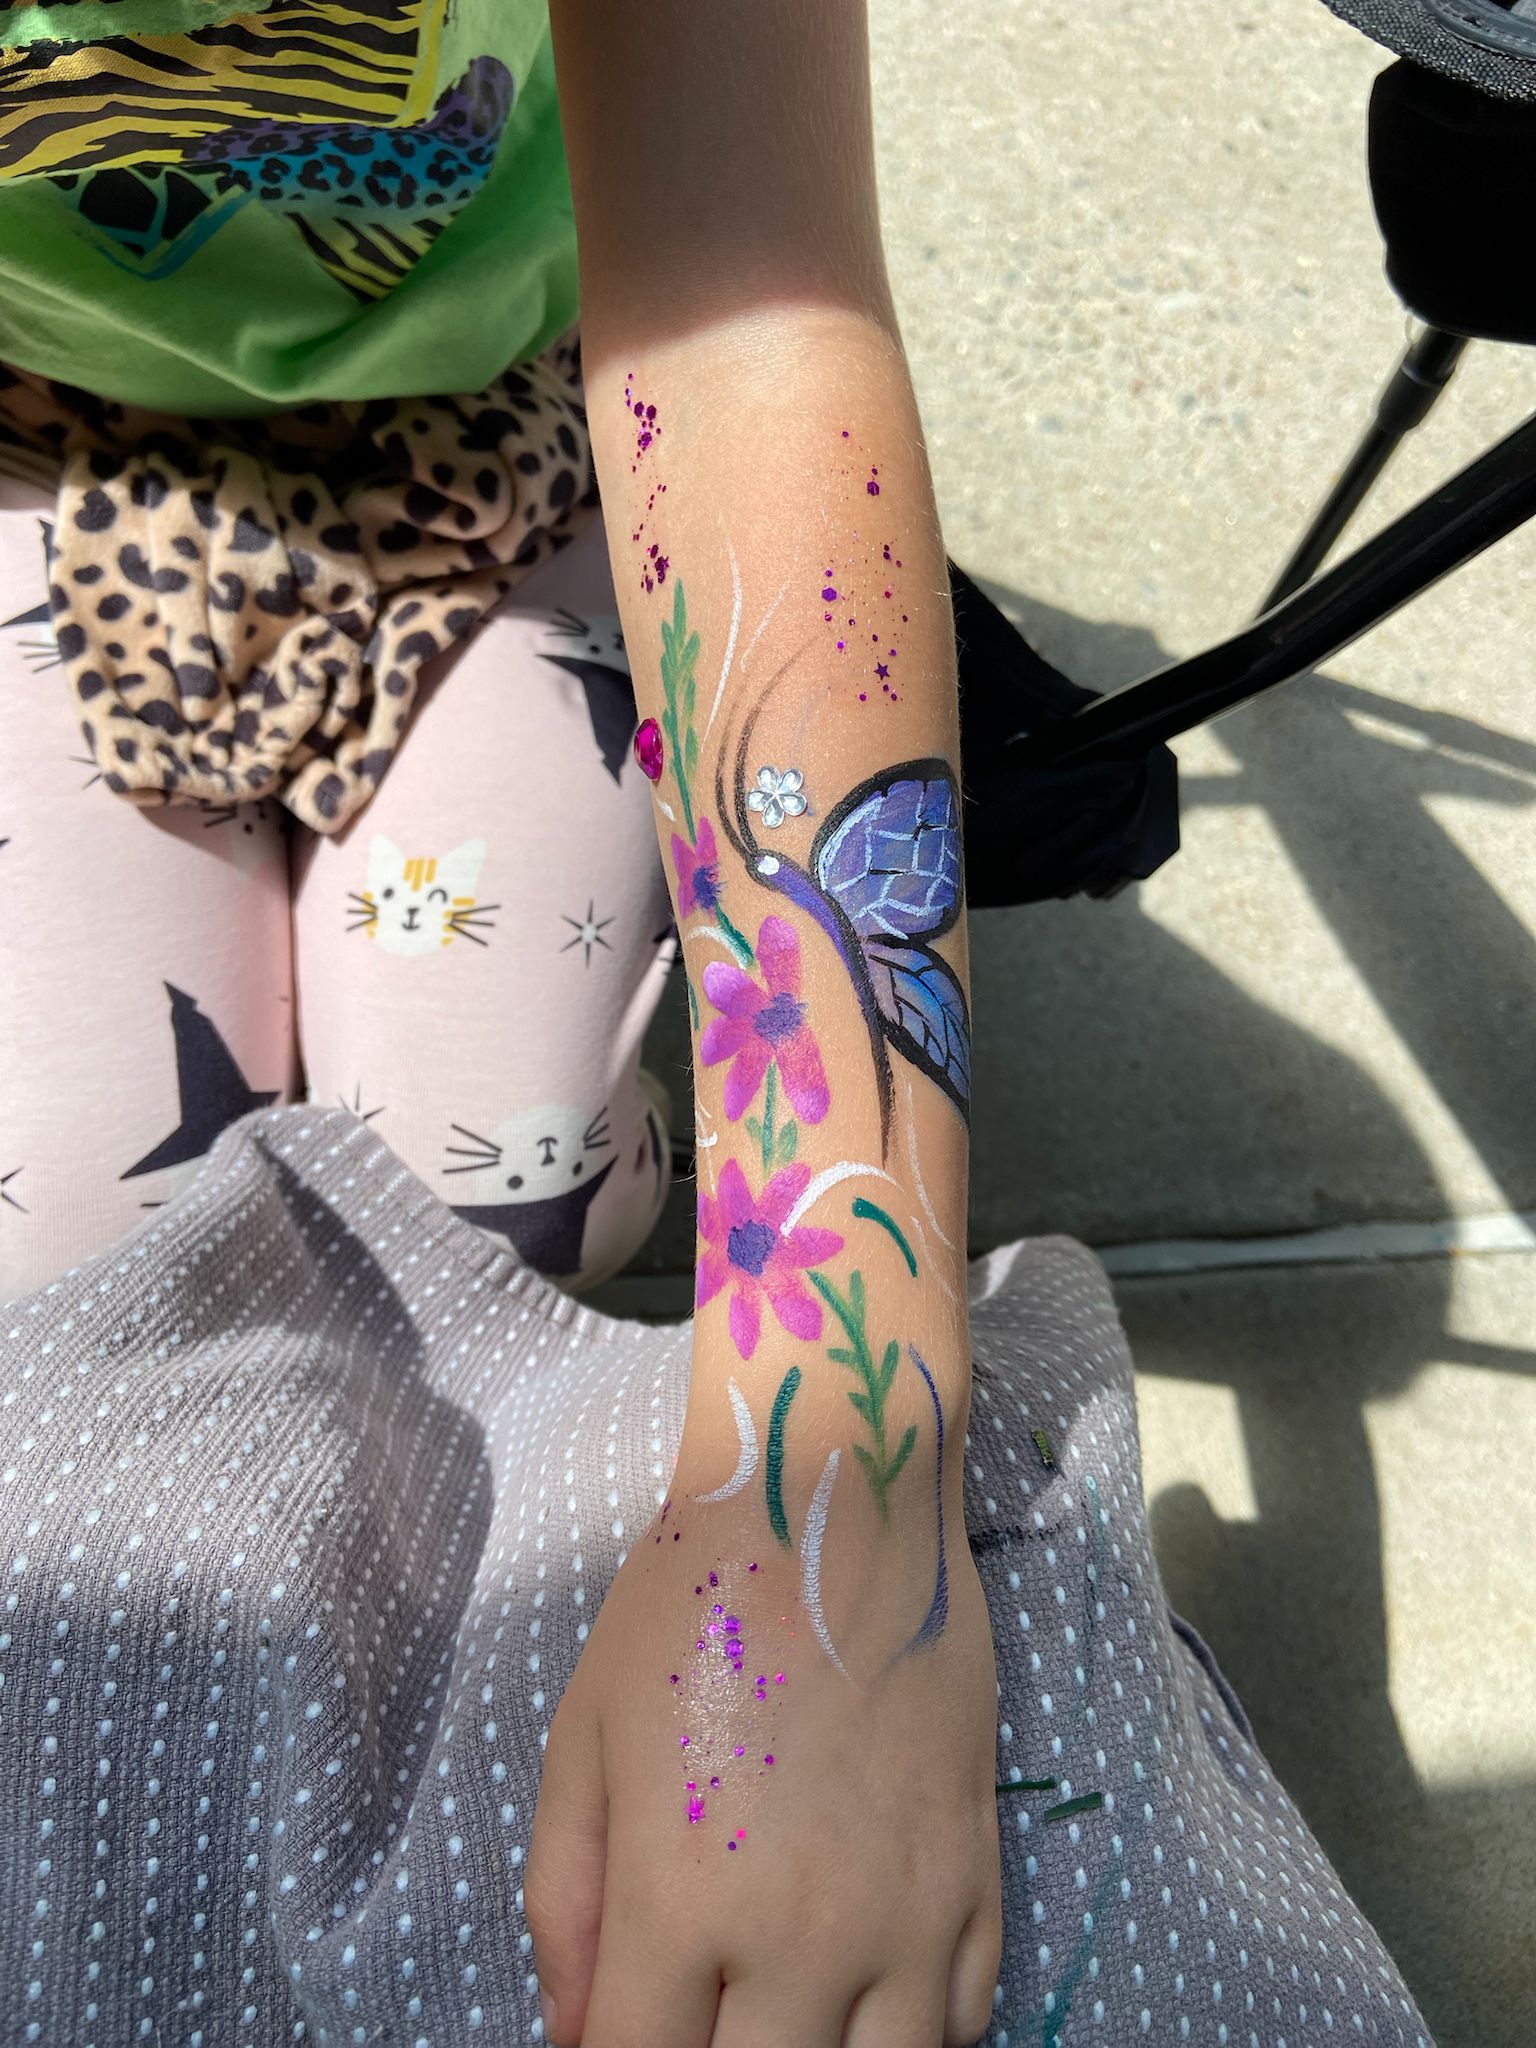
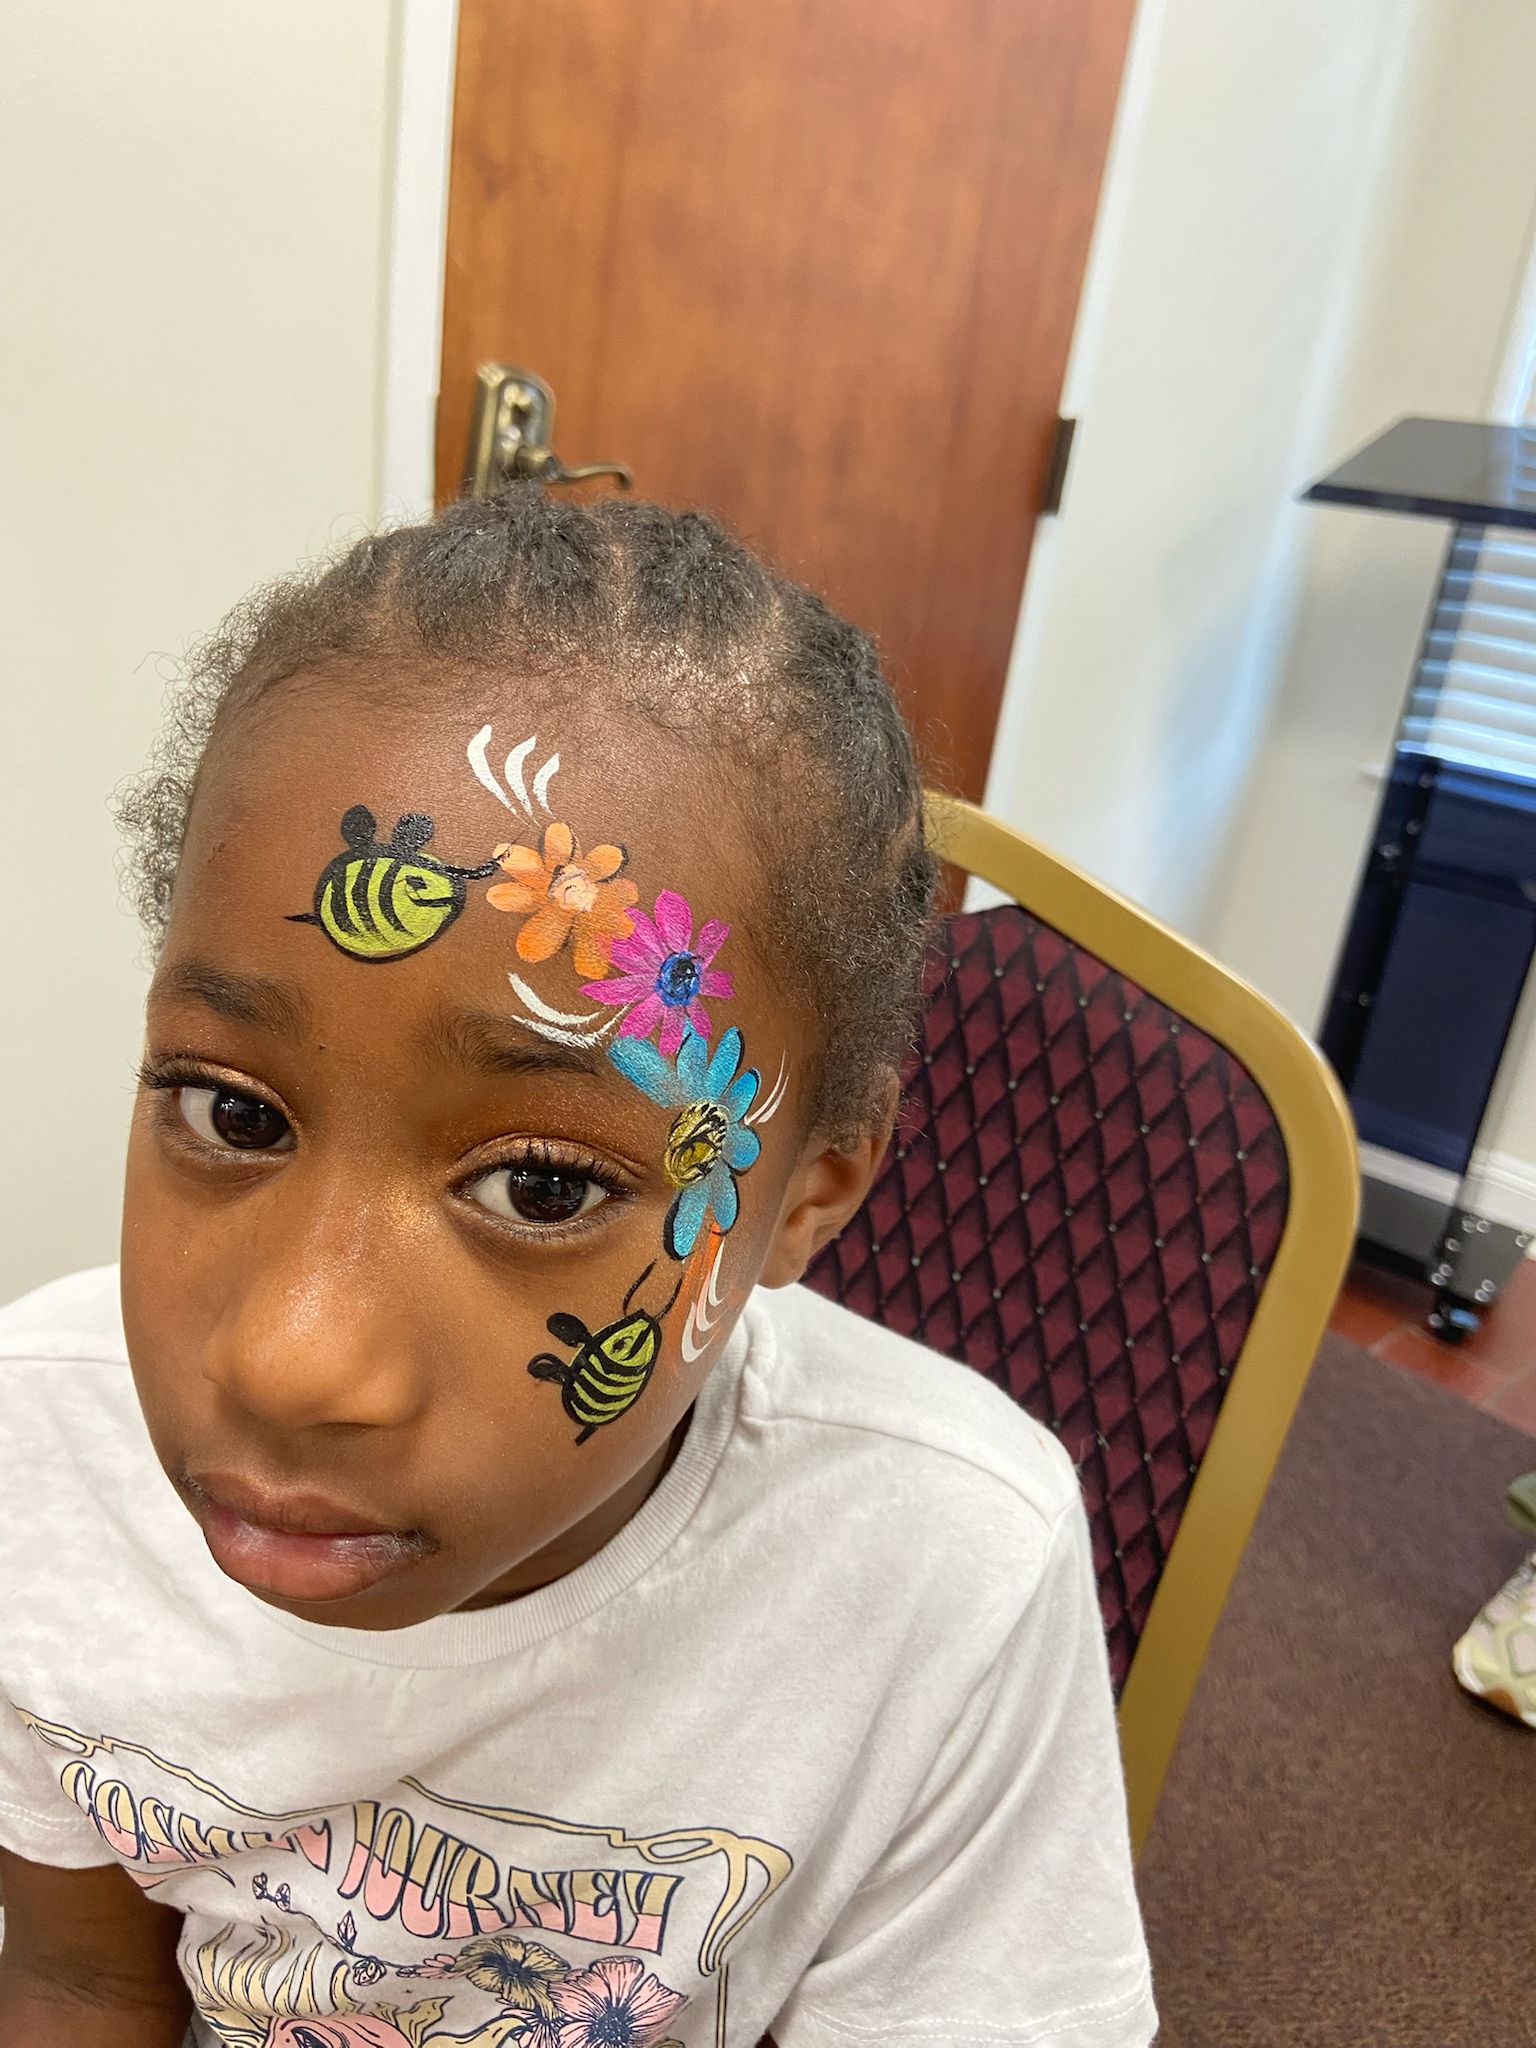
Real Portfolio Examples
Step-by-Step Instructions
Sponge the Base Blend
Load your sponge with yellow and lime green. Sponge the yellow over the center of the forehead and down the bridge of the nose. Sponge the lime green over the eyebrows, sweeping outward toward the temples and cheekbones, blending the edges into the yellow.
Add Texture with a Stencil
Hold a scale or reptile texture stencil flat against the forehead or temples. Using a nearly dry sponge loaded with dark green or black, lightly dab over the stencil to create a scaly pattern. (Ensure the sponge is not too wet, or the paint will bleed under the stencil).
Paint the Dinosaur Snout
Using dark green and a round brush, outline the shape of the dinosaur snout extending down the child's nose. Draw two dark commas or ovals near the tip of the nose for the nostrils.
Add the Horns/Spikes
With your round brush and white paint, draw three to five triangular spikes protruding from the top of the green mask on the forehead. Add a couple of smaller spikes on the cheekbones if desired.
Paint the Teeth
Using white paint, draw sharp, triangular teeth pointing downward from the bottom edge of the green mask (along the cheeks and across the upper lip).
Outline and Detail
Switch to black paint and your #4 round brush. Outline the horns, the teeth, and the overall shape of the mask to make it pop. Add angry, angled eyebrow lines pointing toward the center to give the dinosaur a fierce expression.
Add Highlights
Use a fine brush and white paint to add small highlight lines on the black outlines, the nostrils, and the scales. This gives the design a shiny, reptilian finish.
Common Mistakes to Avoid
✕ Bleeding Stencils
If your sponge is too wet when applying the scale stencil, the design will turn into a green smudge. Always dab your sponge on a towel to remove excess moisture before stenciling.
✕ Flat Coloring
Painting the entire mask a solid block of green makes it look unfinished. Always use a gradient (yellow to light green to dark green) to create a 3D effect.
✕ Overcrowding the Face
Don't paint too far down the cheeks or cover the mouth. Keeping the design as a half-mask on the upper face is more comfortable for the child and looks just as impressive.
Professional Tips
🦖 Fierce Eyebrows
The angle of the eyebrows dictates the expression. For a scary T-Rex, angle the black eyebrow lines sharply downward toward the nose. For a friendly dino, curve them softly upward.
🖌️ Double-Loaded Spikes
Load your brush with white, then dip just the very tip in black. When you press down to paint the spikes/horns, they will automatically have a dark shaded base and a white tip in one stroke.
Design Variations
- Triceratops Instead of a T-Rex snout, paint a large frill across the forehead and three prominent white horns (one on the nose, two above the eyes).
- Cute Toddler Dino For younger kids, skip the angry eyebrows and sharp teeth. Paint a small, cartoonish dinosaur figure on the cheek rather than a full mask.
Safety & Skin Care
- Ensure stencils are washed and sanitized between children.
- Keep paint away from the child's eyes, especially when applying stencils to the temple area.
Frequently Asked Questions
Do I absolutely need a stencil for the scales?
No! You can create a scale effect by pressing the side of a round brush in a U-shape pattern across the forehead, or by using a piece of mesh (like from a bath sponge) to dab paint through.
How can I make the dinosaur look friendly instead of scary?
Round off all sharp edges. Make the teeth curved nubs instead of sharp points, use softer pastel greens, and give the dinosaur rounded, high eyebrows.
Design Information
- Sponge (for base blending)
- Scale stencil (optional but recommended)
- Round brush #4 (for outlining and details)
- Round brush #2 (for teeth and highlights)
Available for parties across the Triangle.