Melting Popsicle Face Paint Guide
A sweet summer treat melting right over the eye!
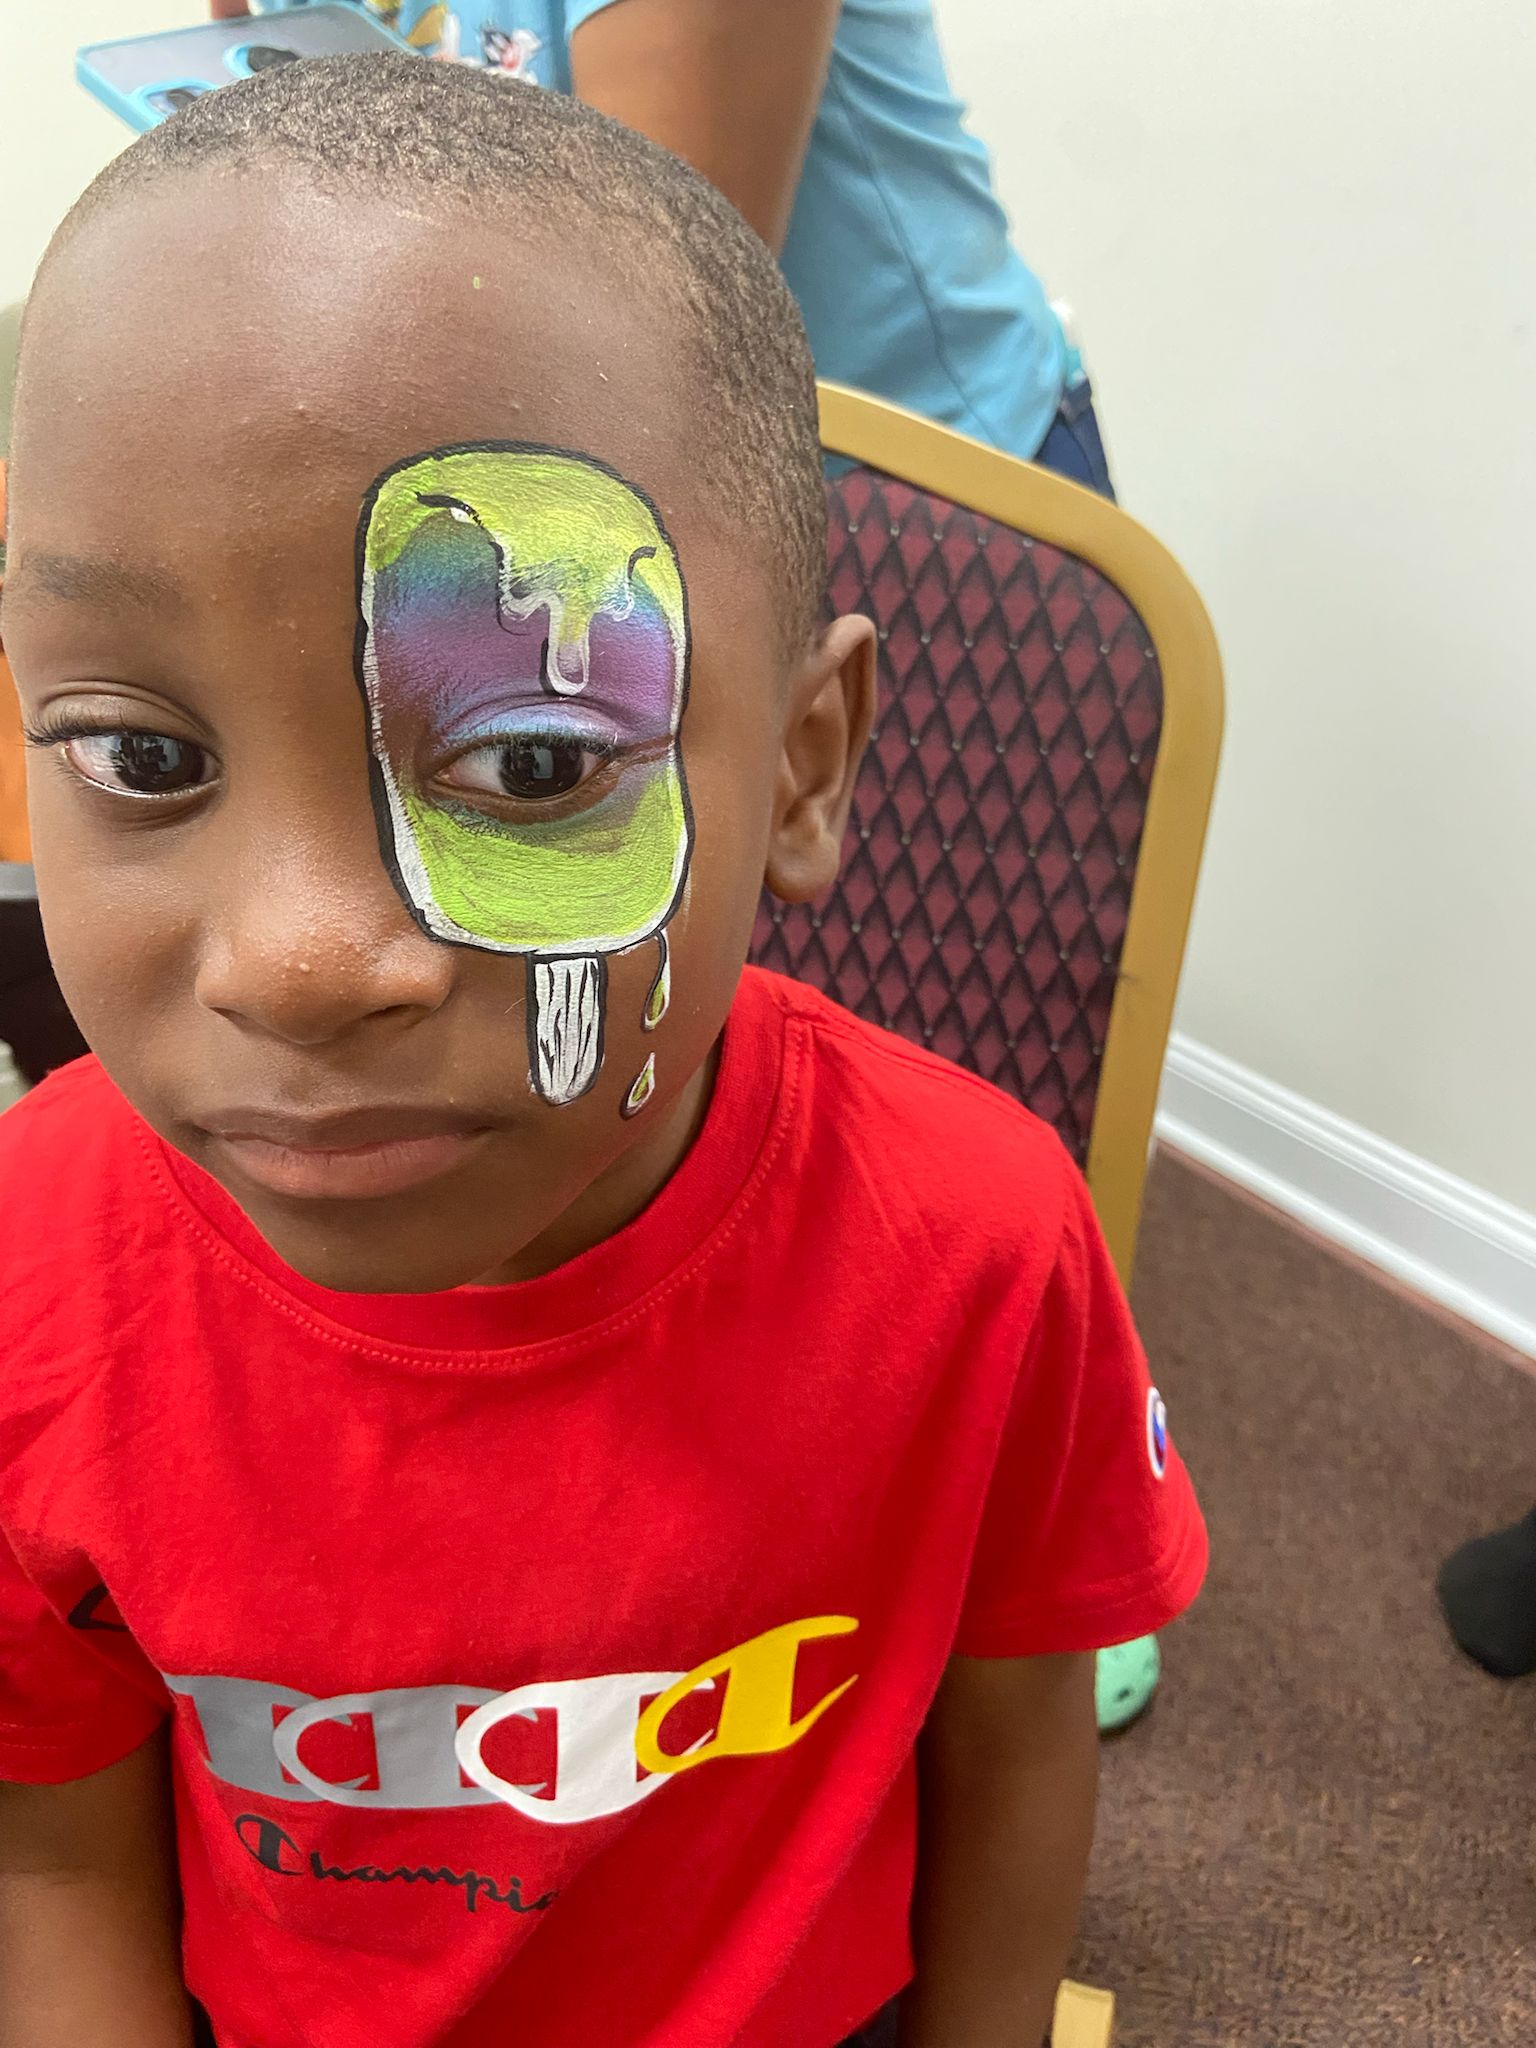
This design features a brightly colored, two-tone popsicle (think classic Bomb Pop shape) painted over one eye, with realistic drips "melting" down the cheek and a wooden stick extending upward toward the forehead. It's a fun, fast design that plays with optical illusions.
Why is this design so popular?
Food-themed designs are incredibly popular right now, and the melting popsicle is the perfect summer party design. It's colorful, whimsical, and the "melting" illusion over the eye makes it visually hilarious. It's a huge hit at pool parties and summer festivals where the melting theme fits perfectly with the weather.
Real Portfolio Examples
Step-by-Step Instructions
Sponge the Popsicle Shape
Using a sponge, block in a tall rectangle shape over the eye area. The bottom edge should sit on the cheekbone, and the top should reach above the eyebrow. You can use a single color (like hot pink) or a split cake to create a multi-flavored popsicle (e.g., pink top, yellow bottom).
Round the Top
Popsicles aren't perfect rectangles. Use the edge of your sponge to round off the top corners (above the eyebrow) so it looks like a classic ice pop shape.
Paint the Melting Drips
Using your round brush #4 loaded with the popsicle color, paint 3-4 teardrop shapes extending downward from the bottom edge (on the cheek). These are the melting drips. Make them uneven in length for realism.
Add the Popsicle Stick
Using light brown, paint a rounded rectangle extending upward from the top of the popsicle (onto the forehead). This is the wooden stick. Add a slightly darker brown shadow along one side for depth.
Add Highlights
This is crucial for the "wet/frozen" look. Using white and your fine brush, add a long highlight line down one side of the popsicle body, and a small curved highlight on each melting drip. Add a highlight to the stick as well.
Outline the Design
Using black (or very dark purple/blue), carefully outline the popsicle, the drips, and the stick. This cartoon outlining makes the design pop and defines the melting shapes.
Add Bite Mark (Optional)
For extra fun, paint a "bite mark" on one side of the popsicle using a skin-tone or white color, outlined with jagged teeth marks in black.
Common Mistakes to Avoid
✕ Straight Drips
Melting drips should have a teardrop shape — thicker at the bottom, tapering where they connect to the main shape. Straight lines just look like stripes.
✕ Missing Highlights
Without white highlights, the popsicle looks flat and matte. The highlights are what make it look wet, shiny, and frozen.
Professional Tips
🍦 Ice Cream Variation
Use the same technique to paint a melting ice cream cone — a brown waffle cone on the cheek with a melting scoop of ice cream over the eye.
✨ Sprinkles!
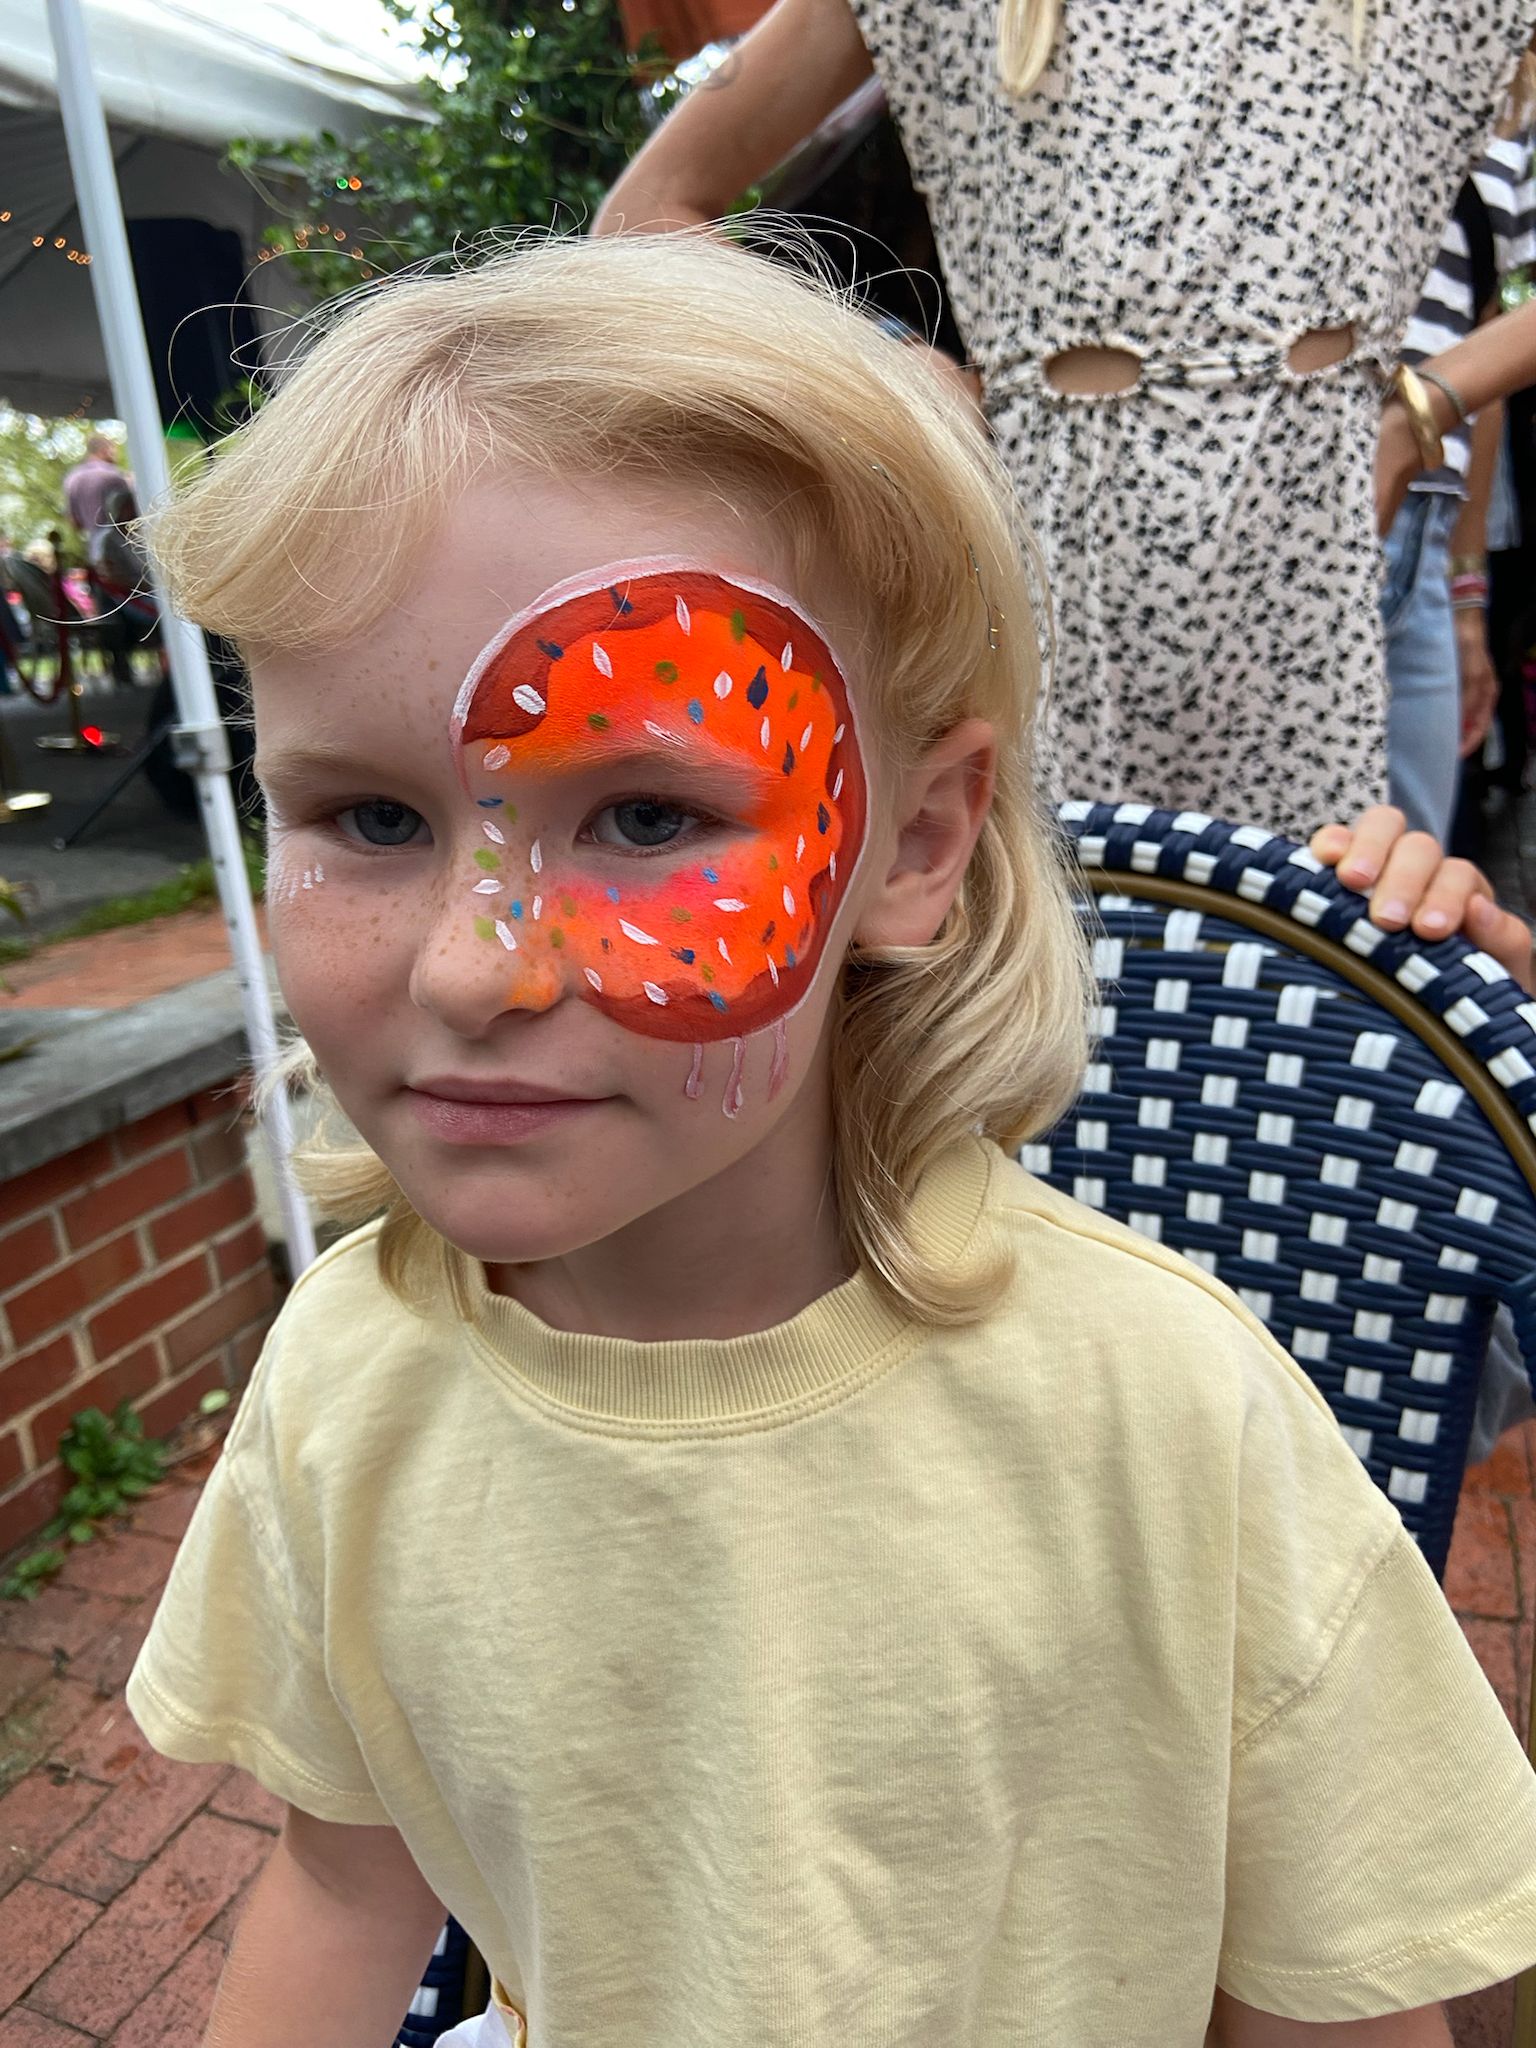
Add small colorful dots over the top half of the popsicle to simulate candy sprinkles.
Design Variations
- Bomb Pop Use red, white, and blue sections for the classic 4th of July Bomb Pop look.
Safety & Skin Care
- Keep paint away from the actual eye when sponging over the eyelid.
- Use high-quality, non-staining paints for the bright colors.
Frequently Asked Questions
Is this a fast design?
Yes, it can be completed in about 5-8 minutes, making it great for busy summer events.
Can you paint this on the arm instead?
Absolutely! A melting popsicle looks great on the forearm or shoulder.
Design Information
- Sponge (for the popsicle body)
- Round brush #4 (for the popsicle stick and drips)
- Fine detail brush #1 (for highlights and outlining)
Available for parties across the Triangle.