Arm Bouquet Paint Guide
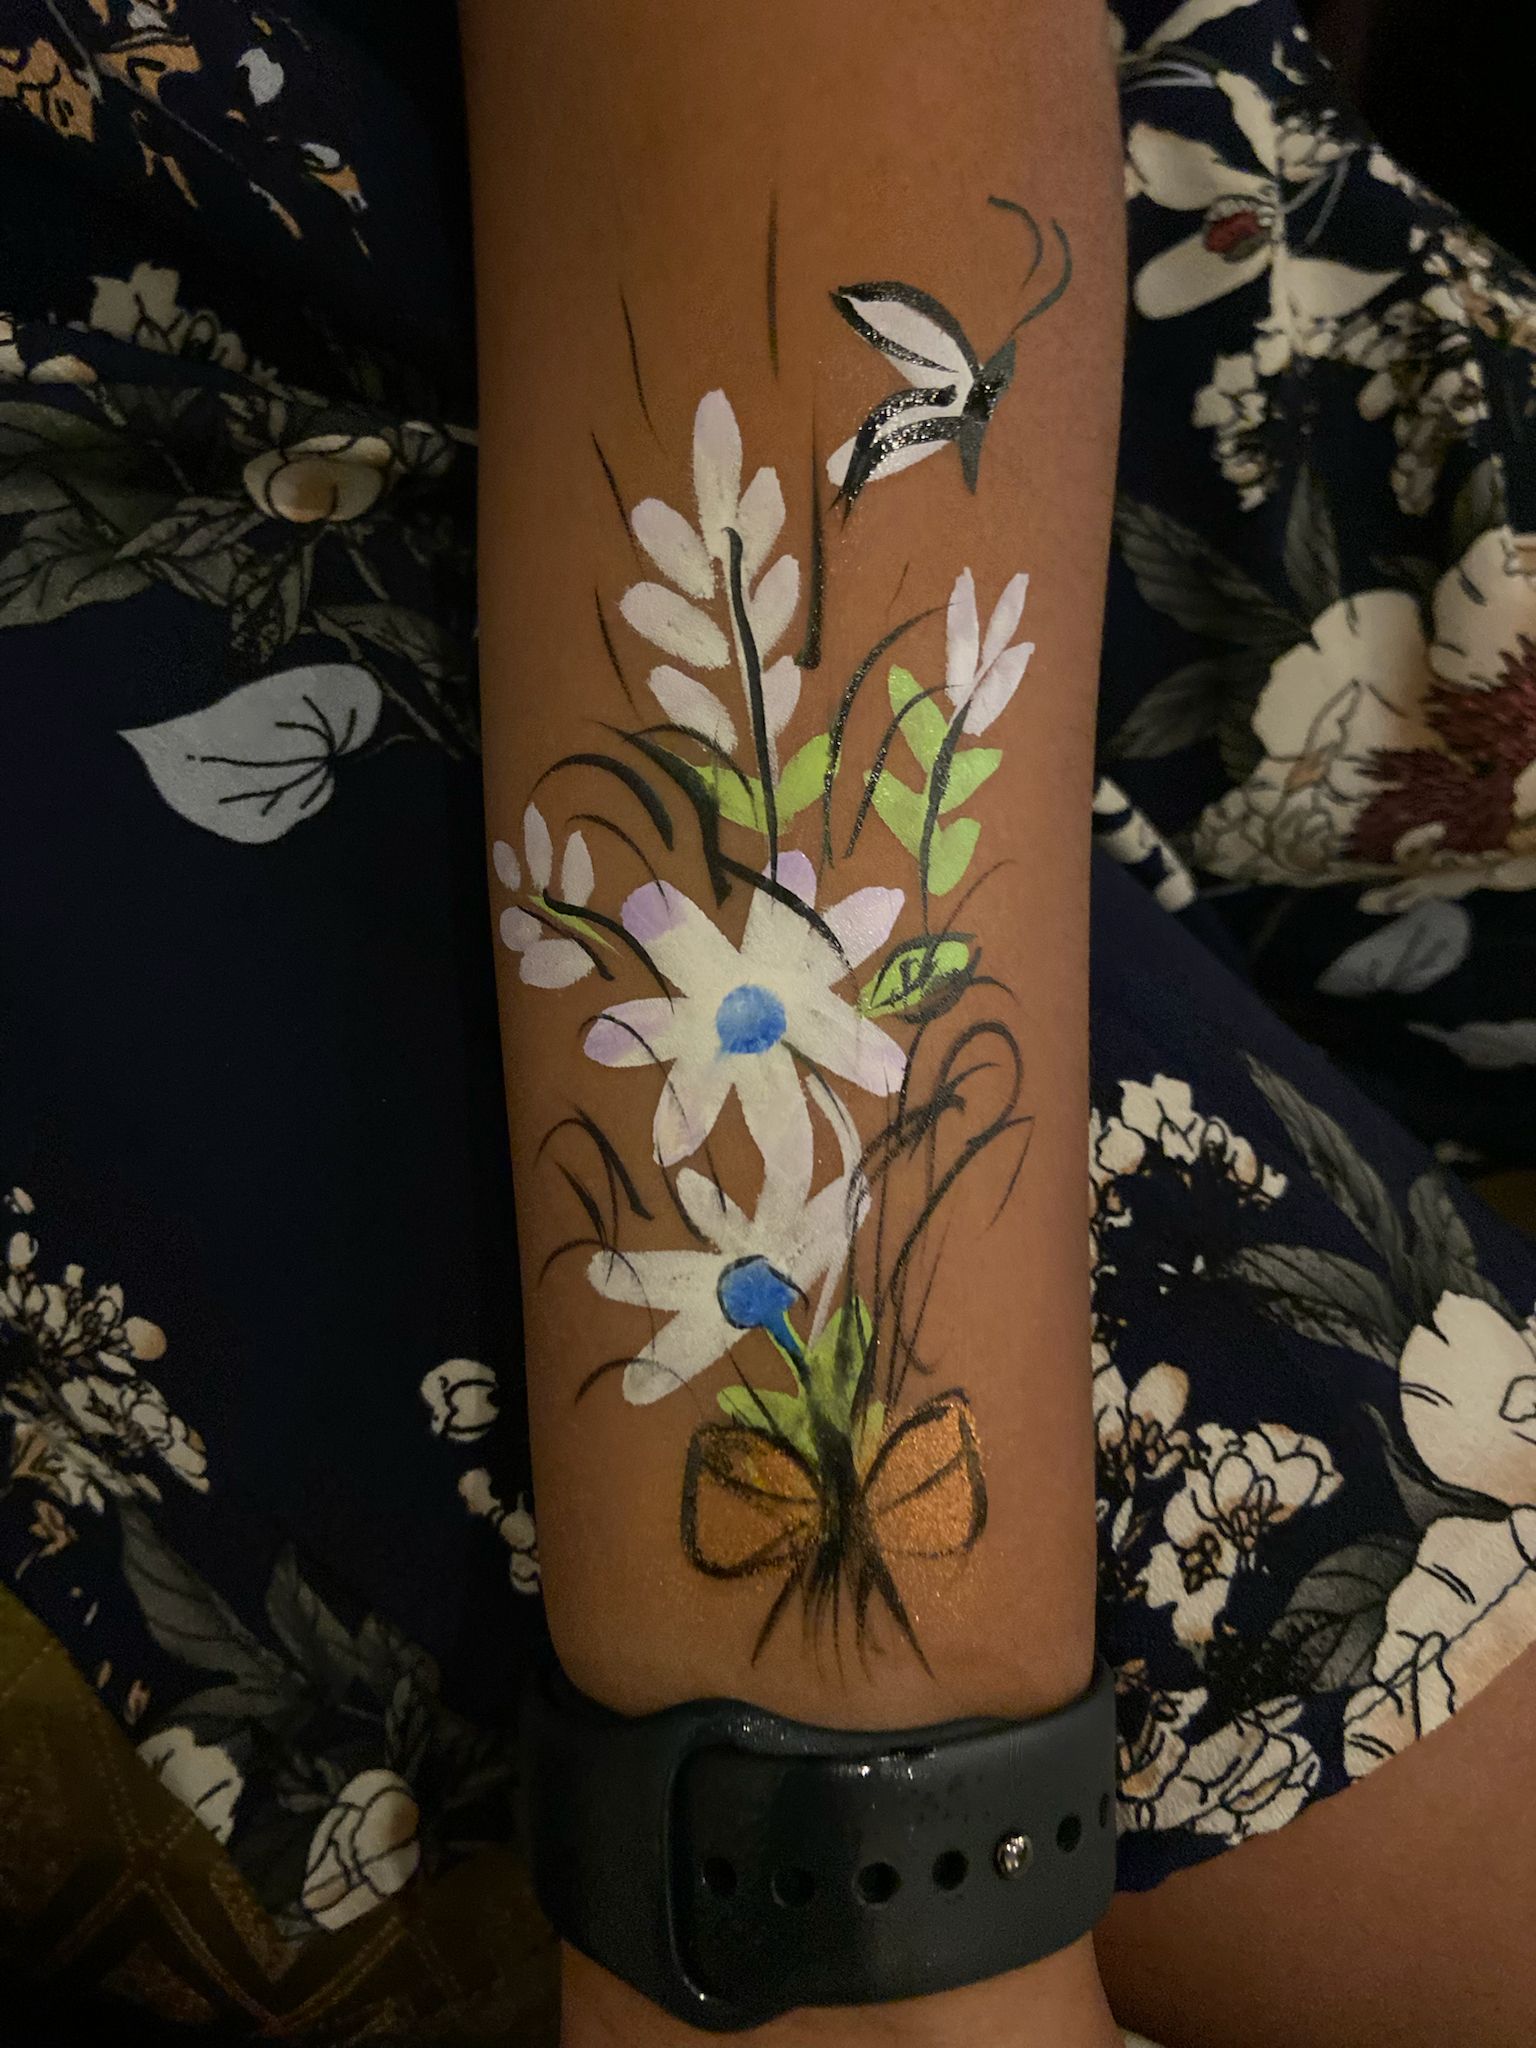
A full floral bouquet painted on the arm — fine art you can wear.
This design recreates our signature arm bouquet seen in the Garner portfolio: a full floral arrangement painted vertically along the forearm, featuring white daisies with blue centers, wildflower sprigs, sweeping dark green grass strokes, a small butterfly at the top, and a gold bow at the base. The result looks like a fine art painting permanently placed on the skin.
Why is this design so popular?
Arm painting is the next frontier in body art entertainment. Adults who want something beautiful but find full-face painting too dramatic love arm designs — they're wearable art that can be photographed easily, shown off at parties, and they feel genuinely special and custom. The bouquet arm design is especially popular at garden parties, bridal showers, and outdoor summer events.
Real Portfolio Examples
Step-by-Step Instructions
Plan the Bouquet Composition
Before painting, visualize the composition. The arm is a tall, vertical canvas. The bouquet should extend from the wrist area up toward the elbow. Place your largest, most prominent flowers at eye level (mid-arm) and let stems and grass sweep toward the wrist where they'll be tied with a bow.
Paint the Grass and Wild Stem Base
Using dark green and your flat brush, paint flowing, curved grass and stem strokes from the wrist upward. Use quick, confident pull strokes that taper at the tip. Vary the heights — some stems reaching nearly to the elbow, others only halfway. This creates the organic feel of a gathered wildflower bunch.
Add the Main Daisy Flowers
Paint 2–3 large daisies at the most prominent positions along the stems. For each daisy: paint 10–12 white petals radiating from a center point using push-pull strokes. Make petals from the stem side slightly longer than those on the outer edge. Leave the center open.
Paint the Daisy Centers
Fill each daisy center with a solid blue circle. While wet, add a slightly smaller dark navy dot in the very center of each. This double-dot gives the center a 3D, raised button appearance that makes the flowers look three-dimensional.
Add Wildflower Sprigs
Around the main daisies, add smaller wildflower details: tiny loose clusters of dots or small multi-petal flowers in lavender, blue, or light pink. Use your round brush to paint small "button" flowers by placing a single dot and surrounding it with tiny petal strokes.
Paint the Leaves
Using your flat brush loaded with two shades of green simultaneously, paint leaves along the stems using single-stroke pulls. Place leaves at natural angles along the stems, not all pointing the same way. Include both rounded and pointed leaf shapes for variety.
Add the Butterfly
At the top of the bouquet, add a small black-and-white striped butterfly (like a zebra longwing). Paint a thin black body first, then use a flat brush to paint two pairs of wings extending from the body — upper wings larger than lower. Add simple white stripe details across the wings.
Paint the Gold Bow and Final Details
At the base of the bouquet (near the wrist), paint a gold bow tying the stems together. Two curved loops on either side, a small center knot, and two trailing ribbon ends. This bow grounds the entire composition and makes the bouquet look gathered and presented. Add final outline details in black to crisp up any edges.
Common Mistakes to Avoid
✕ Flowers Too Evenly Spaced
Real bouquets have a natural, slightly chaotic grouping. If your flowers are spaced in a perfect grid or alternating pattern, the composition will look designed rather than gathered. Group some flowers close together and leave others more isolated.
✕ Forgetting the Negative Space
A common mistake is filling every inch of the arm with paint. Negative space (skin showing between flowers and stems) is crucial — it allows the design to breathe and makes each individual element more visible.
✕ Uniform Stem Direction
All stems should not be perfectly vertical. Stems in a real bouquet splay outward slightly. Let some stems curve gently left or right of center for a more natural, gathered-bunch appearance.
Professional Tips
🌸 Work Top-Down, Not Bottom-Up
Paint the flowers and upper elements first, then add the stems connecting them to the base. This prevents smearing flowers with your brush hand as you work downward.
✨ Gold Metallic Paint for the Bow
Use actual metallic gold body paint (not mixed yellow+brown) for the bow at the base. Real metallic paint reflects light completely differently and gives the bow a precious, ribbon-like quality.
📸 Ask the Client to Pose
Arm paintings photograph best when the arm is extended toward the camera with the bouquet facing forward. Coaching clients on how to show off their arm paint in photos dramatically increases your social media reach.
Design Variations
- Rose Bouquet Replace the daisies with open roses (a more advanced technique) for an elegant, romance-themed bouquet. Pair with deep red, pink, and cream roses for a classic bridal bouquet effect.
- Children's Mini Bouquet Scale down the design to just the wrist area for young children — 2 small flowers, a few stems, and a tiny bow. This takes only 5–8 minutes and is perfect for events where quick arm painting is requested.
Safety & Skin Care
- Always use professional body/face paint — craft paints should never be applied to skin.
- Some clients may have arm hair that affects paint adhesion. Apply slightly more paint and use a blotting motion to ensure proper coverage.
- Arm paint is more susceptible to smearing than face paint as it contacts clothing — advise clients to let it dry fully (3–5 minutes) before pulling down sleeves.
Frequently Asked Questions
How long does arm painting last?
Arm paintings typically last 4–8 hours before naturally fading. They are more prone to smearing than face paint because of contact with clothing and surfaces. Avoiding water contact and tight sleeves will extend the life significantly.
Do you offer arm painting at events?
Yes! FaceFairy Studio offers arm and body painting at events throughout the Triangle. Arm painting is especially popular at adult events, garden parties, and teen birthday parties. Ask us about adding arm painting to your event package.
Can arm painting be done quickly in a line?
The full bouquet design takes 20–25 minutes and is not suited for high-volume queues. However, we offer simpler arm designs (a single flower with two leaves, or a small butterfly) that can be done in 3–5 minutes for larger events.
Design Information
- Flat brush 3/4-inch (for leaves and flower petals)
- Round brush #4 (for flower centers and stems)
- Fine detail brush #1 (for butterfly details and vine tendrils)
- Gold cosmetic paint or metallic paint (for the bow detail)
Available for parties across the Triangle.
Related Design Guides
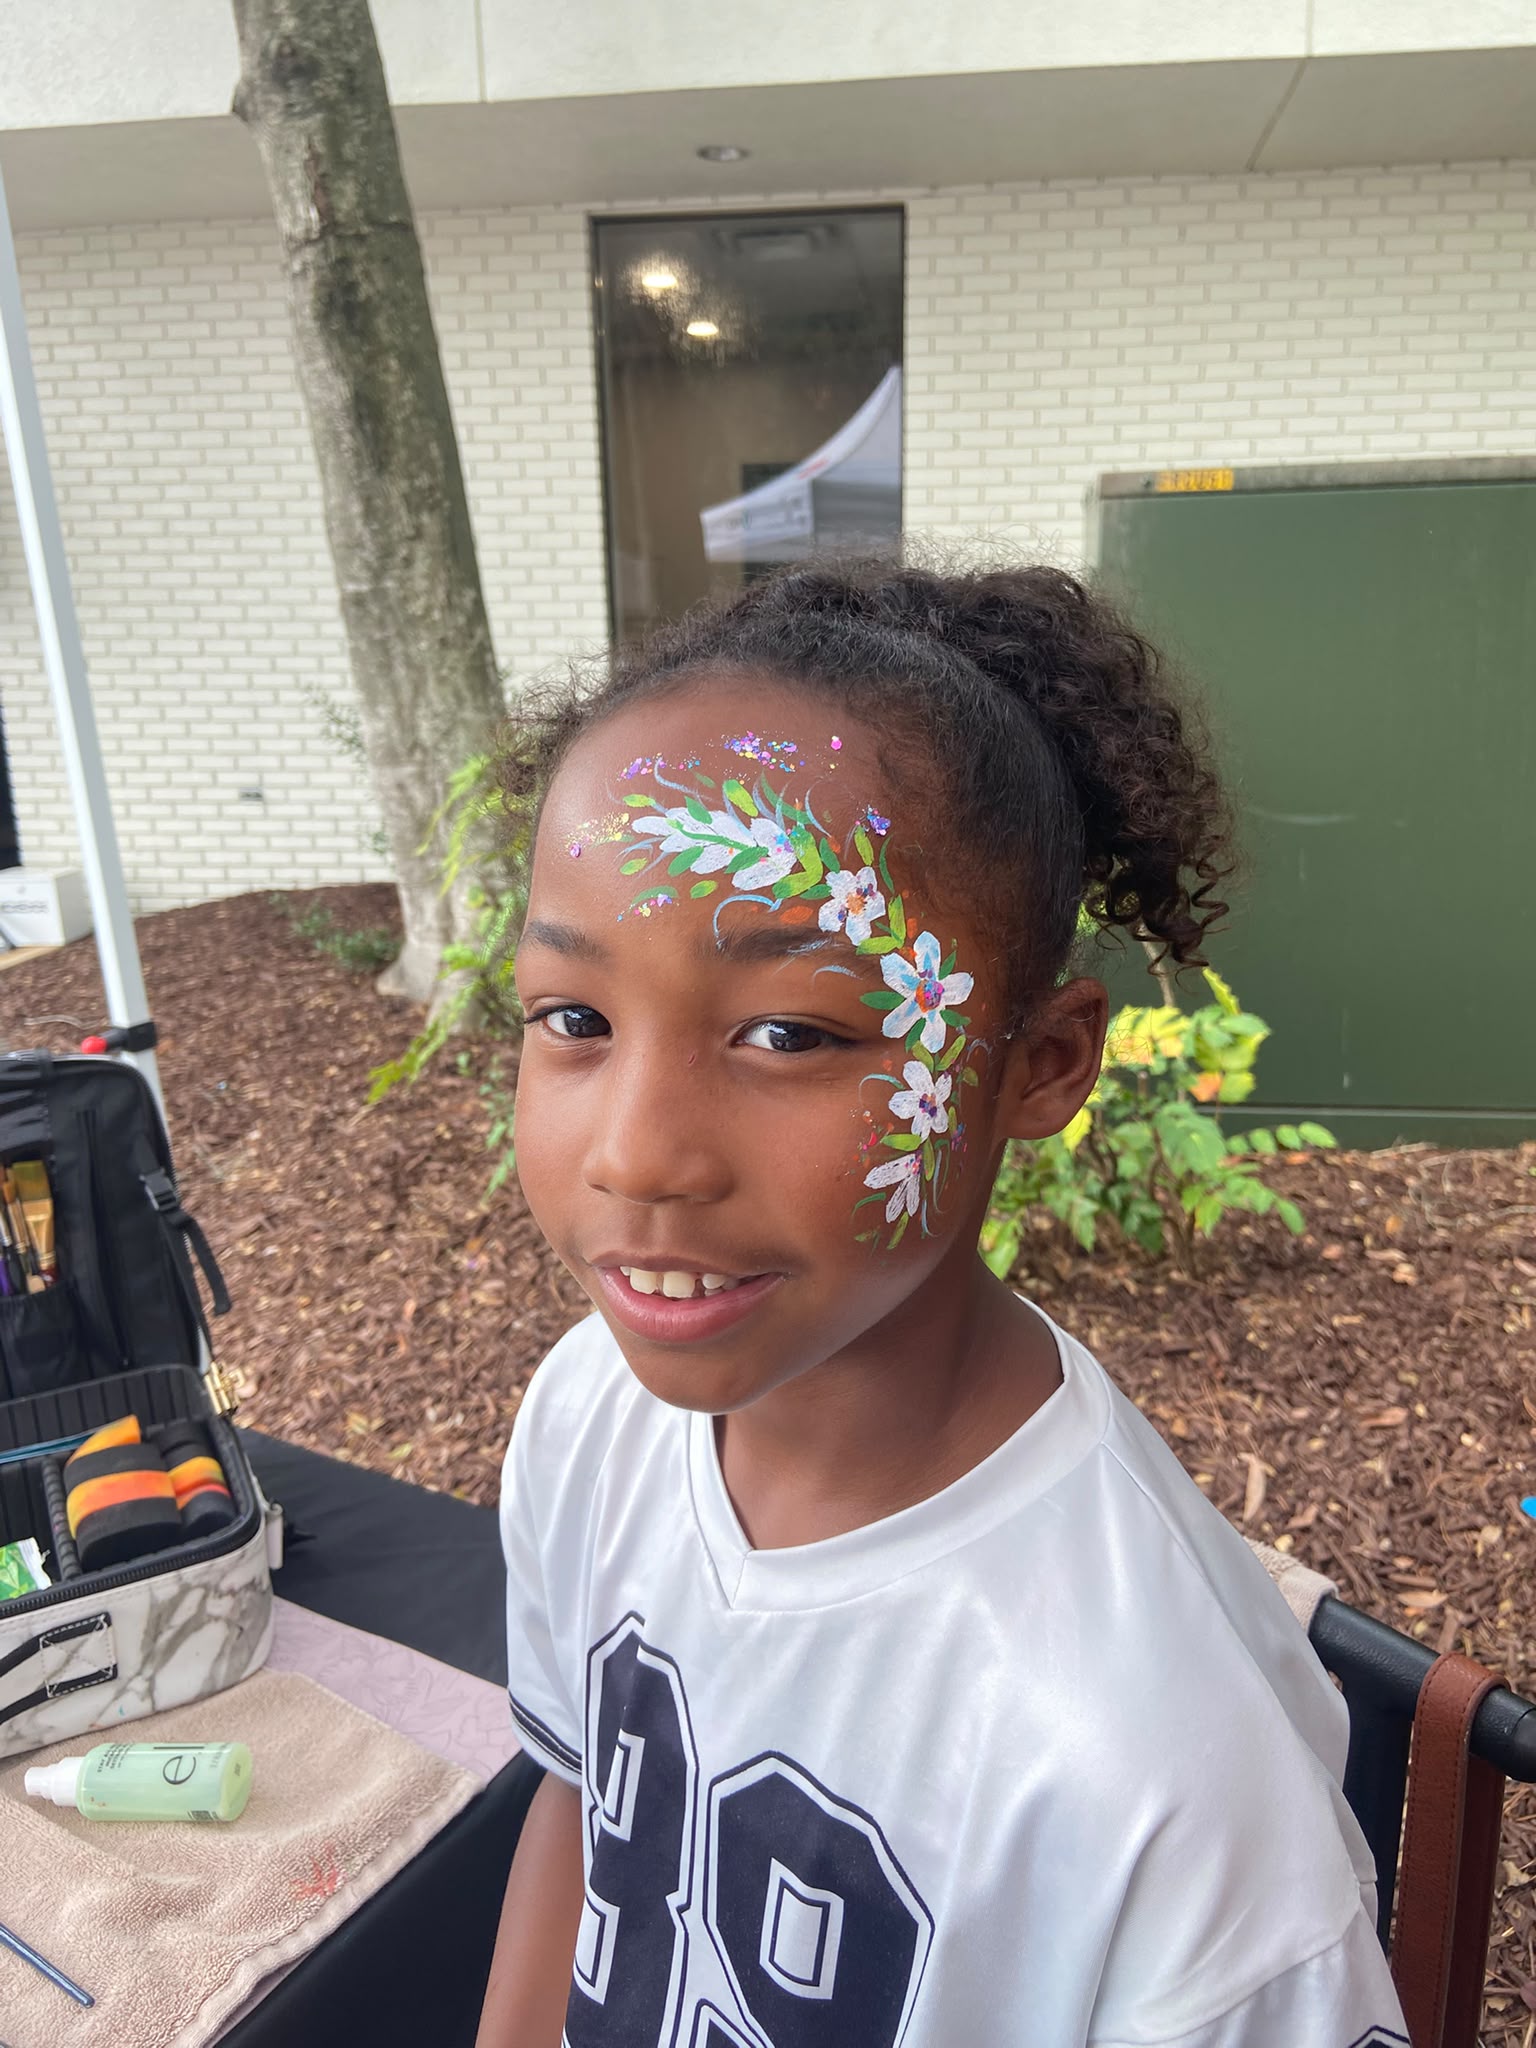
Floral Vines Face Paint Guide
Delicate blooms and sweeping vines for an enchanted garden look.
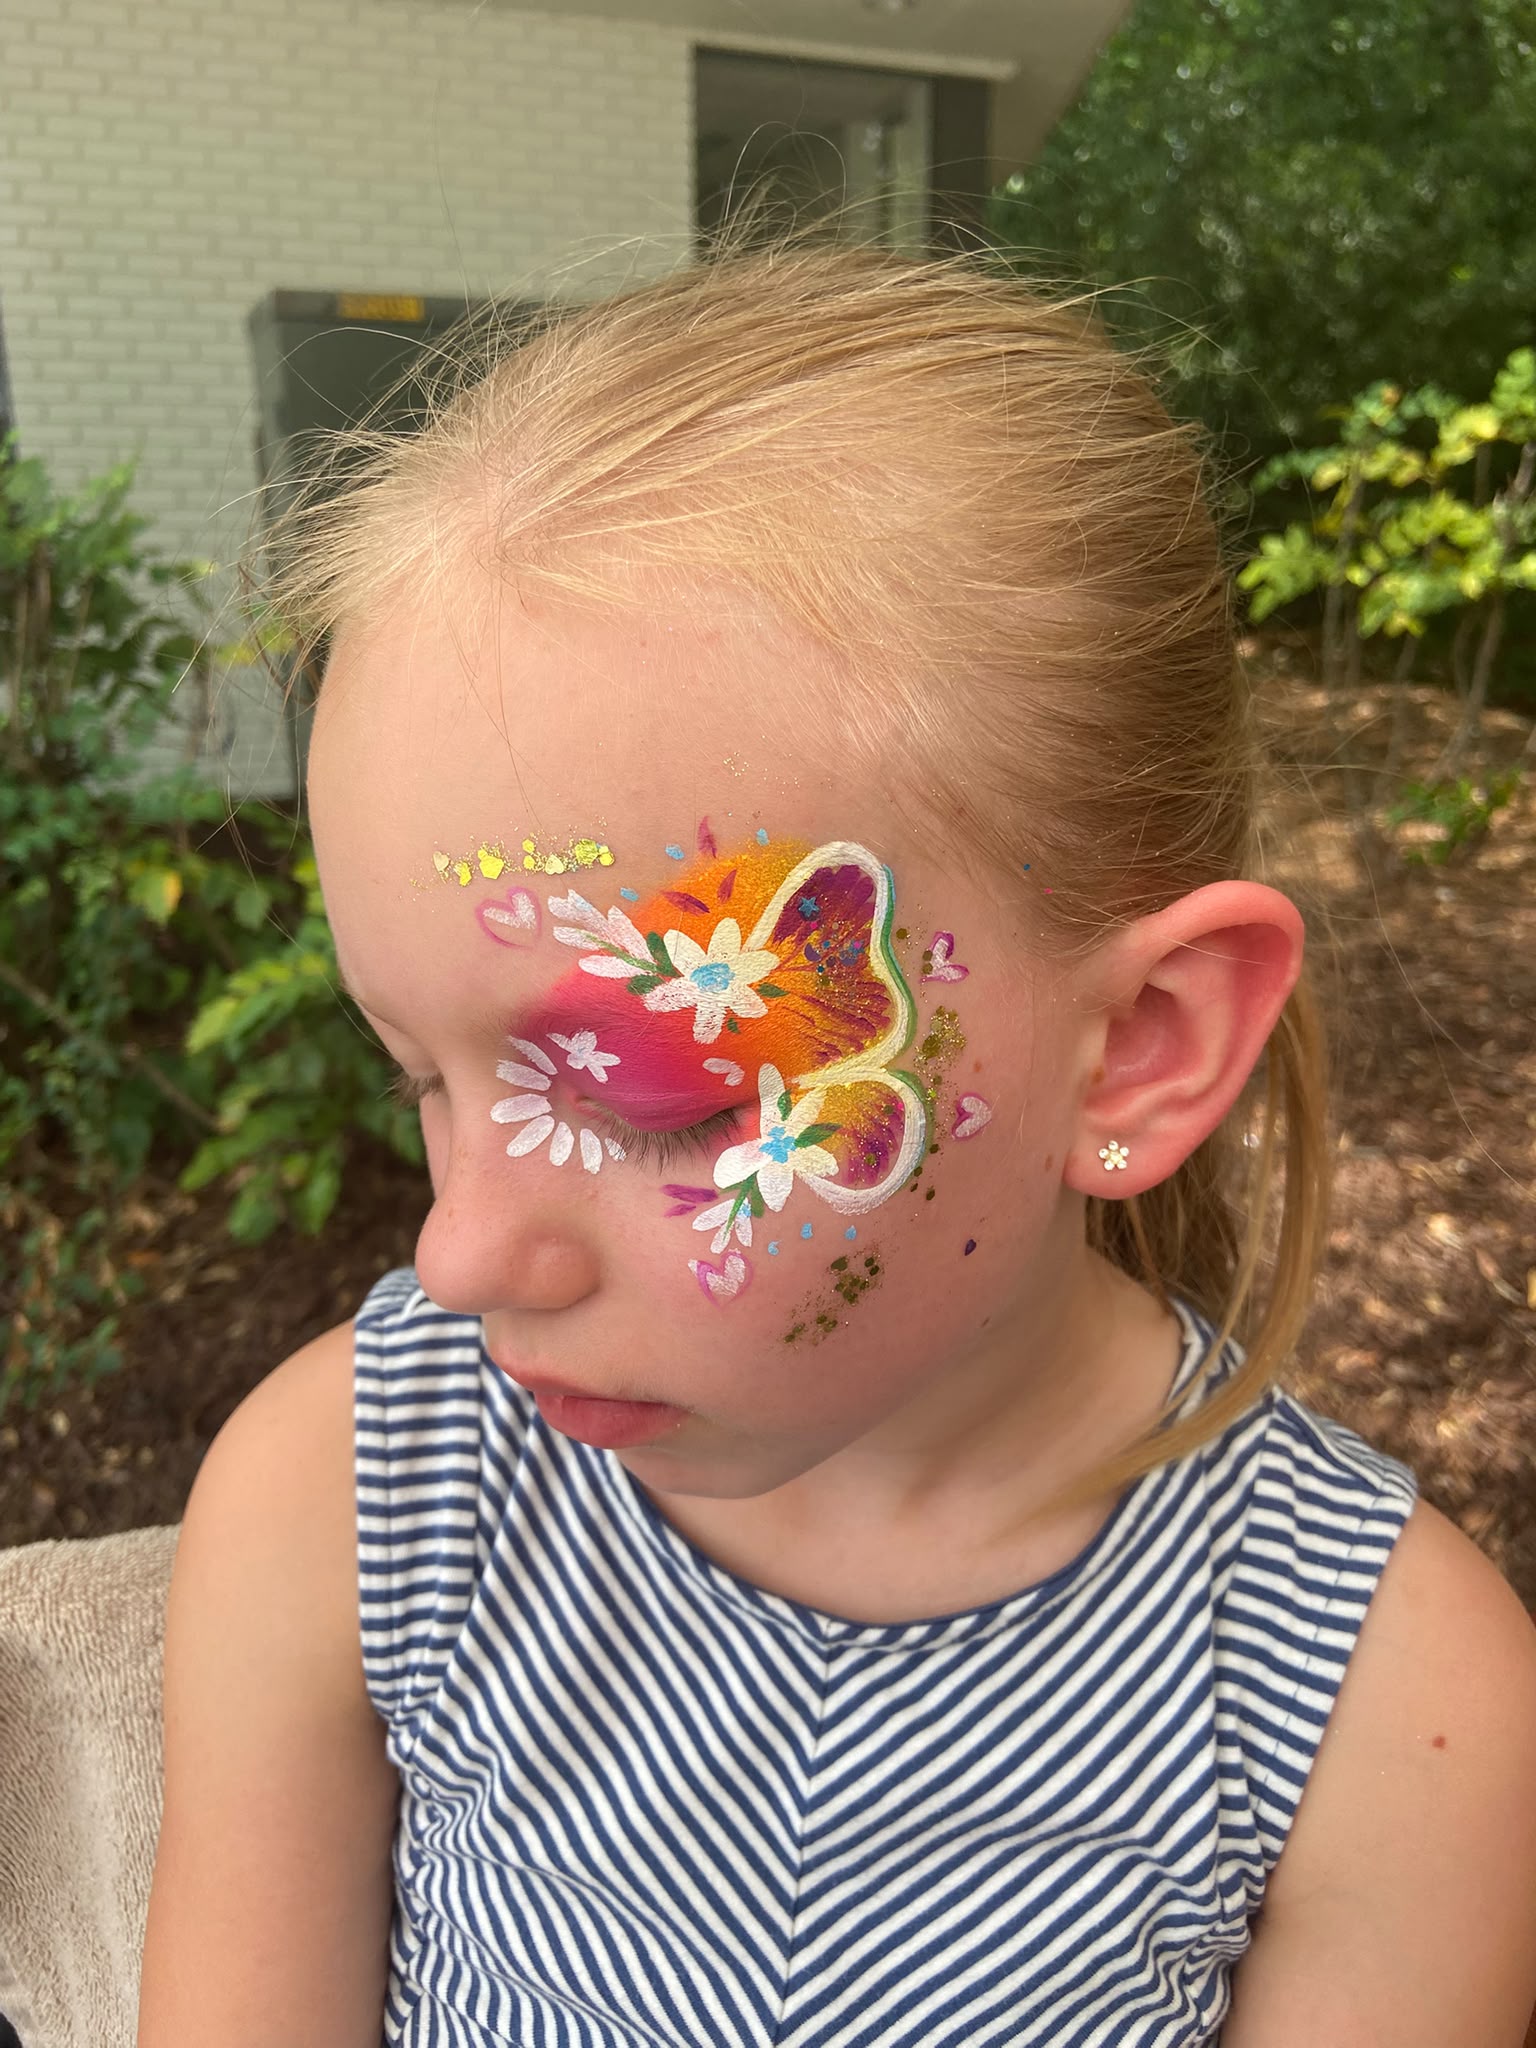
Butterfly Face Paint Guide
The most-requested design at every party — here's exactly how it's done.
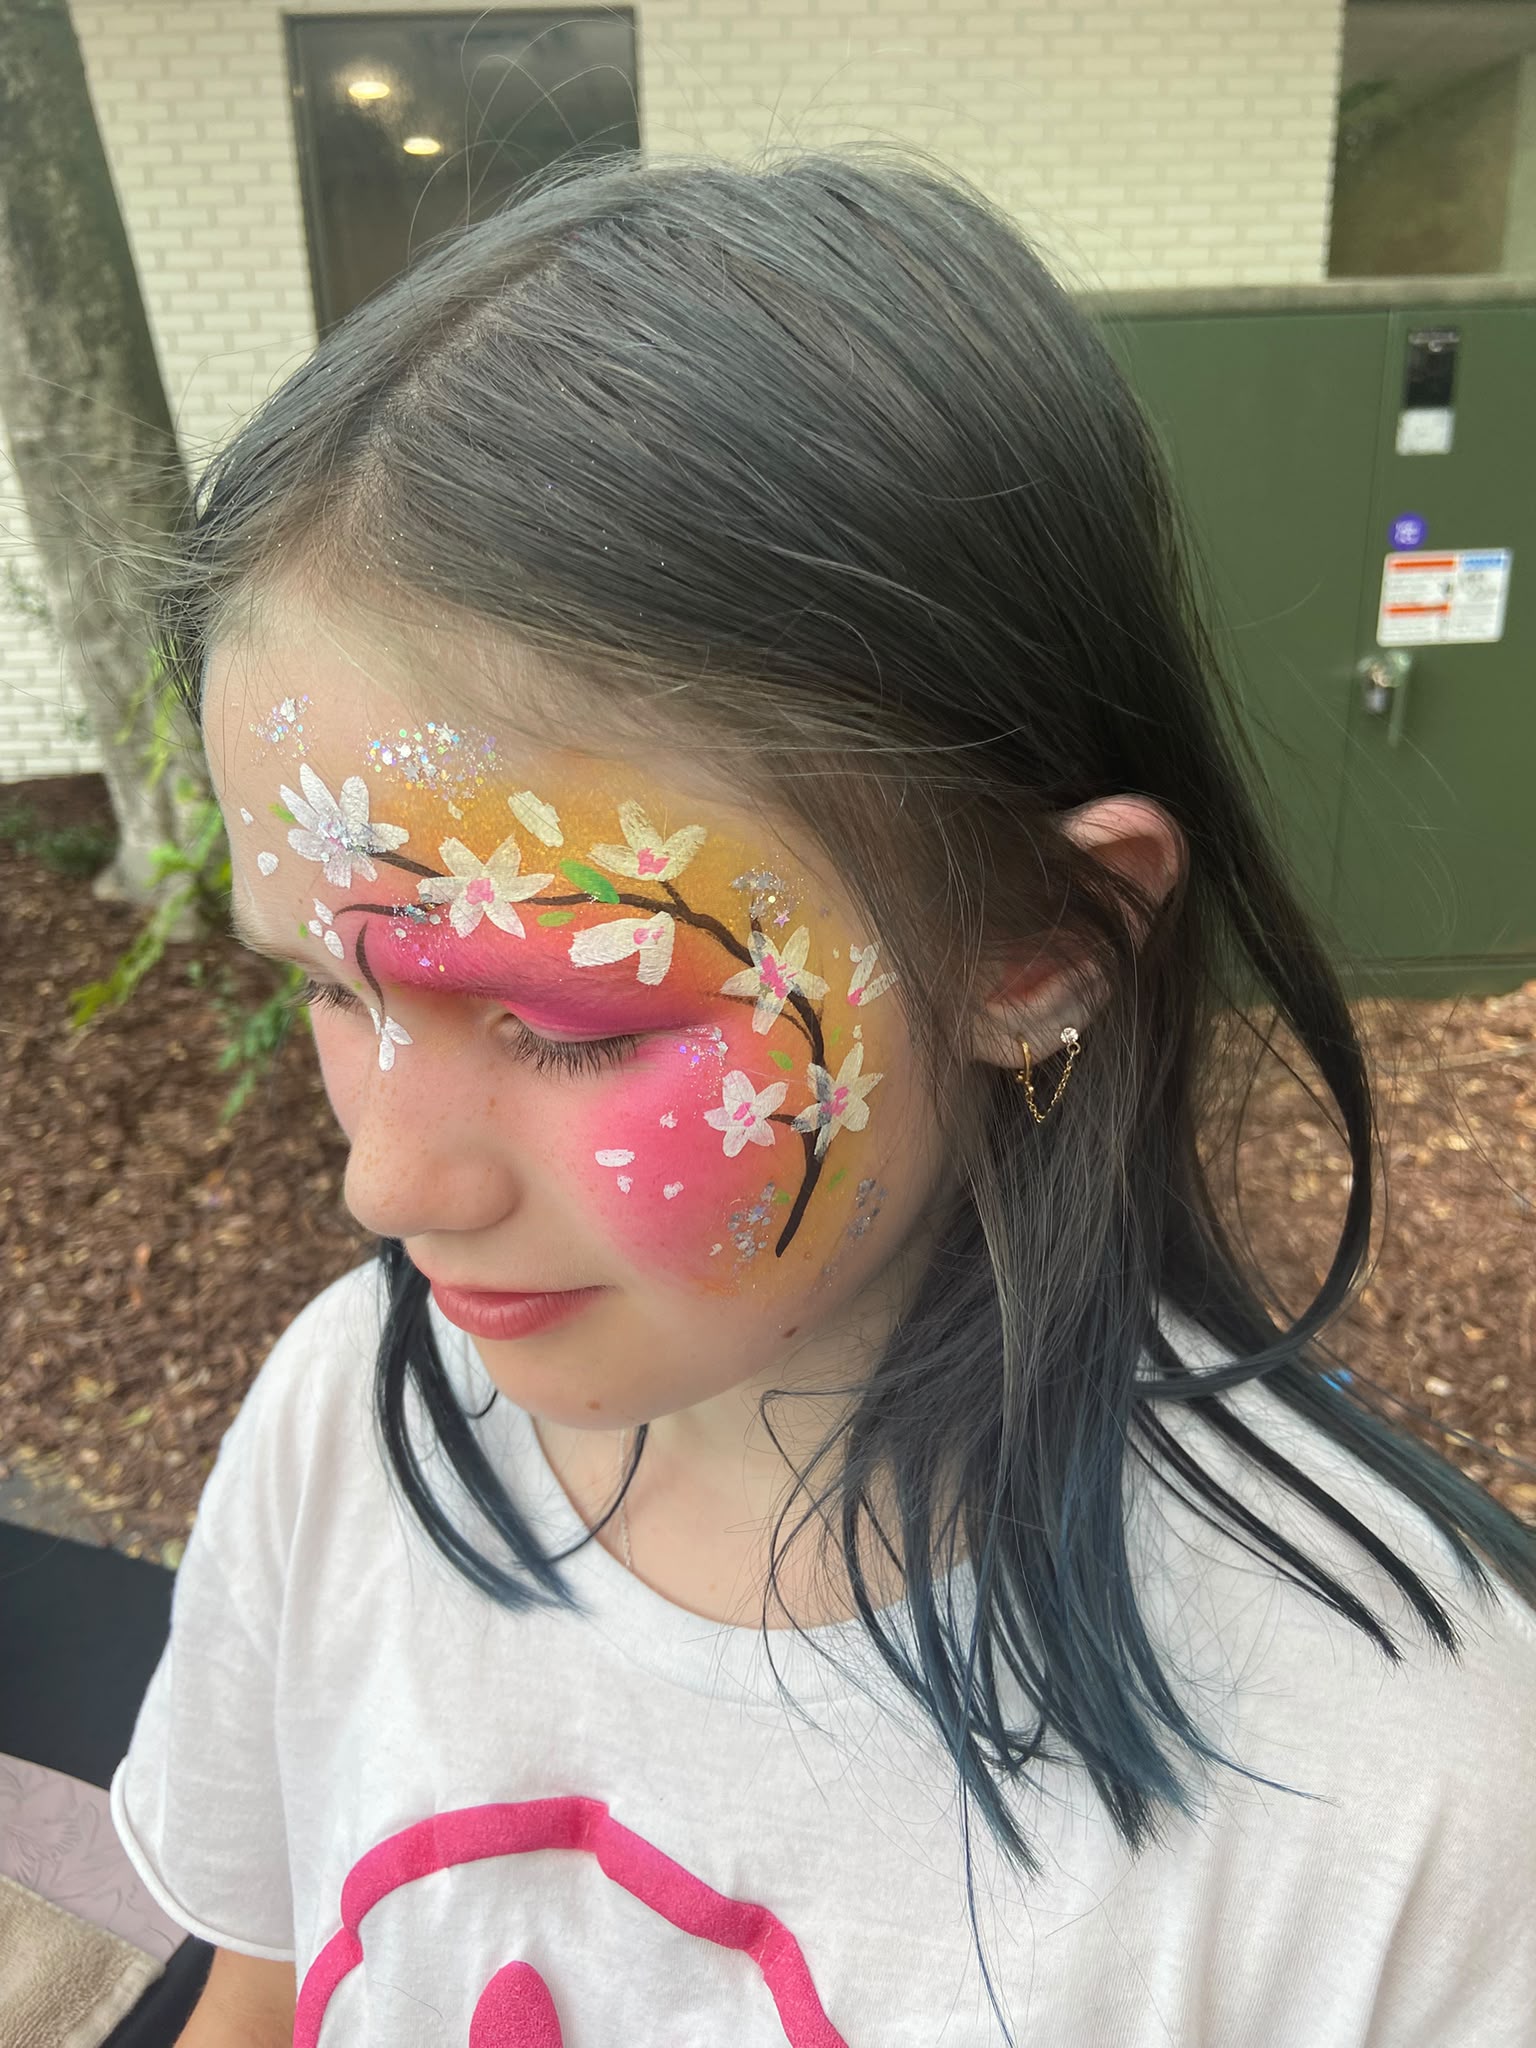
Cherry Blossom Face Paint Guide
A golden-pink sunset with delicate cherry blossom branches and shimmer glitter.