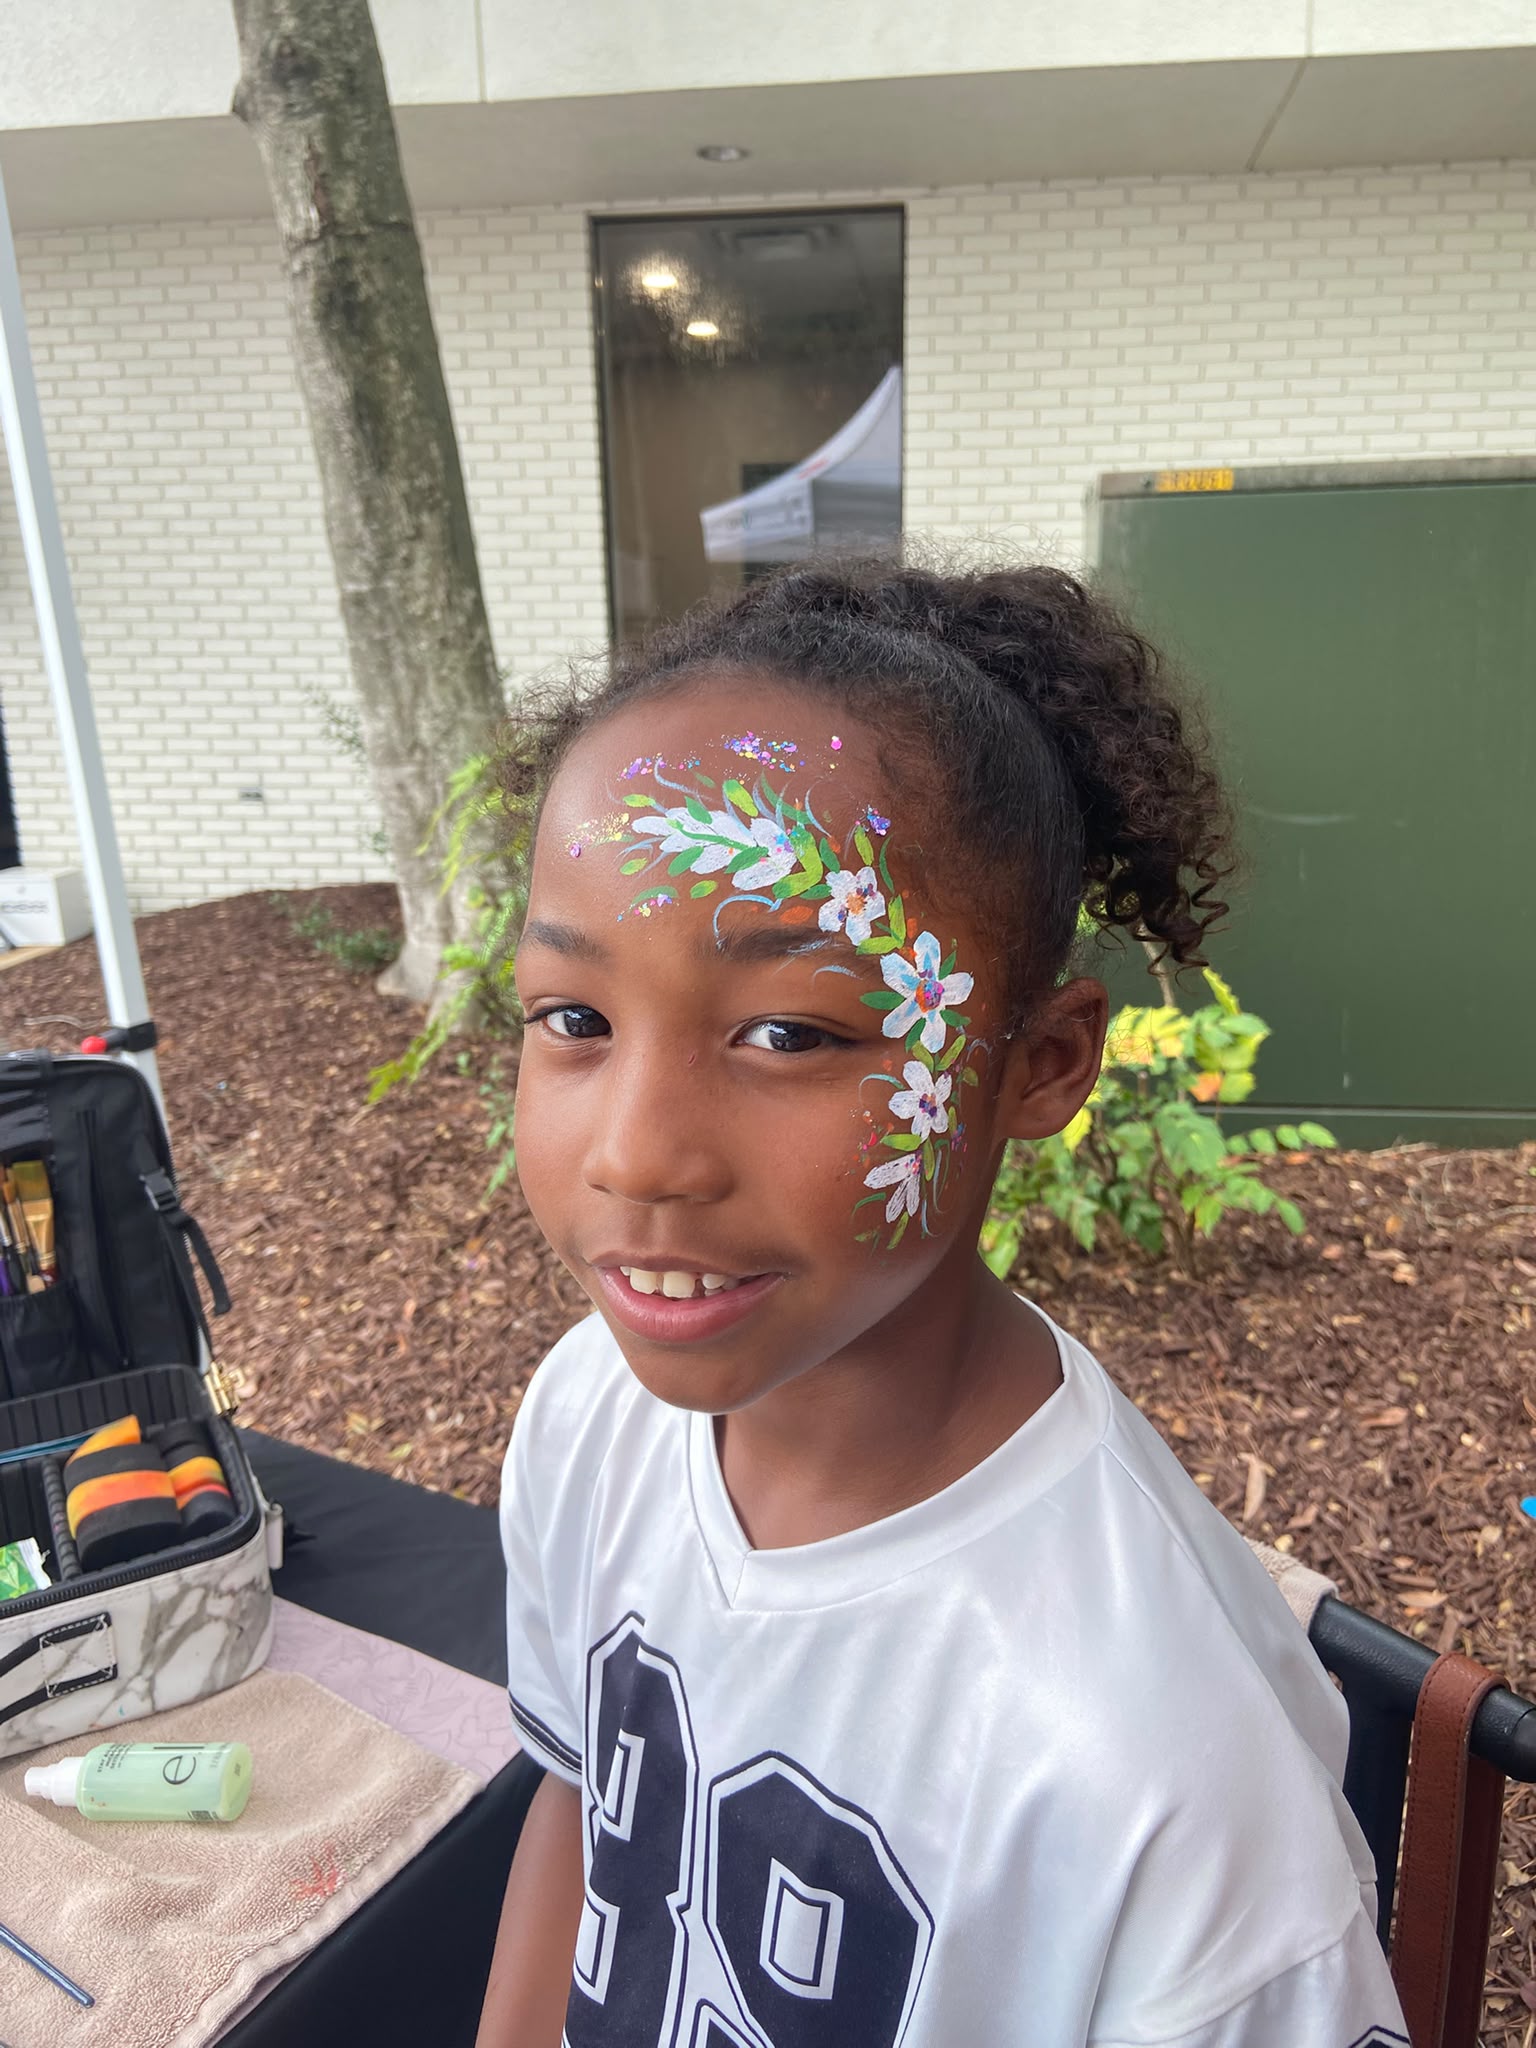
Floral Vines Face Paint Guide
Delicate blooms and sweeping vines for an enchanted garden look.
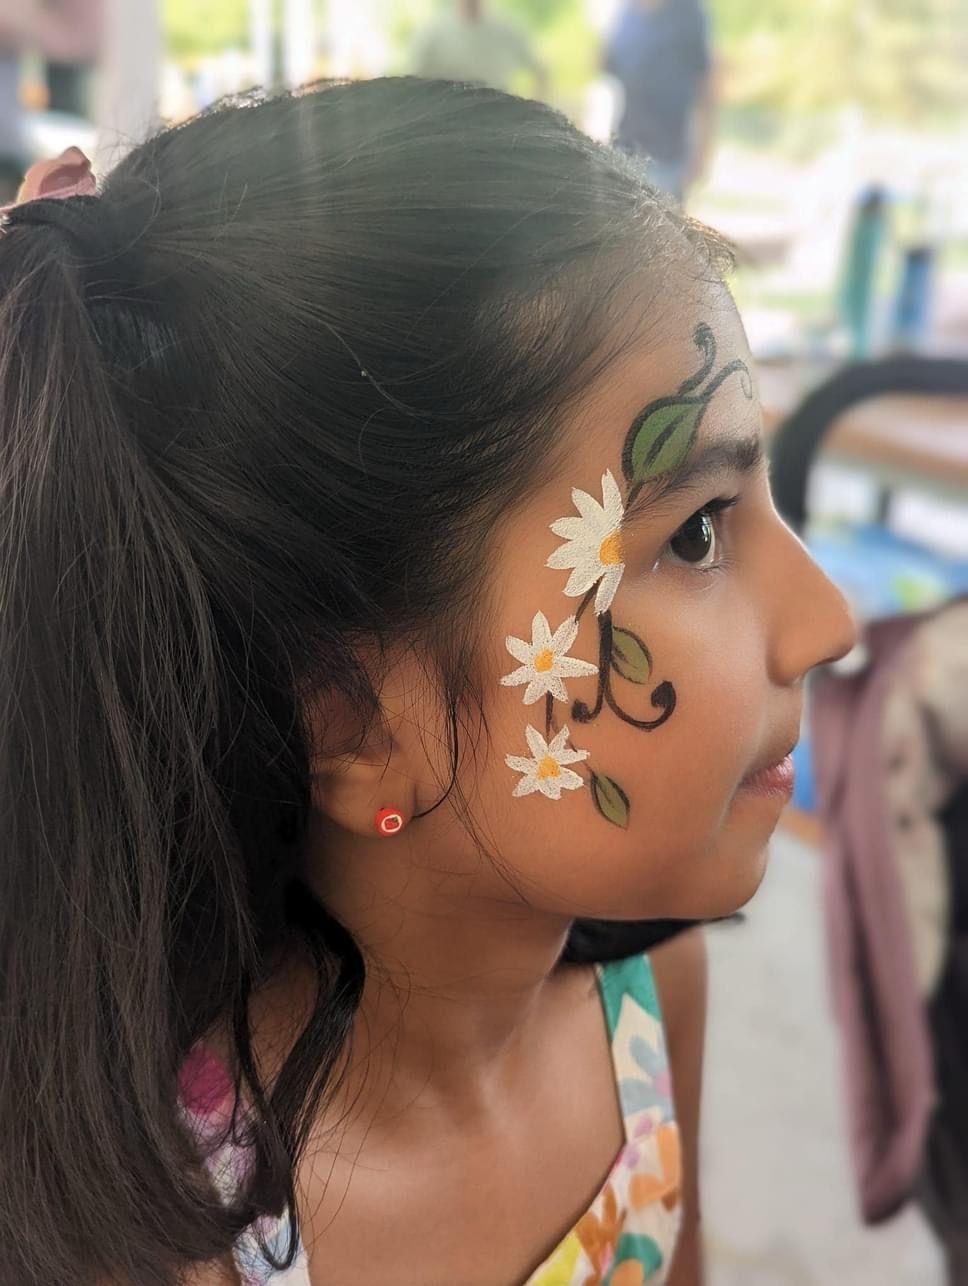
This guide focuses on creating the classic white daisy and vine look — one of our most photographed designs at events across the Triangle. The secret to making it look professional is mastering the "push-pull" petal stroke and using fluid, natural-looking vine curves rather than stiff straight lines. The result is a design that genuinely looks like a botanical illustration painted right on the face.
Why is this design so popular?
The floral vines design is one of the most elegant options in face painting. It looks breathtakingly beautiful in photos and feels timeless — working equally well at a 5-year-old's birthday, a garden party, or a summer music festival. The design is also highly adaptable: simple white daisies work for toddlers, while intricate cherry blossom branches on a sunset gradient suit older kids and adults.
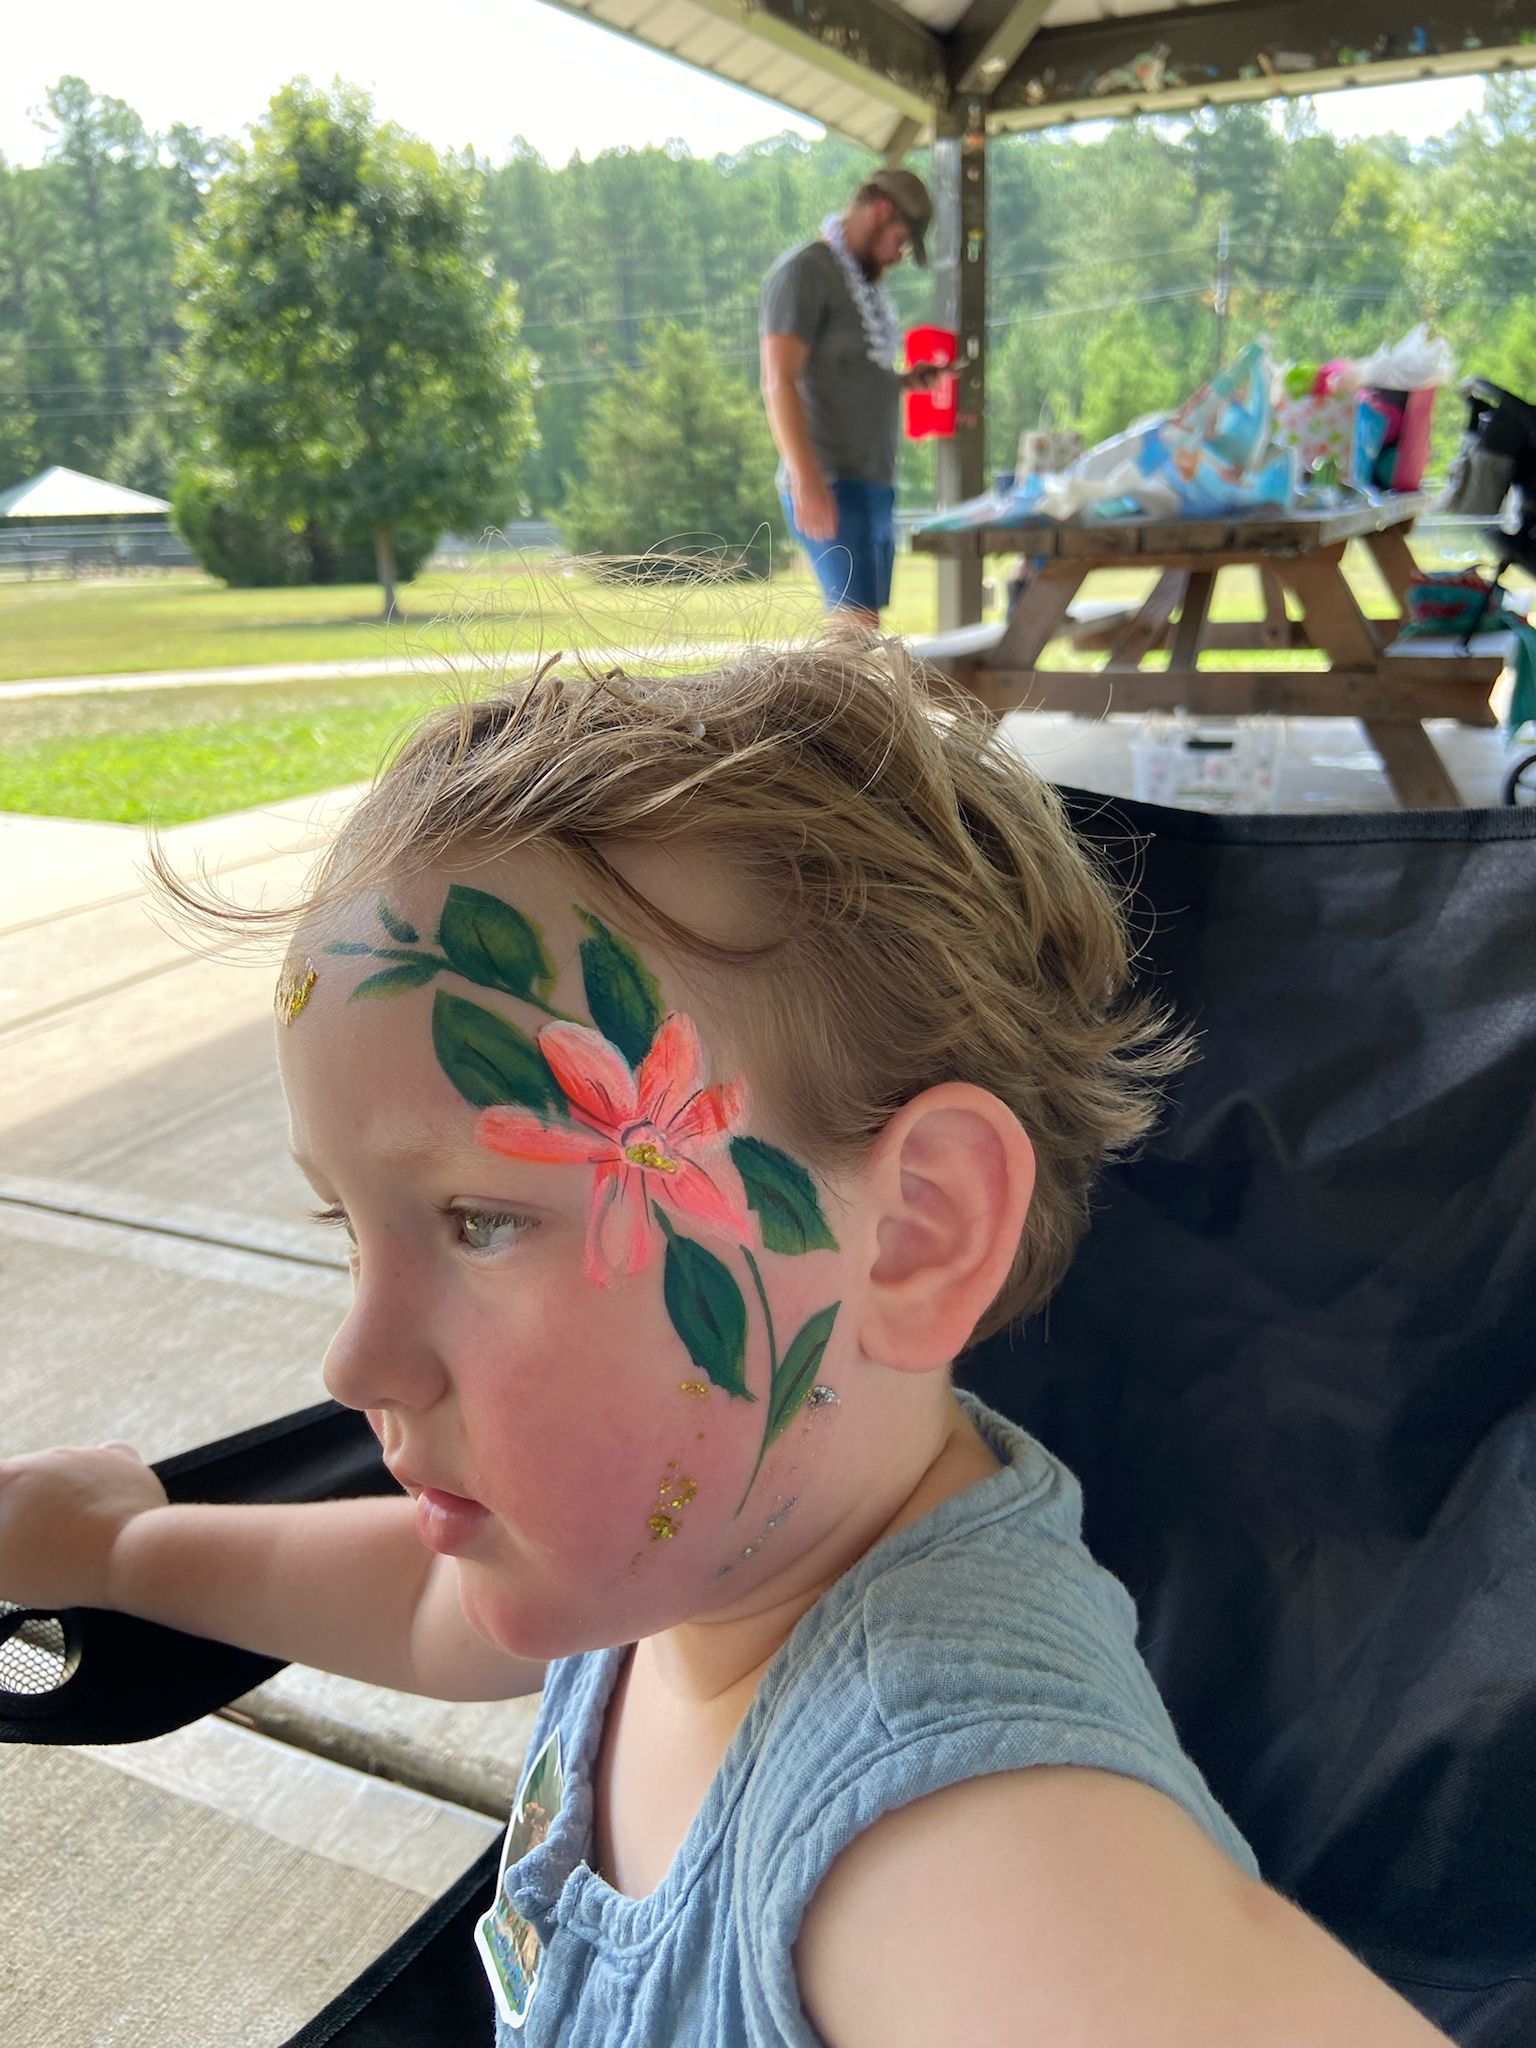
Real Portfolio Examples
Step-by-Step Instructions
Map the Vine Path
Before you touch a brush to the face, visually plan the vine's route. The most flattering path starts at the temple, sweeps across the forehead and/or down the cheekbone. Use a very light pencil stroke or simply trace with a barely-loaded brush to establish the curve.
Paint the Main Vine
Load your fine detail brush with dark brown or black paint. Paint the main vine as a single fluid stroke — think of it like a cursive letter that flows naturally. The vine should have gentle curves and taper at the ends. Keep your hand relaxed; a tense grip creates wobbly lines.
Add Branch Vines
From the main vine, paint smaller branching tendrils using your fine brush. These should be shorter, thinner, and curl slightly at the tips. Work outward from the main vine, adding 4–6 branches at varied angles. Leave space where you will paint leaves and flowers.
Stroke in the Leaves
Load your flat #6 brush with forest green. Using a single pull-and-lift stroke, create pointed oval leaves along the vine branches. Press the brush down firmly at the start, pull toward the tip, and lift off — this creates the natural teardrop leaf shape in one motion. Add 2–3 leaves per branch.
Paint the Daisy Petals
Load a round #4 brush generously with white. Paint each petal with a single press-pull-lift stroke, working around a central point. For a classic daisy, paint 8–10 petals, all meeting at the center. Keep petals roughly the same length. Don't try to be perfectly symmetrical — real flowers aren't.
Add the Flower Centers
Using your round brush and golden yellow, fill the center of each daisy with a small, confident circle. While still slightly wet, add a single dot of orange or brown in the very center for depth. This tiny detail makes the flowers look three-dimensional.
Outline and Refine
With your fine brush and black paint, lightly outline the outside edge of each petal and the leaf shapes. These outlines should be very thin and loose — you're not coloring in a coloring book, you're adding definition. Skip outlining every petal; just focus on the outermost edges.
Add White Highlights and Glitter
Using crisp white and the fine brush, add a small highlight dot to each flower center and a thin highlight line along the top edge of the main vine. Finally, dab a small amount of glitter gel onto the flower centers for a magical finishing touch.
Common Mistakes to Avoid
✕ Stiff, Ruler-Straight Vines
Nature is never perfectly straight. If your vine looks like a painted line rather than a growing plant, practice your vine stroke on the back of your hand until it flows naturally with a relaxed wrist.
✕ Petals All the Same Size
Real flower petals vary slightly in length and angle. Vary your petal strokes to keep the design feeling organic. A too-uniform flower looks stamped, not painted.
✕ Heavy Black Outlines
Overuse of black outlines kills the delicate feeling of a floral design. Use them only for the leaf edges and the outermost petals, and keep lines hair-thin.
Professional Tips
🌿 One-Stroke Leaves
Load your flat brush with two greens simultaneously (dark green at the tip, yellow-green at the heel). A single stroke creates a perfectly shaded, realistic leaf with no blending needed.
✨ Glitter Placement
Apply cosmetic glitter gel only to the flower centers and not the entire design. Focused sparkle is far more effective than an overall glitter coating.
⚡ Speed Version
For large event queues, simplify to just 3 daisies on the cheek with a short curving vine. This takes under 3 minutes and still looks stunning.
Design Variations
- Cherry Blossom Branch Use a pink-gradient background sponge and replace the daisies with multi-petaled pink cherry blossoms on bare-looking dark branches for a Japanese art aesthetic.
- Tropical Hibiscus Swap white daisies for a single large pink or orange hibiscus flower with a prominent stamen. Add tropical dark green leaves for a summer island vibe.
Safety & Skin Care
- Always use professional, water-activated face paints — not acrylic or craft paint.
- Test cosmetic glitter gel on the wrist before applying near the eyes.
- Avoid the eye area on children under 5 who may rub their eyes.
Frequently Asked Questions
How long does a floral vines design last?
With professional water-activated paints, a floral vines design lasts 4–6 hours in normal conditions. Heat and sweating will reduce durability. A light setting spray (cosmetic grade) can help seal the design.
What's the most requested flower design for kids' parties?
White daisies on a vine are consistently the most requested at our NC events, especially for girls aged 4–10. Cherry blossoms are popular with older kids and teens.
Can I do this design quickly for a long queue?
Yes! A simplified version — 3 daisies on the cheek with a small vine — can be completed in 2–3 minutes. Practice the petal stroke until it's muscle memory and you'll be painting beautiful florals at speed.
Design Information
- Round brush #4 (for petals and vine strokes)
- Fine detail brush #1 (for leaf veins and thin vines)
- Flat brush #6 (for quick leaf strokes)
- Cosmetic-grade glitter gel
Available for parties across the Triangle.
Related Design Guides
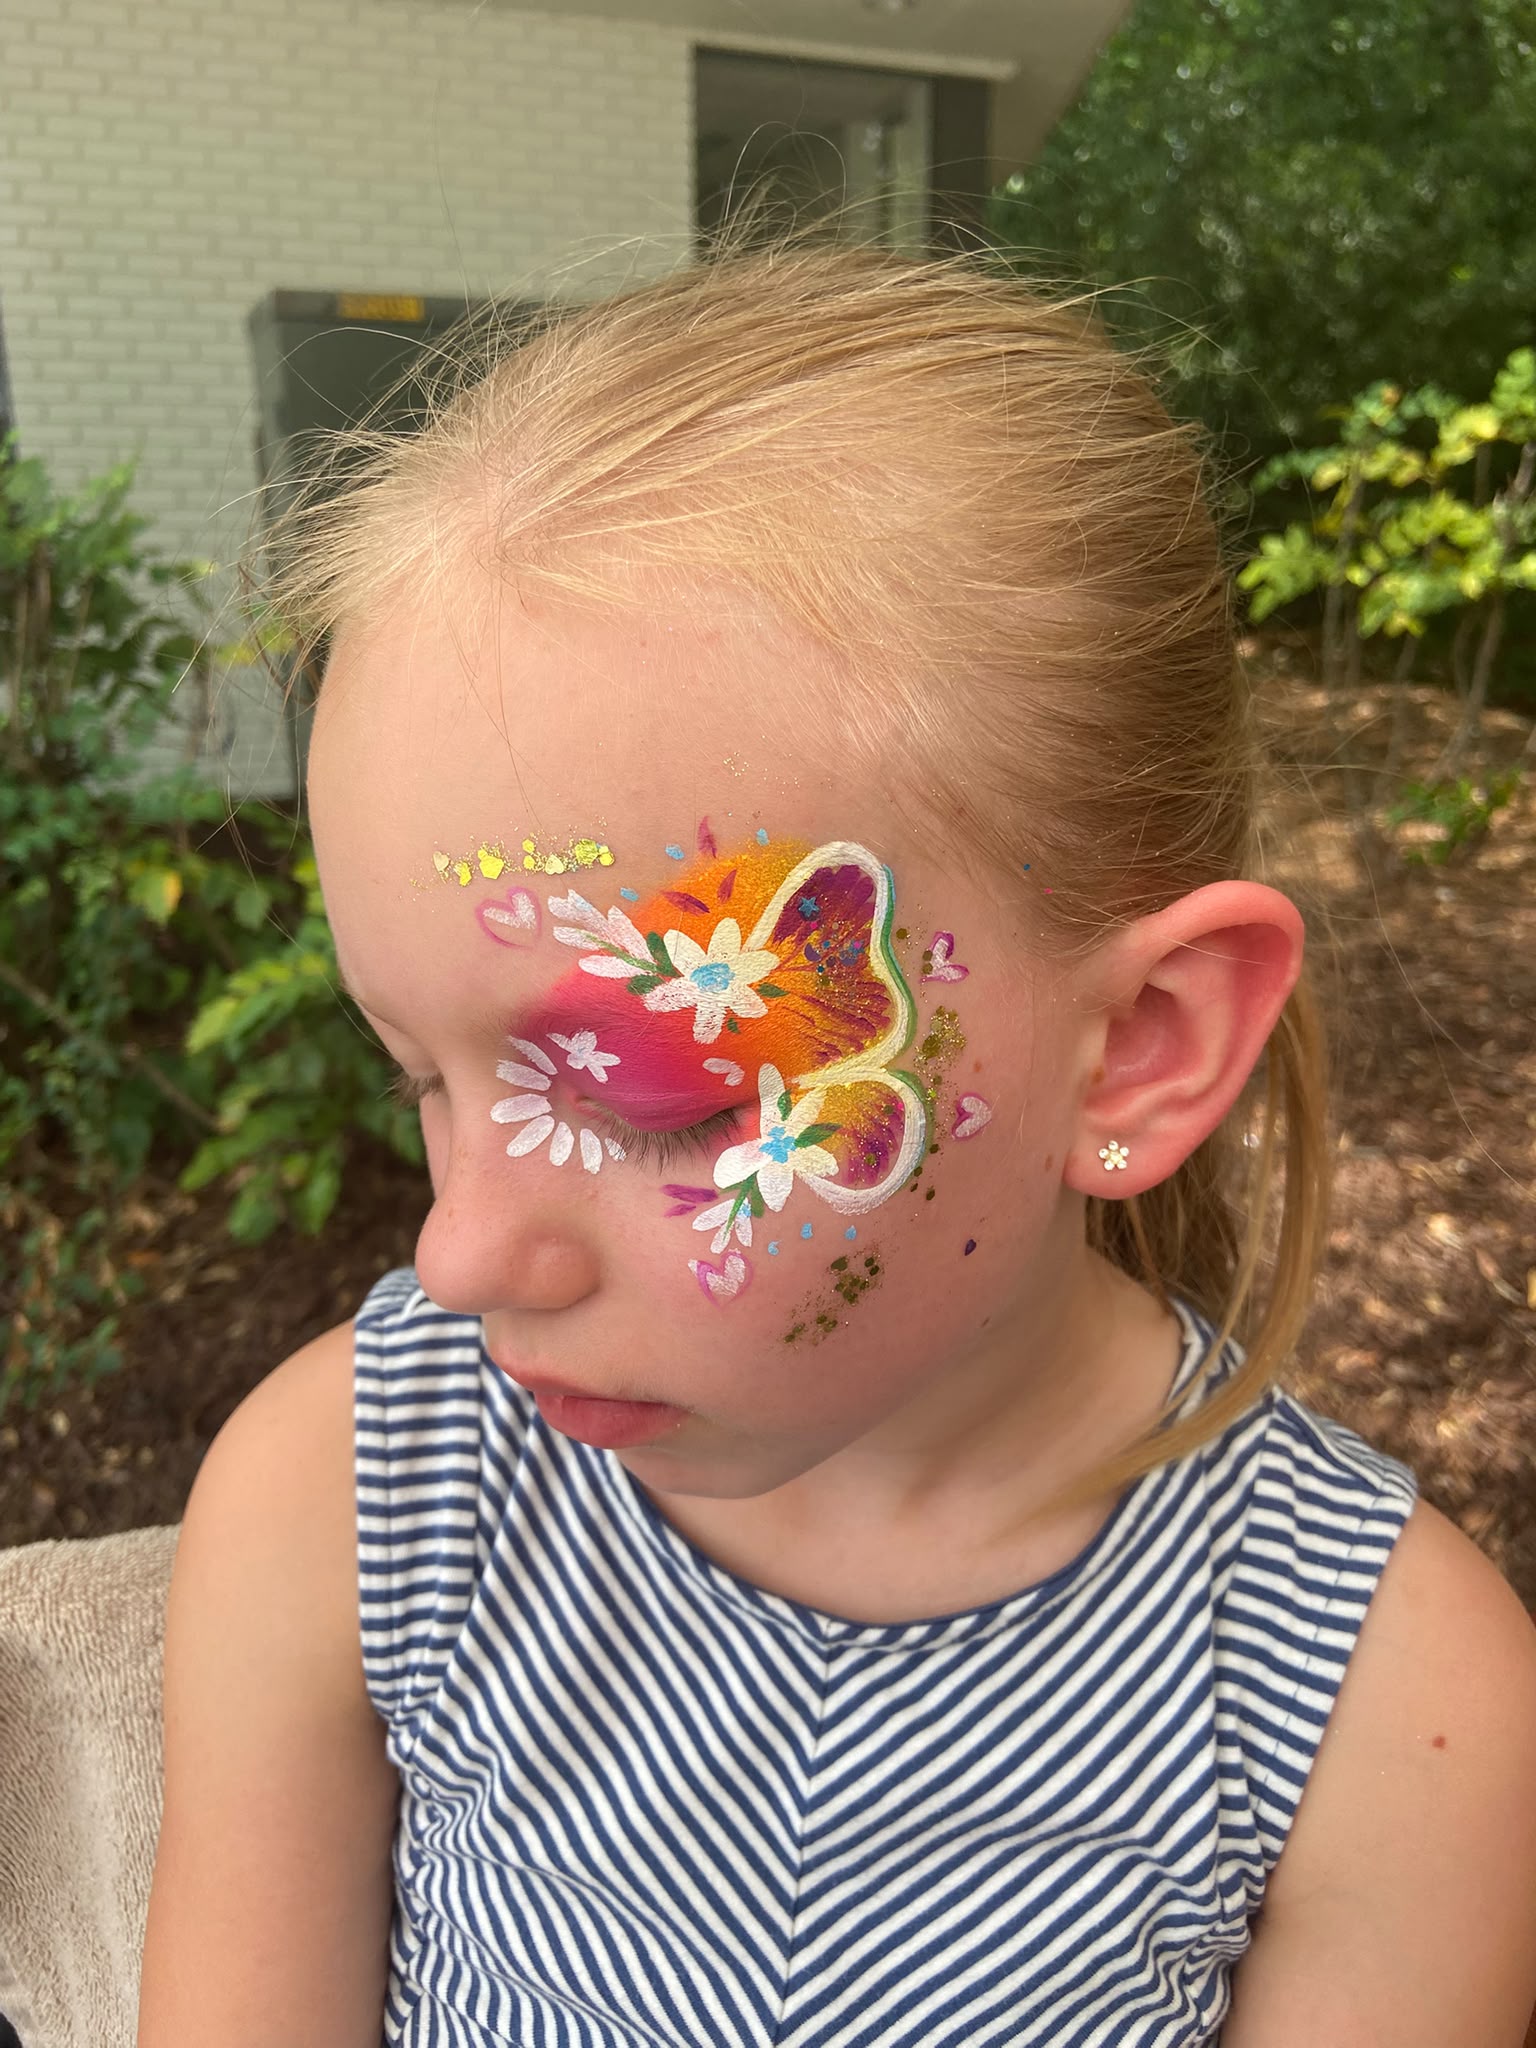
Butterfly Face Paint Guide
The most-requested design at every party — here's exactly how it's done.
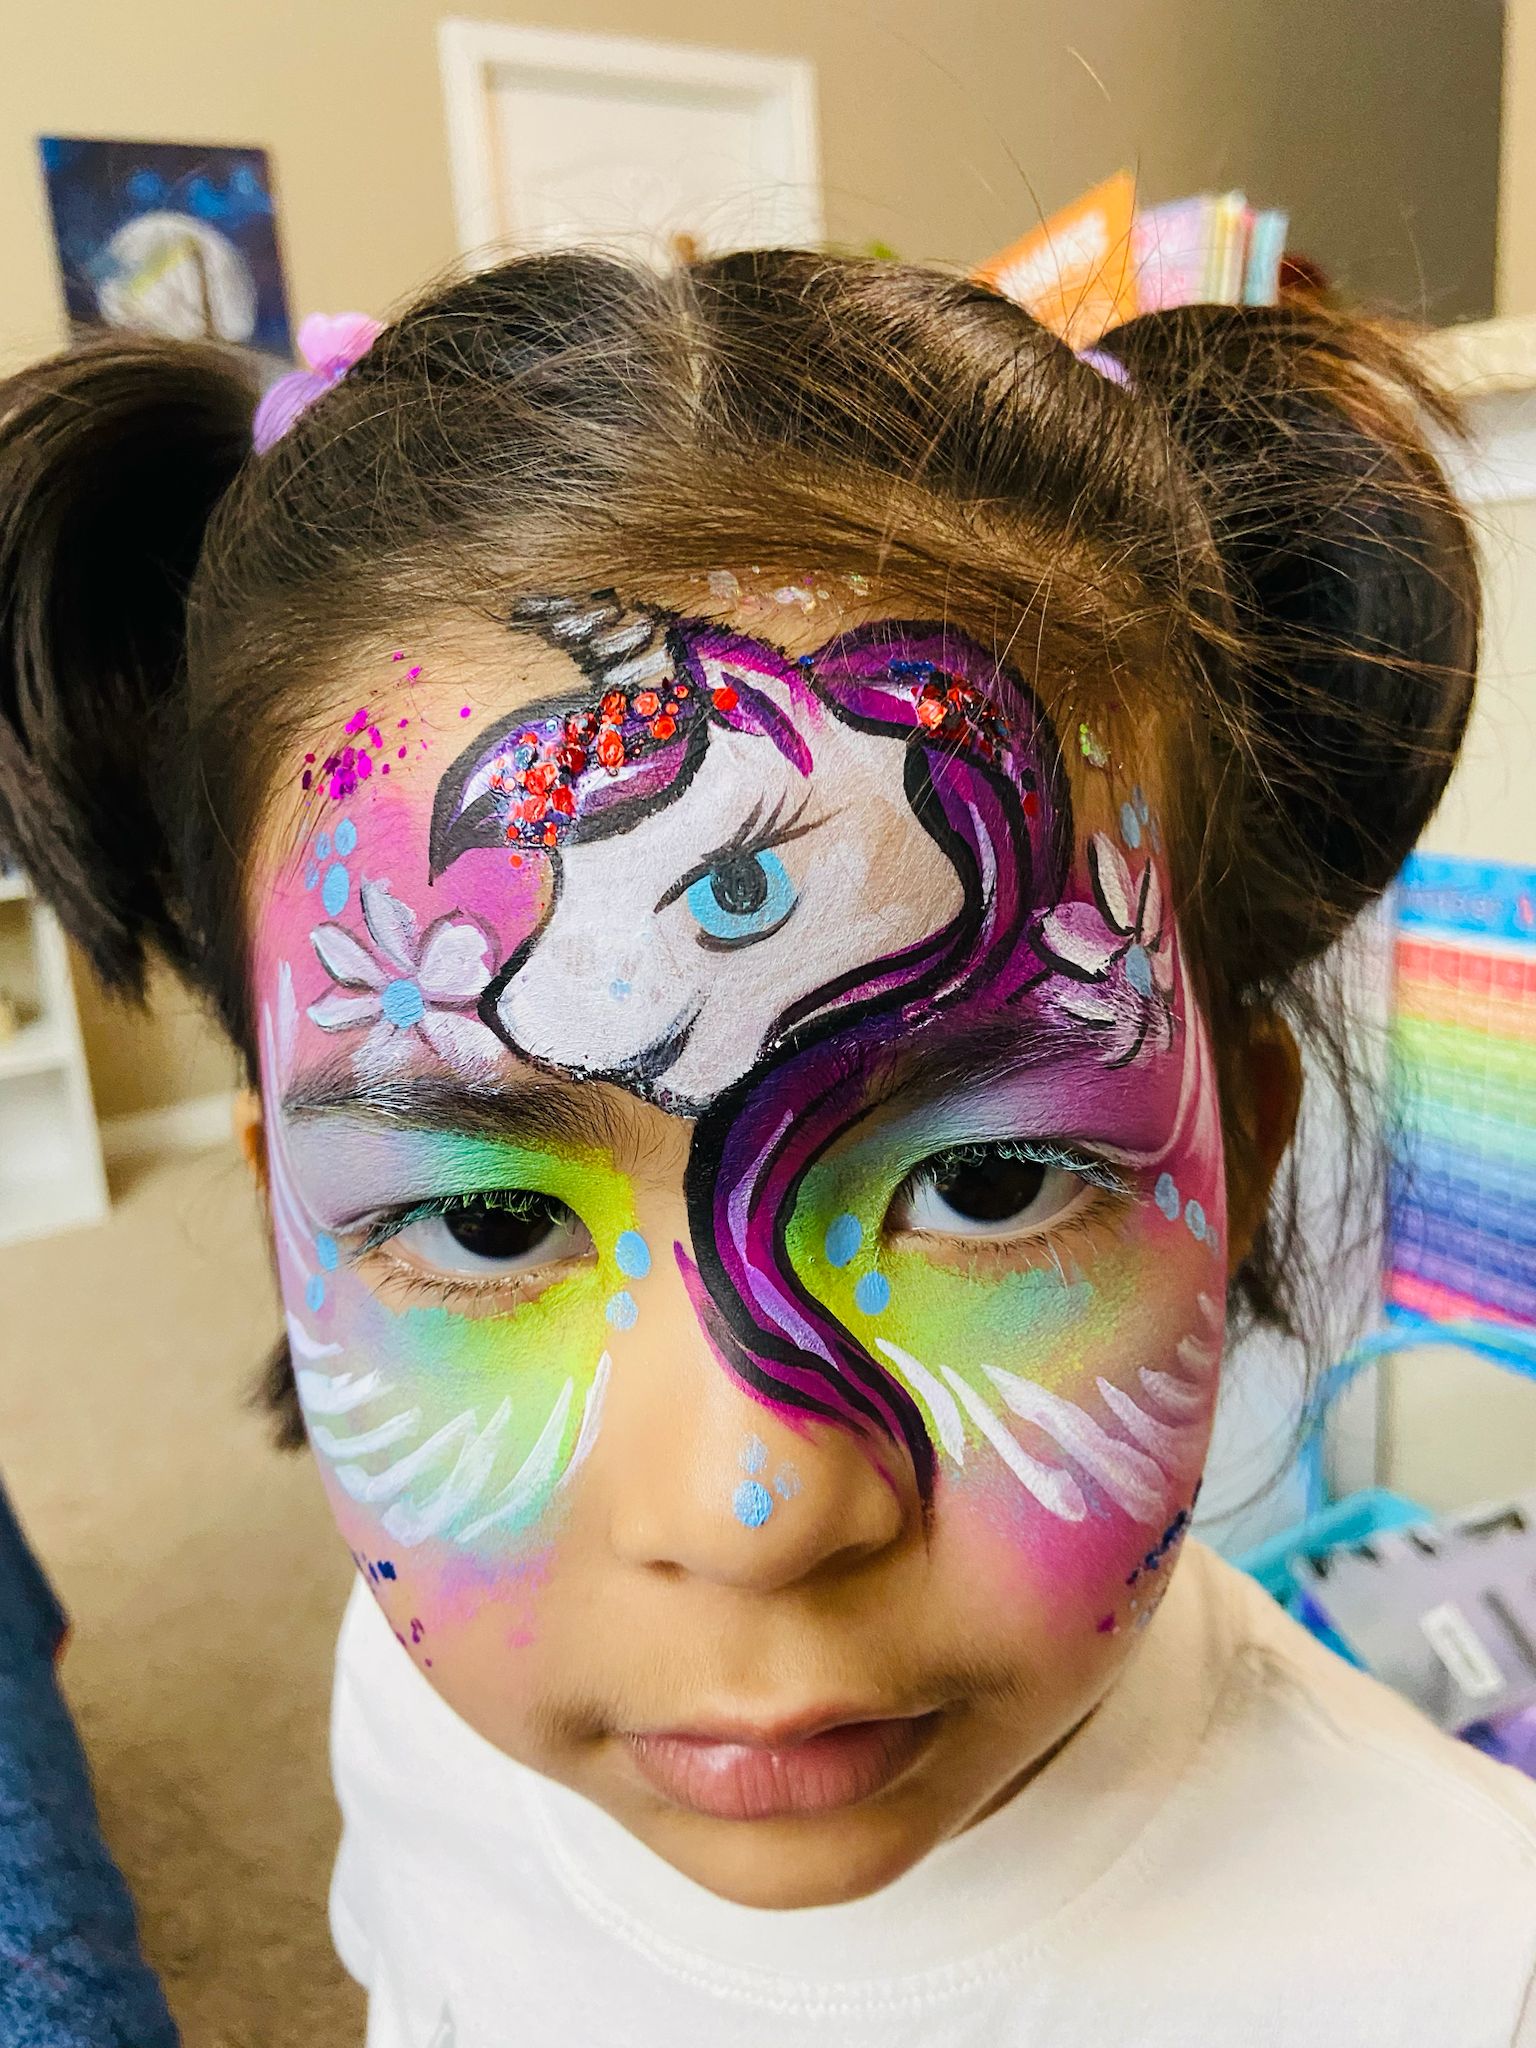
Unicorn Face Paint Guide
Sparkling horns, dreamy pastels, and rainbow shimmer — all in one magical design.
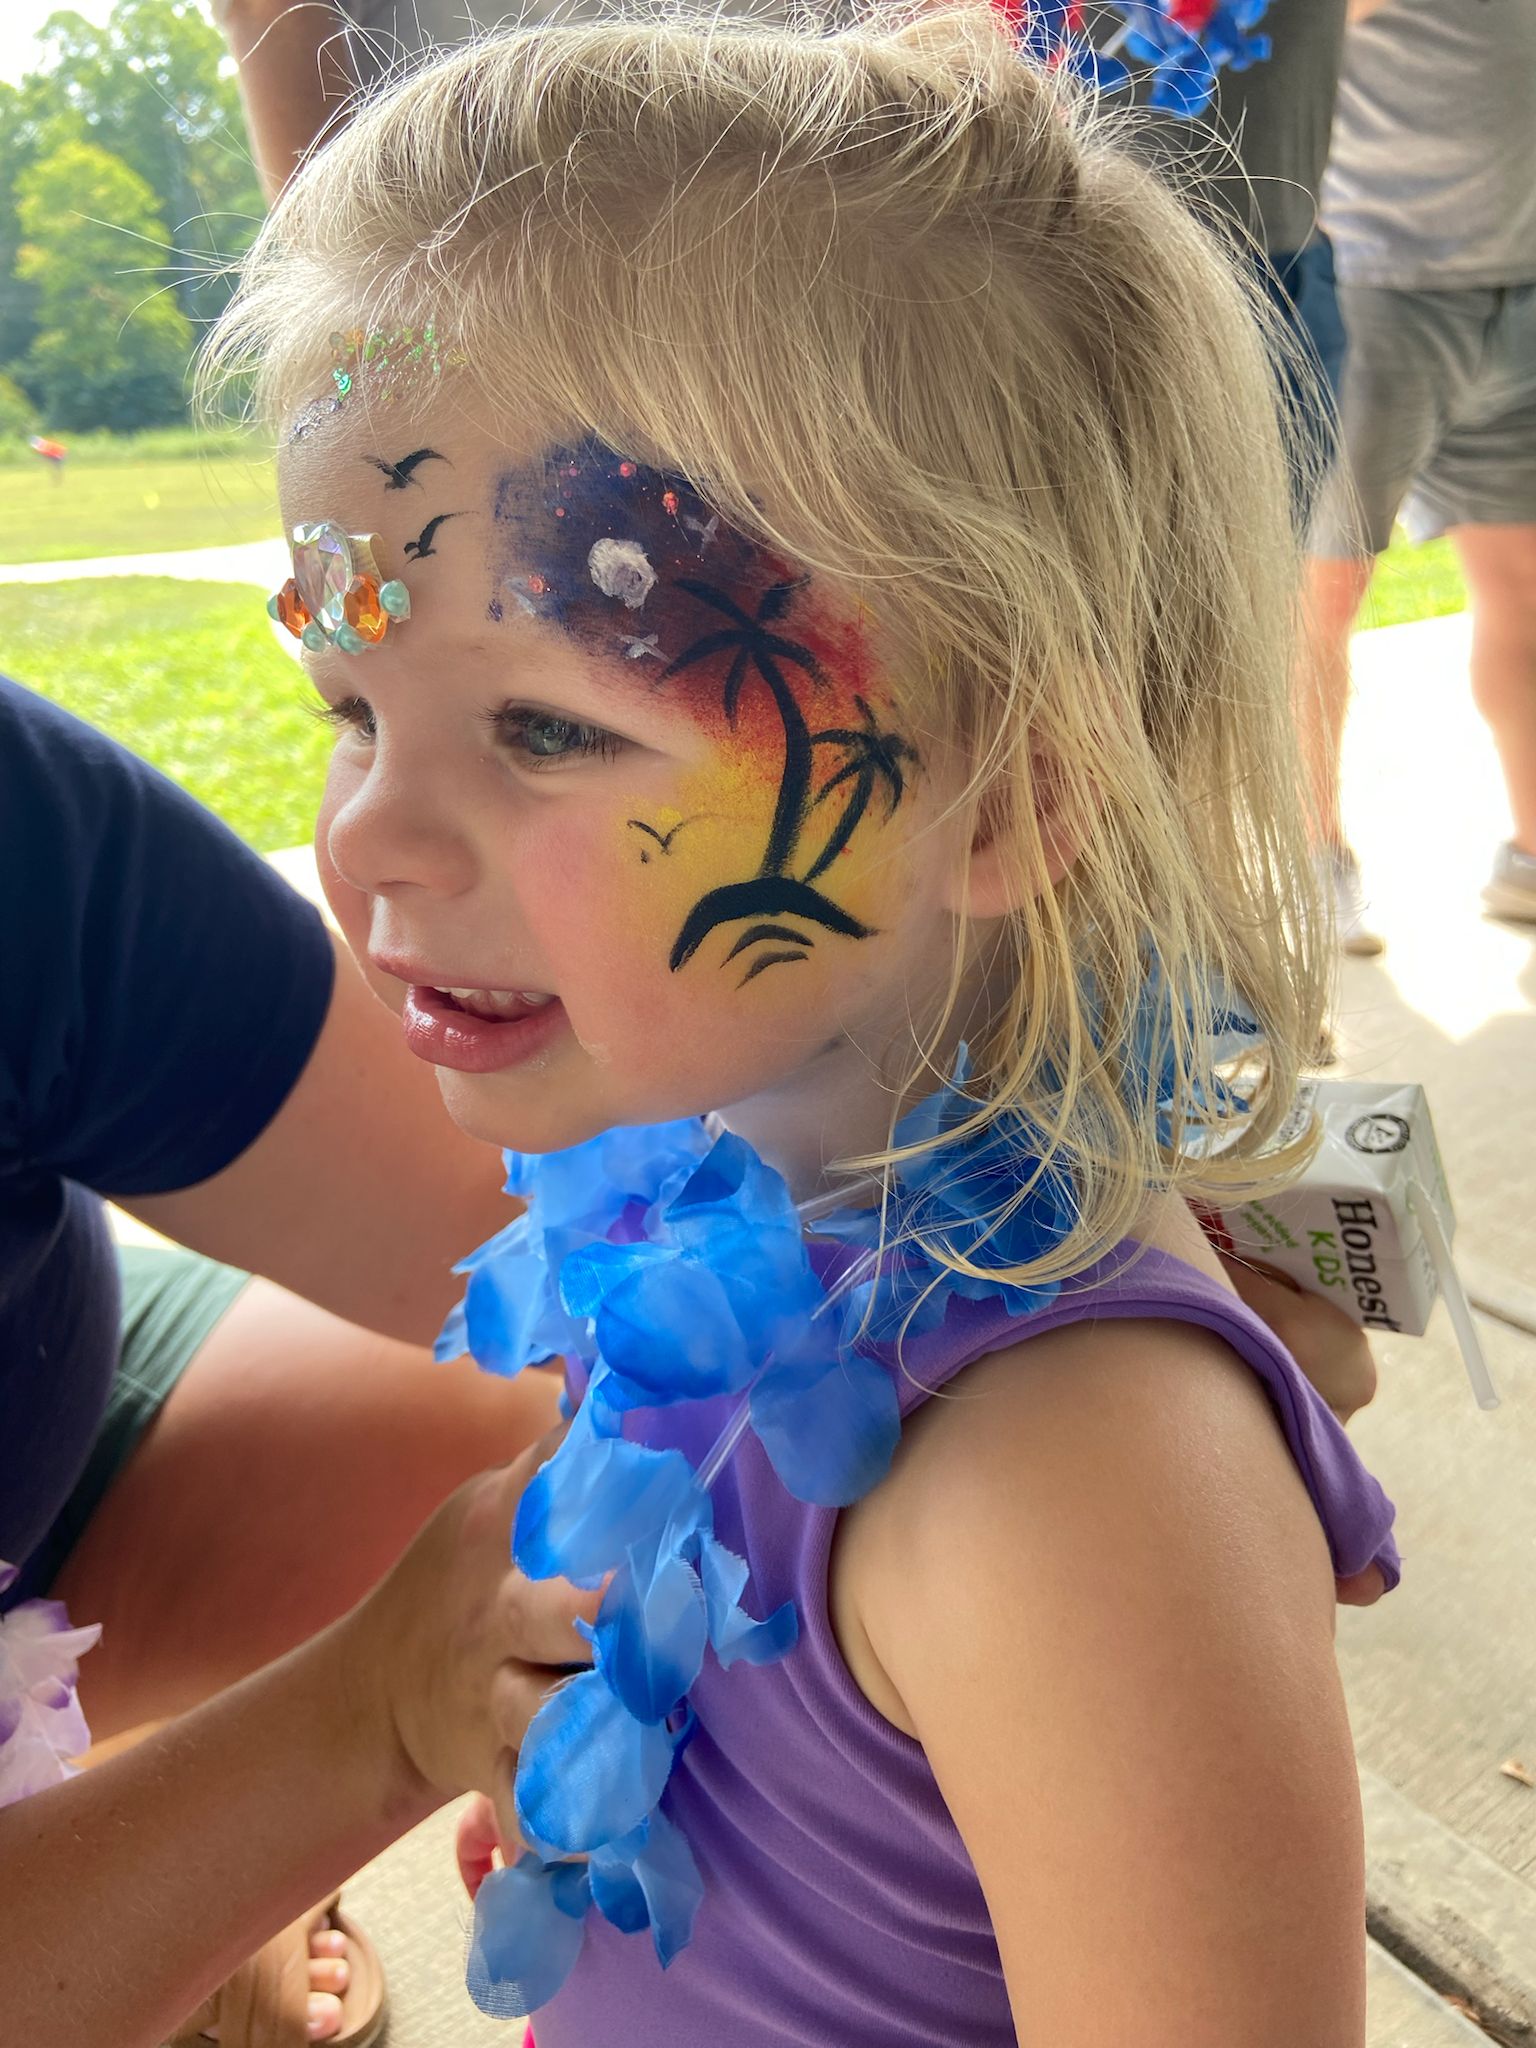
Tropical Sunset Face Paint Guide
A golden beach sunset with palm trees, flying birds, and sparkling gems.