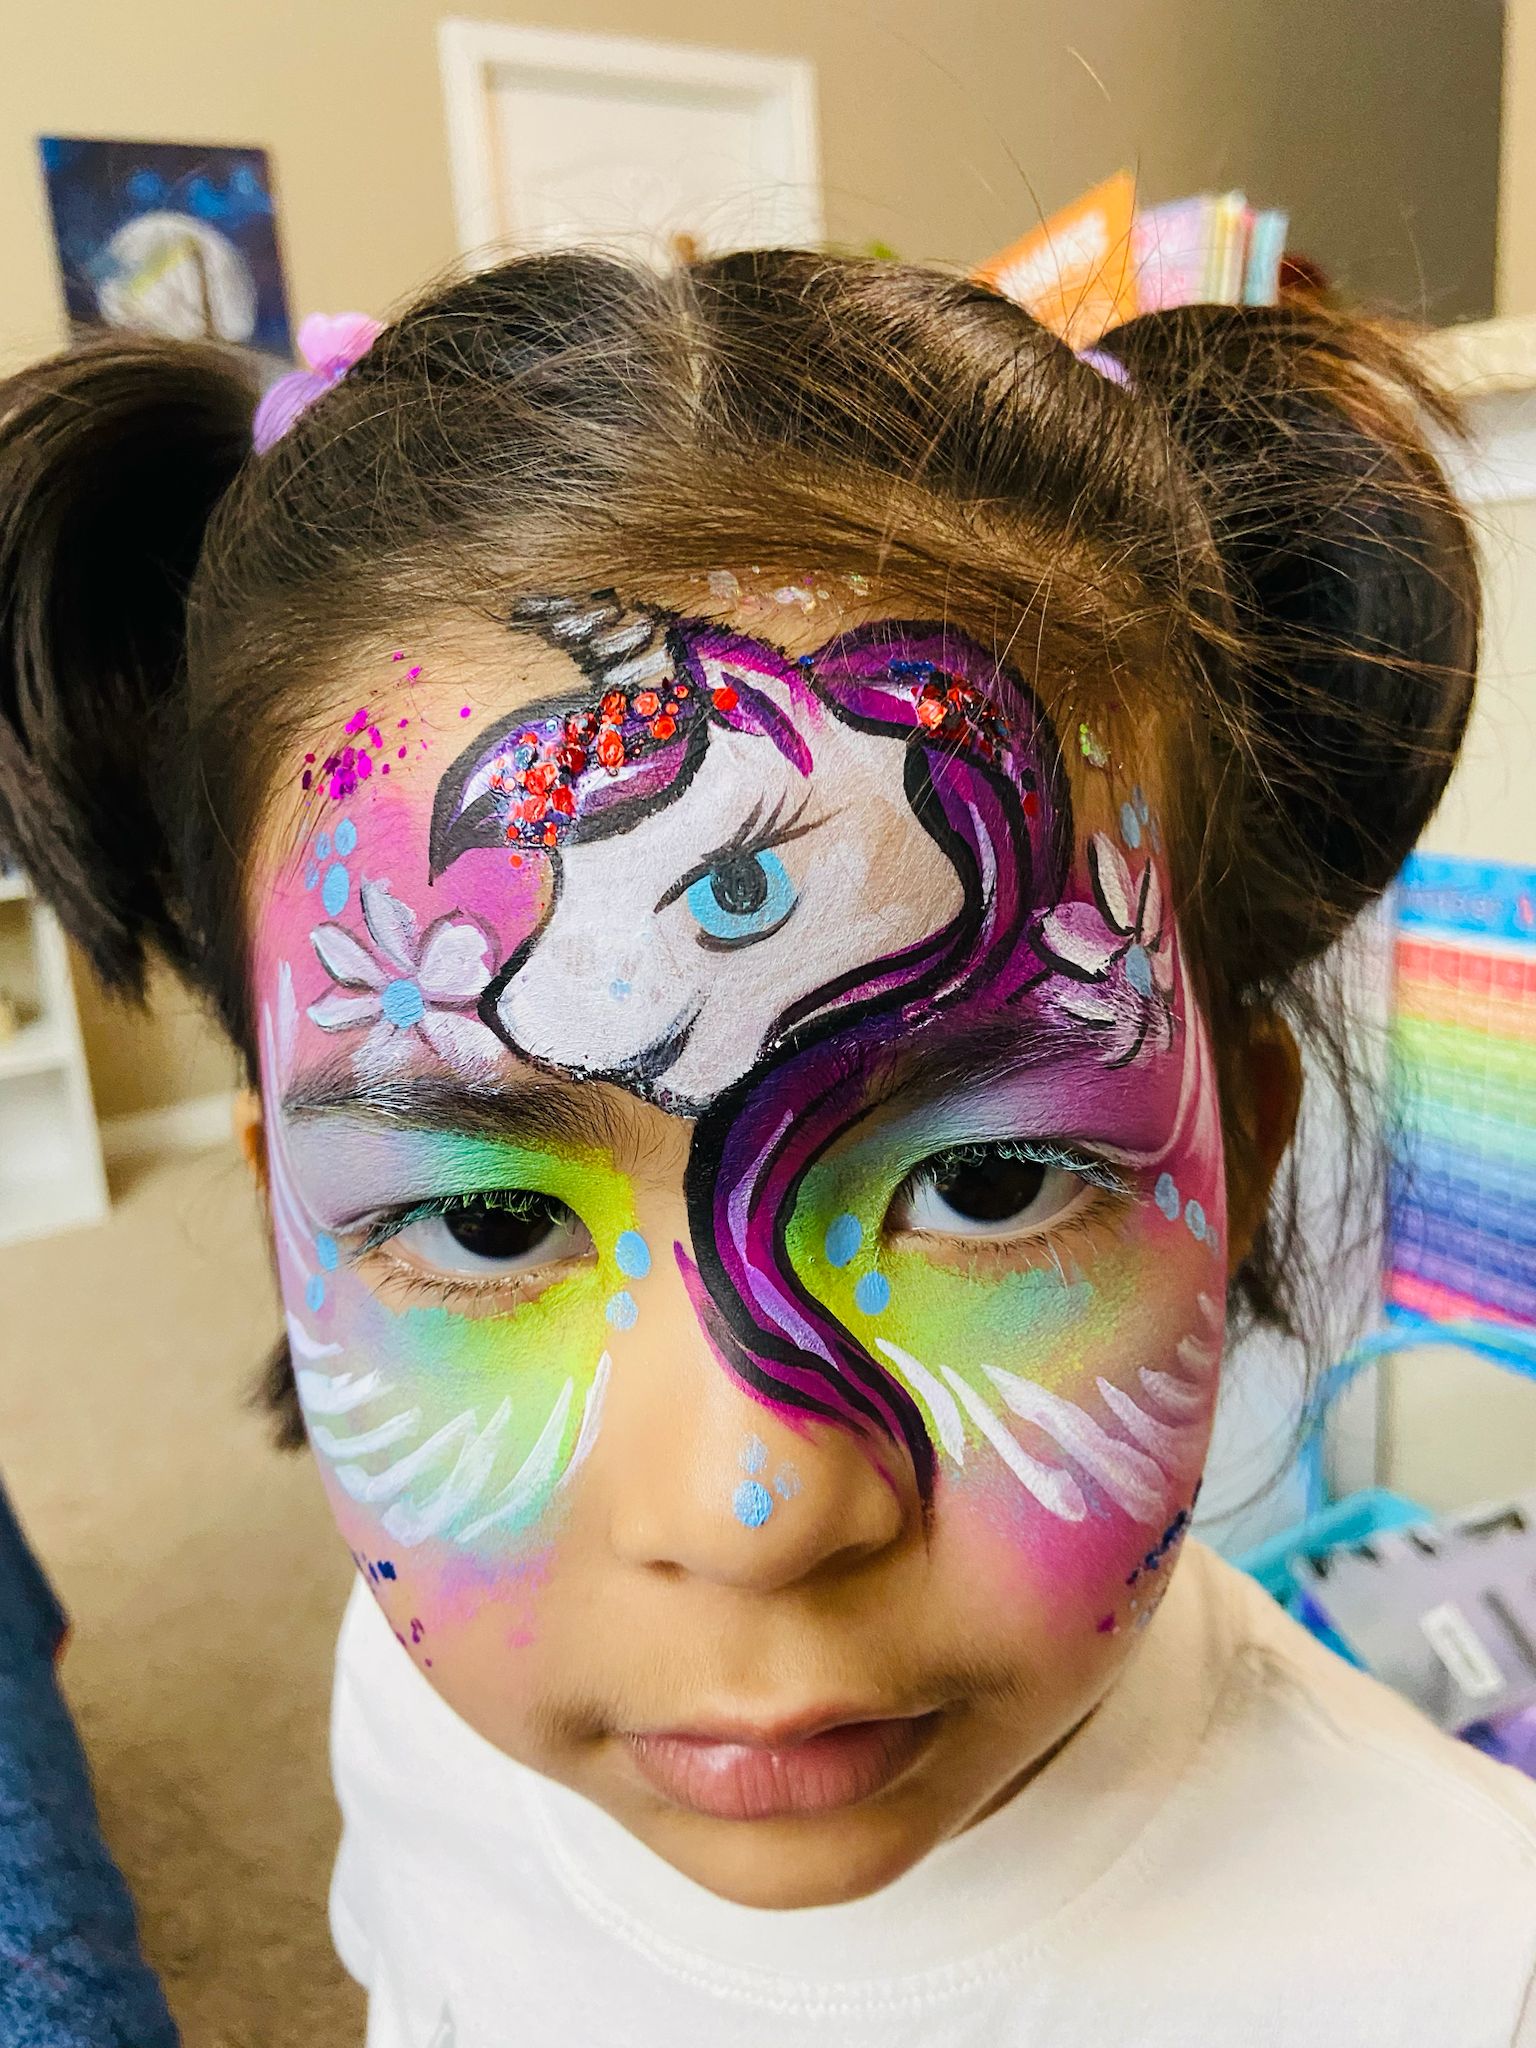
Unicorn Face Paint Guide
Sparkling horns, dreamy pastels, and rainbow shimmer — all in one magical design.
Painting a unicorn might seem intimidating because of the focal point—the horn—and the sweeping rainbow mane. However, breaking the design down into simple steps makes it manageable and fun. This guide covers the essential techniques, including how to create a 3D horn effect, how to use a split cake for a fast rainbow mane, and where to place your stars for maximum sparkle.
Why is this design so popular?
The unicorn is a timeless favorite because it combines two things kids love most: magic and rainbows. A well-executed unicorn design transforms the face, placing a majestic horn right in the center of the forehead, surrounded by vibrant, sweeping colors. It's a highly requested design that every professional painter needs to master.
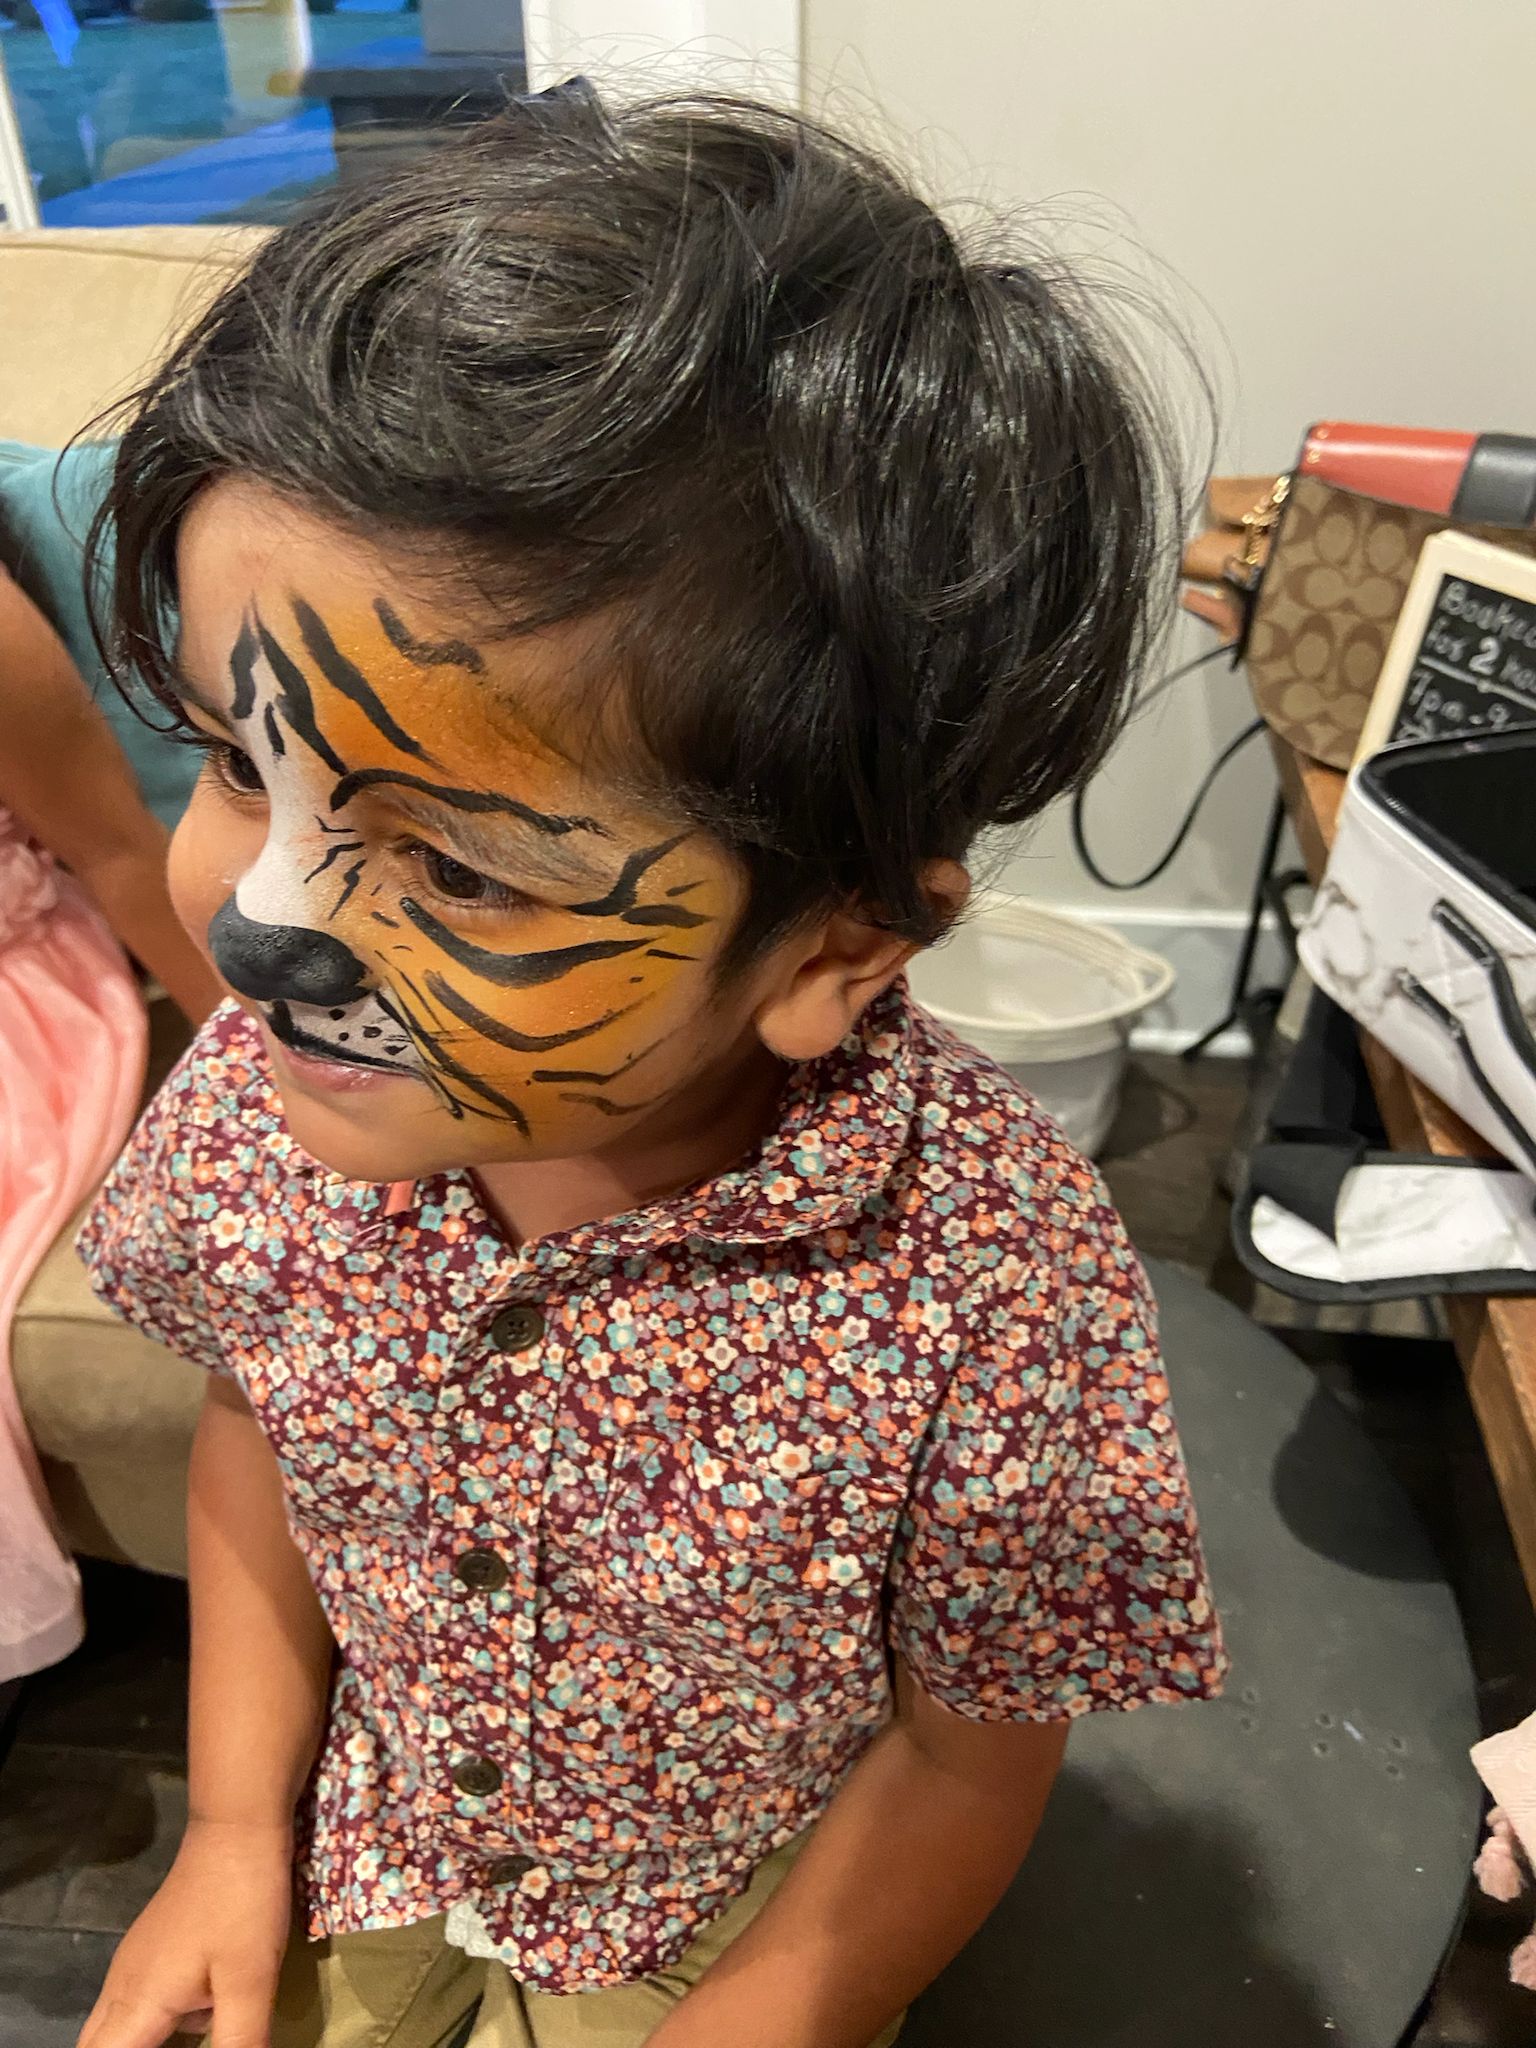
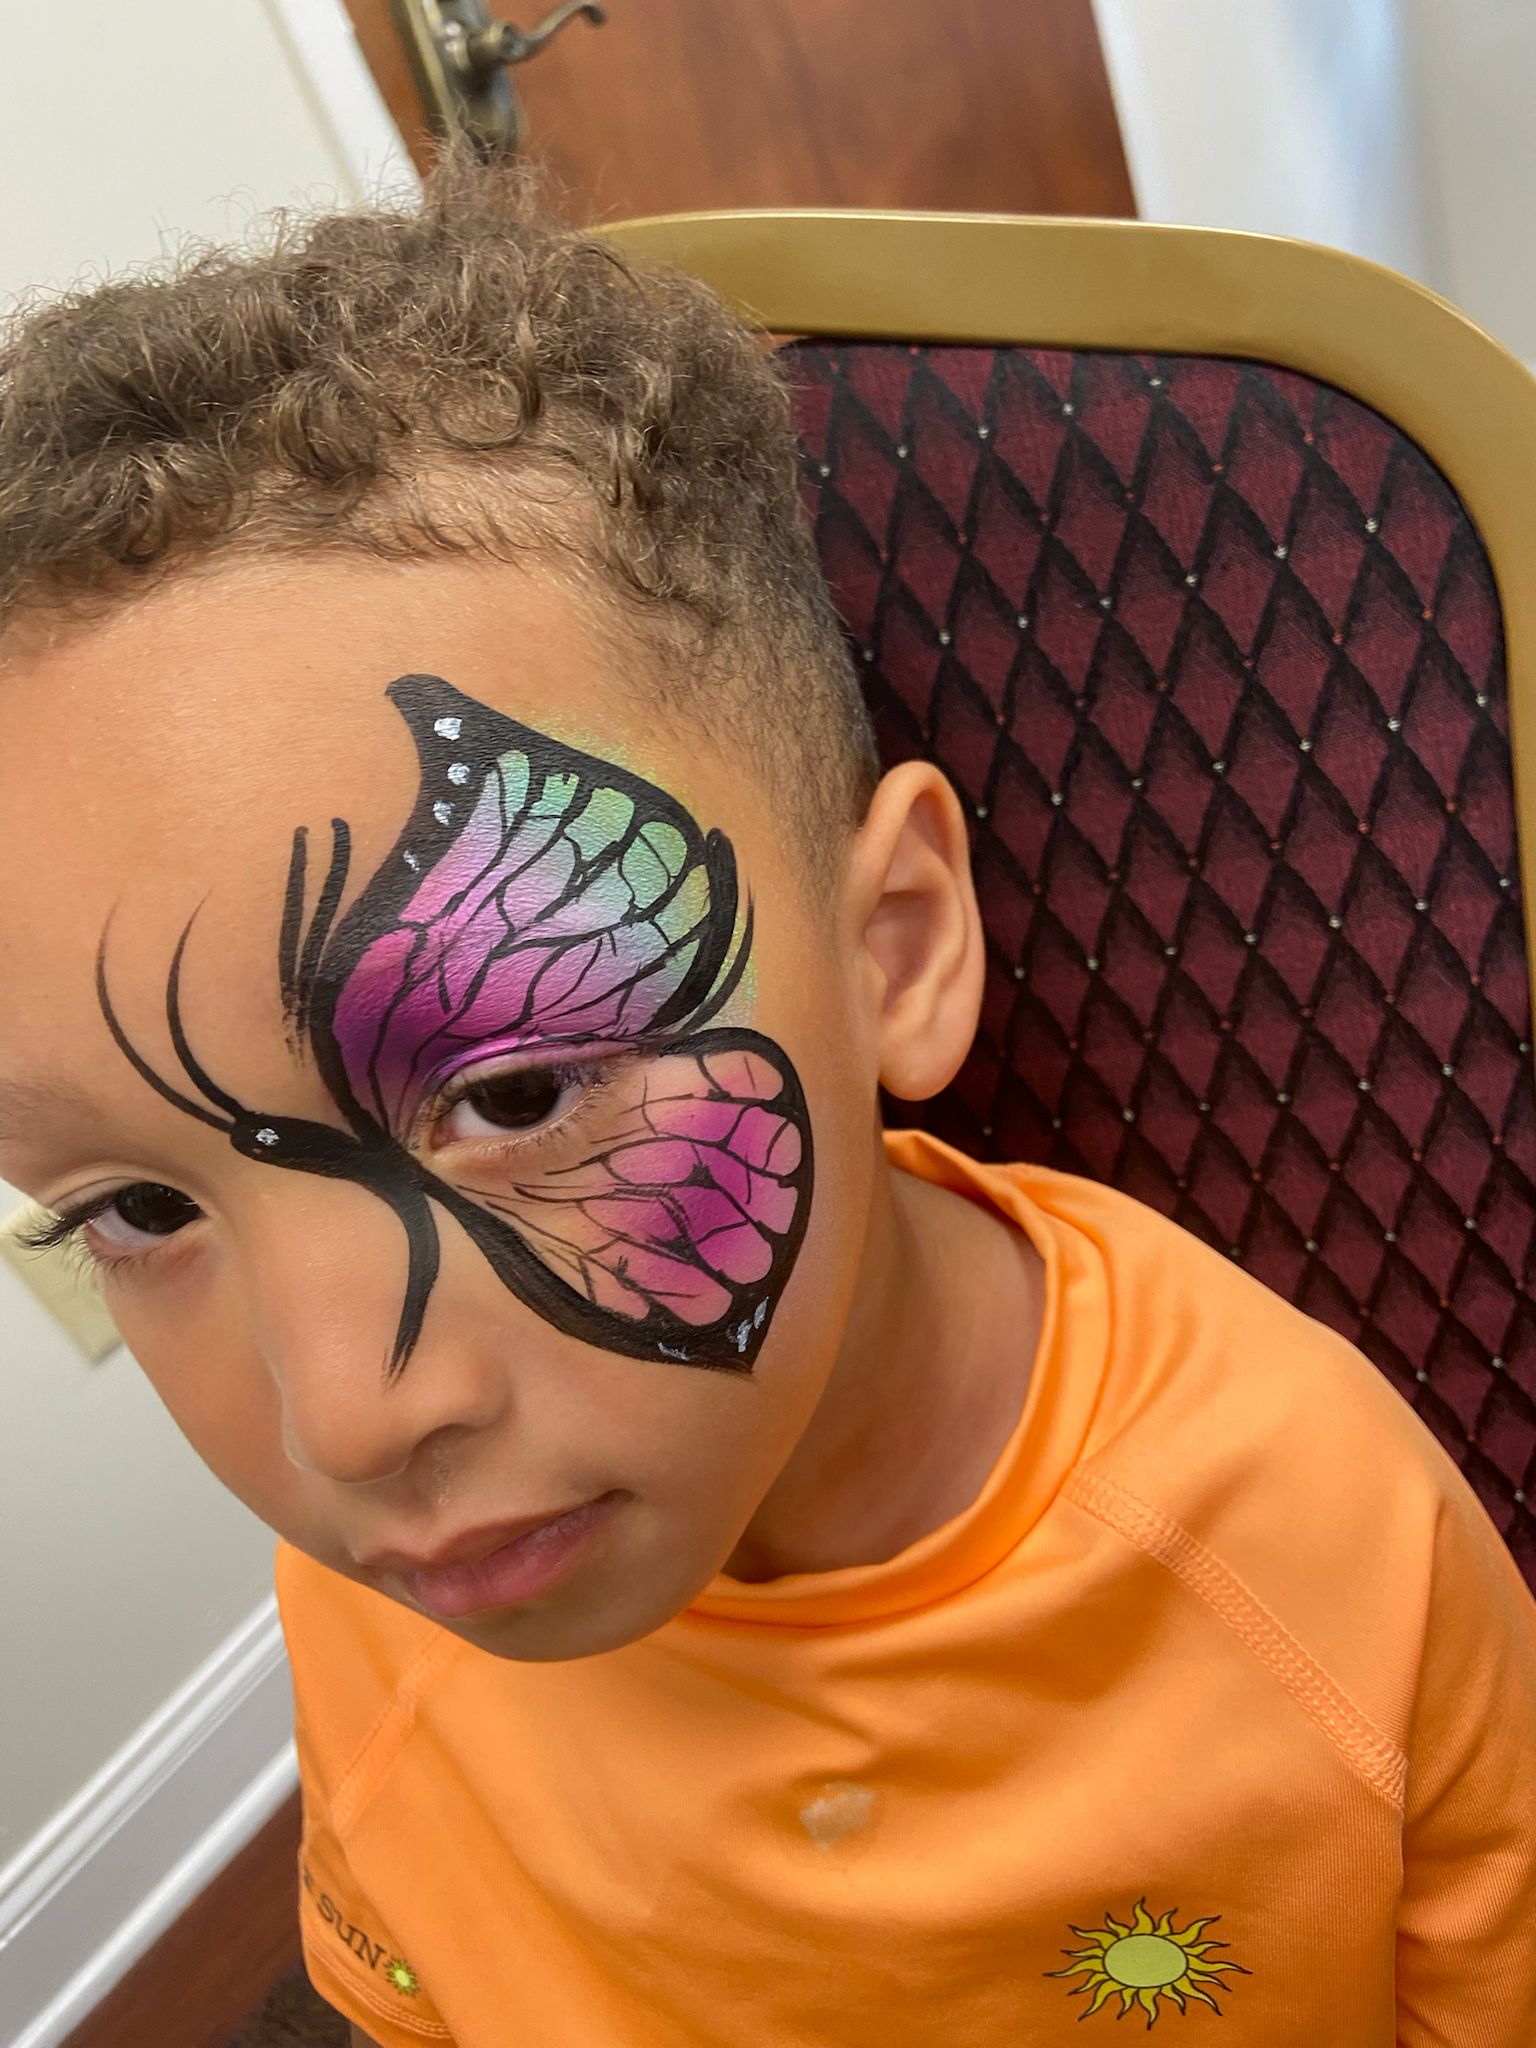
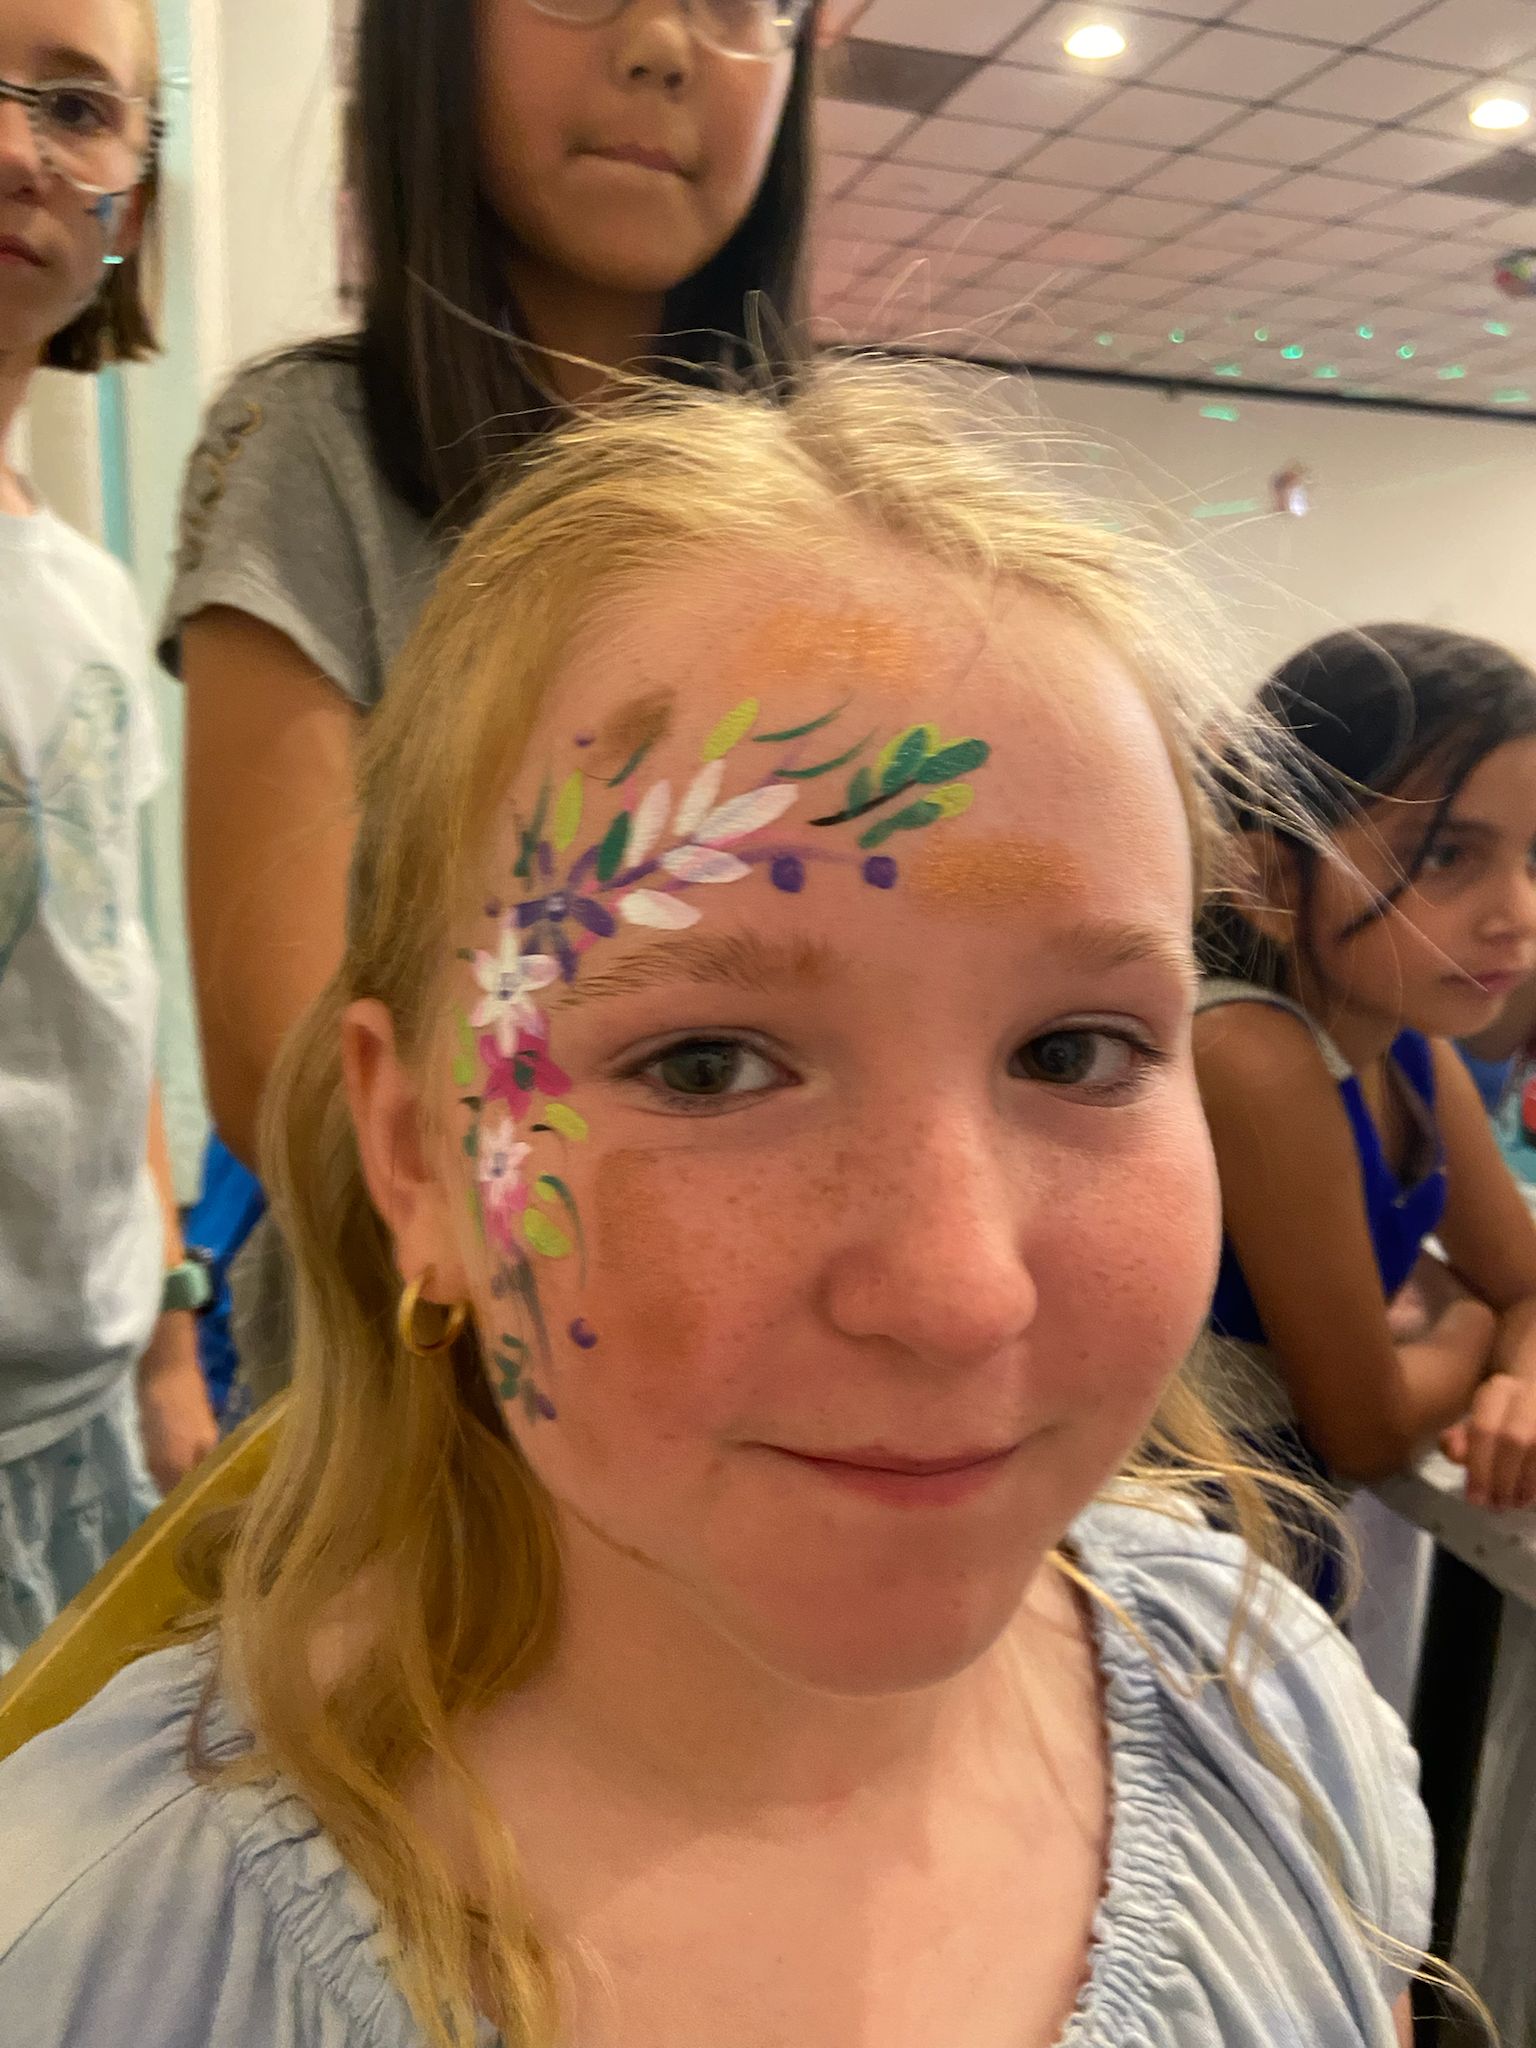
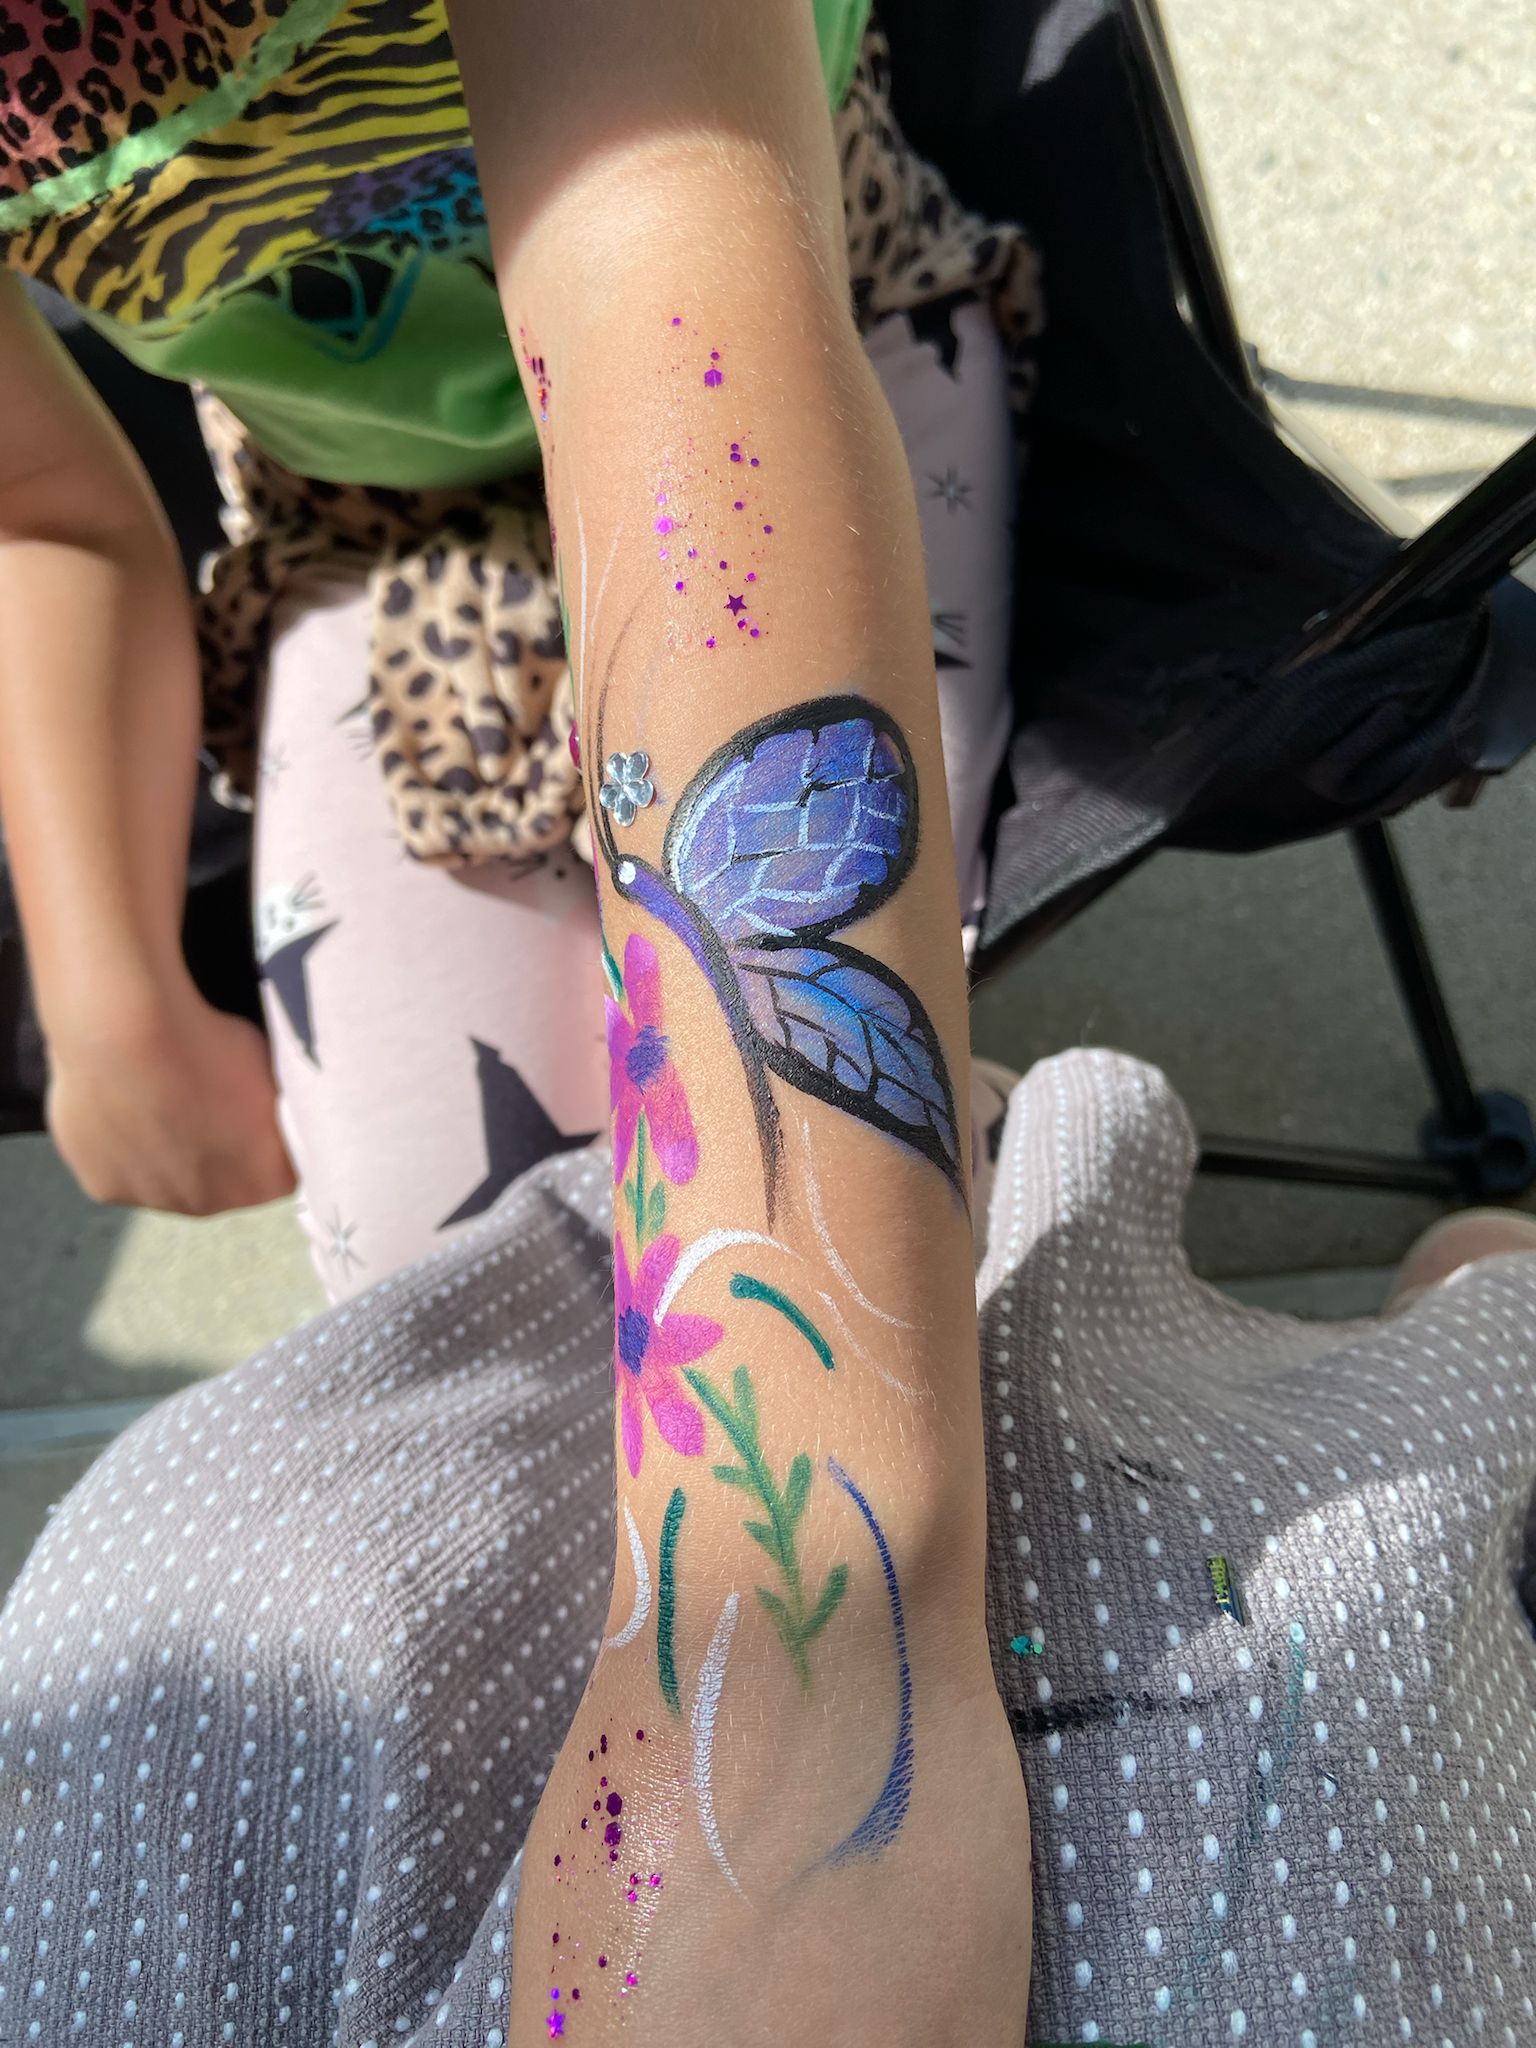
Real Portfolio Examples
Step-by-Step Instructions
Sponge the Base (Muzzle and Eyes)
Load a sponge with pearl white or a soft pastel color. Lightly sponge over the eyelids, bringing the color down onto the upper cheeks and across the bridge of the nose. This creates the soft, magical background for the unicorn's face.
Paint the Horn
Using a round brush #4 loaded with gold or yellow paint, start exactly between the eyebrows. Paint a triangle pointing straight up toward the hairline. To make it look 3D, paint curved lines (like a candy cane) across the horn using a slightly darker color or light brown.
Sweep the Rainbow Mane
Load your flat brush or 1-inch brush with a rainbow split cake (multiple colors on one brush). Start from the side of the horn and sweep down the side of the face, curving slightly onto the cheekbone. You can add a second, smaller sweep on the other side of the horn for balance.
Add Ears
Using white paint and a round brush, paint two small tear-drop shapes at the base of the horn, pointing slightly outward. Add a tiny stroke of pink inside each ear for depth.
Draw the Unicorn Muzzle
With your round brush and white paint, draw a rounded muzzle over the bridge of the nose, extending down slightly. Add two tiny dots for nostrils using a soft pink or light blue.
Outline and Detail
Switch to your fine detail brush and black paint. Carefully outline the horn, the ears, and the muzzle. Keep your lines thin and delicate. Avoid outlining the entire rainbow mane; let the colors speak for themselves.
Starbursts and Highlights
Using crisp white paint, add starbursts (a cross with a dot in the center) around the edges of the mane and on the cheeks. Add a small white highlight to the side of the horn to emphasize the 3D effect.
Apply Glitter
While the paint is still slightly damp, tap cosmetic-grade chunky glitter onto the cheekbones and just above the rainbow mane. The glitter adheres best to the damp paint and adds that essential magical finish.
Common Mistakes to Avoid
✕ Crooked Horn Placement
If the horn leans to one side, the whole design feels off-balance. Always mark the center point between the brows and aim straight up toward the center of the hairline.
✕ Muddy Rainbow Colors
When using a split cake, ensure you pull the brush in one fluid motion. Going back and forth over the same spot will blend the colors together and create a muddy brown.
✕ Over-Outlining
Using thick black lines everywhere makes the design look heavy and cartoonish. Keep outlines thin and use them sparingly—mainly for the horn and ears.
Professional Tips
⏱️ Speed Trick: The Half-Unicorn
For long lines, skip the full muzzle and ears. Just paint the horn on the forehead and a beautiful rainbow sweep down one eye. It takes half the time but delivers the same wow factor.
🌈 Split Cake Mastery
A good rainbow split cake is a face painter's best friend. Make sure your sponge or flat brush is damp, not wet, to pick up the colors cleanly without them bleeding into each other in the pan.
✨ Chunky Glitter Magic
Use a silicone applicator to place chunky glitter paste near the temple or over the rainbow mane. It instantly elevates the design from basic to premium.
Design Variations
- Dark/Gothic Unicorn Use black, deep purples, and silver instead of pastels. A silver horn and dark glitter appeal to older kids looking for something edgy.
- Floral Unicorn Replace the rainbow mane with a crown of hand-painted roses or daisies across the forehead at the base of the horn.
Safety & Skin Care
- Only use cosmetic-grade glitter. Craft glitter is made of metal or glass and can cause severe eye injury.
- Always use professional, FDA-compliant water-based face paints.
- Avoid painting over the eyes if the child is very wiggly; stick to the forehead and cheeks.
Frequently Asked Questions
How do you make the unicorn horn look 3D?
The trick is shading and highlighting. Paint the base horn in gold or yellow, add curved diagonal lines in a darker color (like light brown) to create ridges, and add a sharp white highlight line down one side.
What kind of glitter is safe for face painting?
You must use cosmetic-grade glitter. It is usually made of polyester and cut in a way that eliminates sharp edges, making it safe for use near the eyes.
Can you paint a unicorn in under 5 minutes?
Yes! By focusing only on the forehead horn, a quick one-stroke rainbow sweep, and a few stars, a fast unicorn design can easily be completed in 3-5 minutes.
Design Information
- Flat brush #12 or 1-inch (for rainbow mane)
- Round brush #4 (for outlines and horn details)
- Sponge (for base blending)
- Fine detail brush #1 (for stars and highlights)
- Cosmetic-grade glitter gel
Available for parties across the Triangle.
📚 Pair with Learning

Related Design Guides
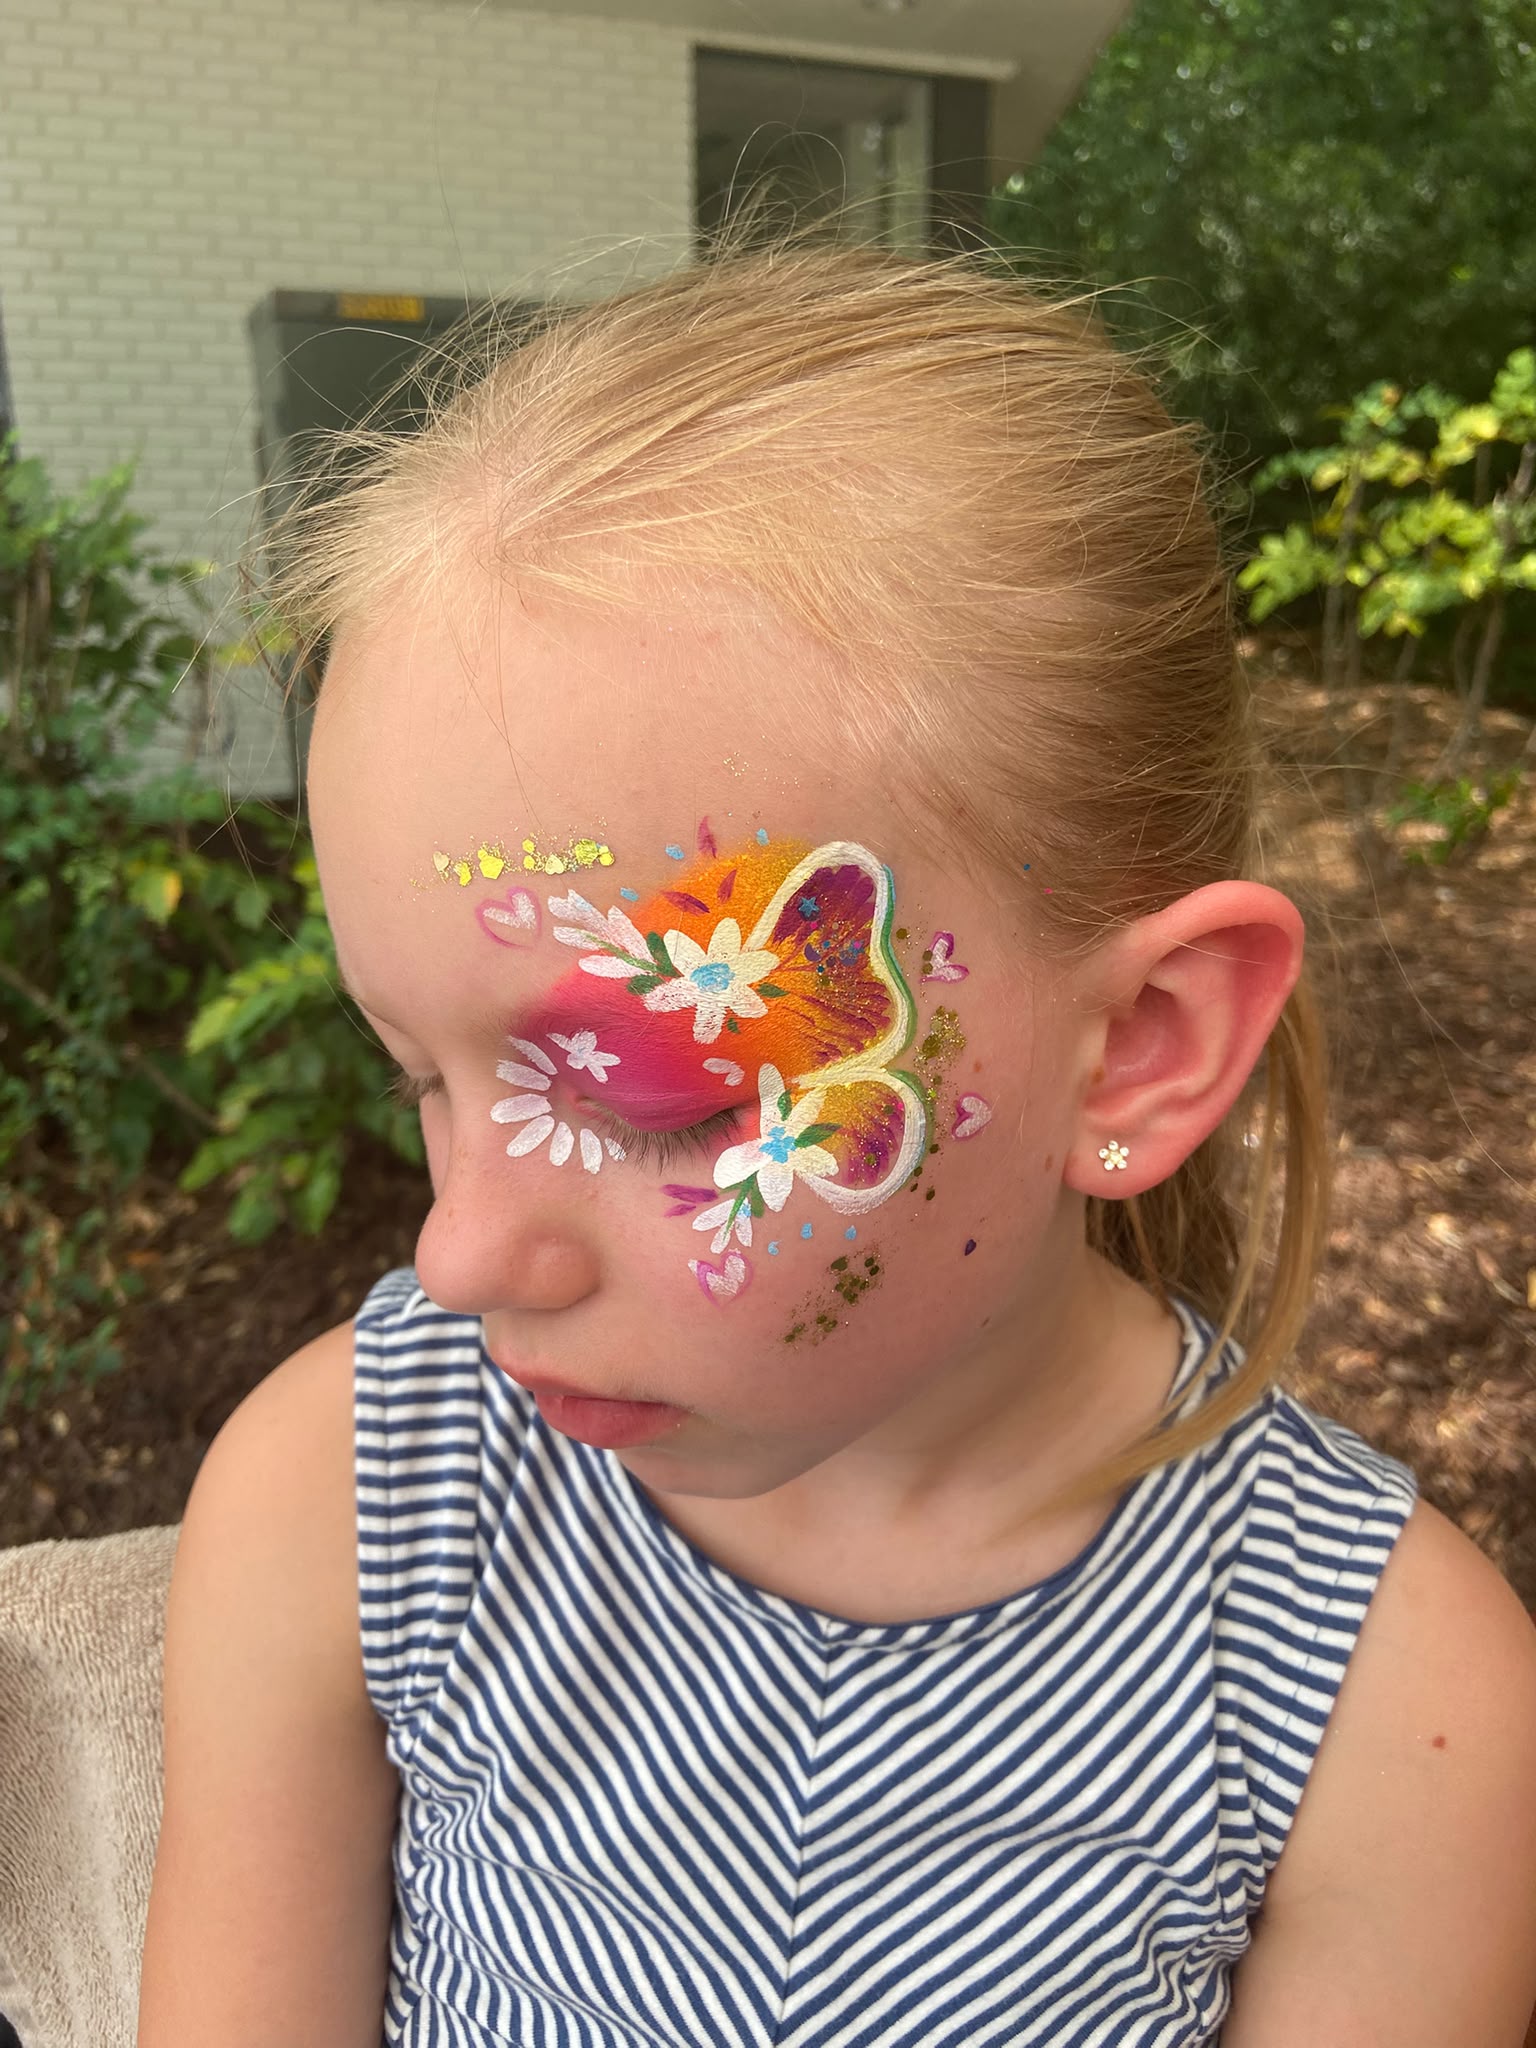
Butterfly Face Paint Guide
The most-requested design at every party — here's exactly how it's done.
Princess Face Paint Guide
Sparkling crowns, rosy cheeks, and fairy-tale elegance.
Rainbow Face Paint Guide
Seven colours, endless smiles — paint the perfect rainbow design.