Princess Face Paint Guide
Sparkling crowns, rosy cheeks, and fairy-tale elegance.
The princess crown is an essential fast-and-effective design. It relies heavily on symmetrical teardrops, swirls, and perfect placement. Because the design is concentrated on the forehead and the corners of the eyes, it’s comfortable for kids to wear all day. In this guide, you’ll learn the classic "center-jewel" tiara method.
Why is this design so popular?
Every little girl (and many boys!) wants to feel like royalty. The princess crown is highly requested because it sits beautifully on the forehead, keeping the face clear while providing maximum sparkle. It’s elegant, pairs perfectly with dress-up costumes, and feels incredibly special when finished with a stick-on gem centerpiece.
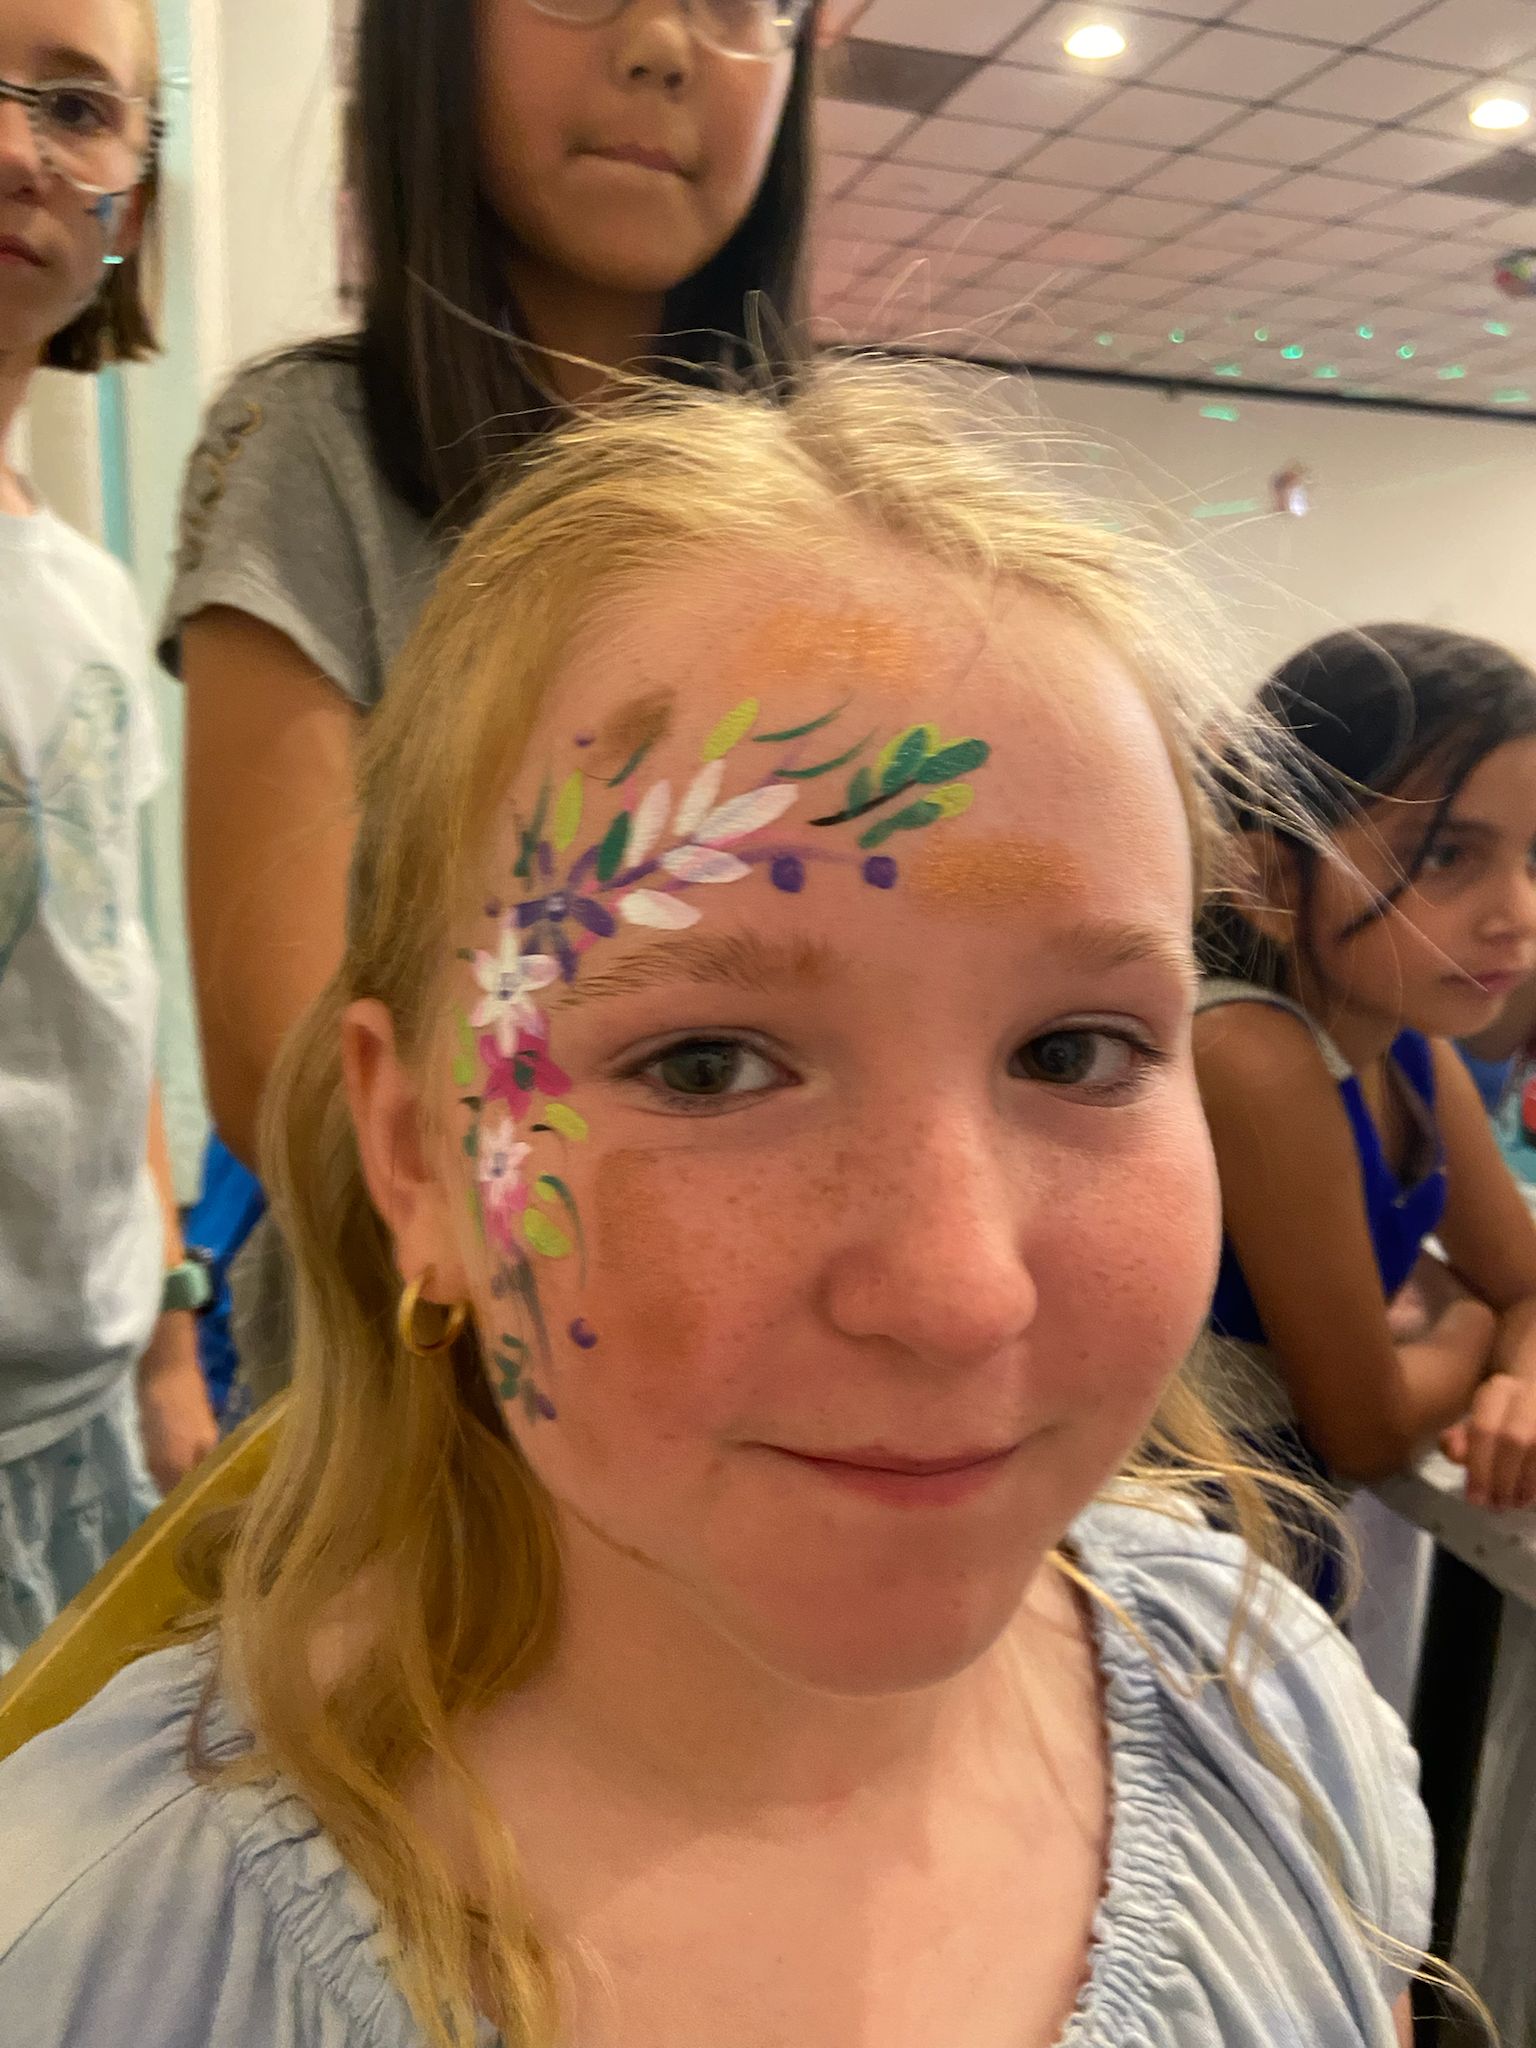
Real Portfolio Examples
Step-by-Step Instructions
Create the Crown Base
Load your 3/4-inch flat brush with a split cake (e.g., silver and pink). Starting at the center of the forehead, press the brush flat and twist slightly to create the central peak of the crown. Repeat on the left and right to create three distinct peaks.
Add Teardrop Accents
Switch to your round brush loaded with white. Paint a series of teardrops pulling inward toward the center point between the eyebrows. This creates a delicate filigree effect that frames the crown.
Paint Eye Swirls
Starting from the outer corners of the eyes, paint delicate C-swirls and S-swirls extending upward toward the temples. Keep your brush upright and use very light pressure for elegant, thin lines.
Place the Centerpiece Gem
Apply a tiny dot of skin-safe adhesive (or use self-adhesive gems) right at the base of the central crown peak. Press a large, sparkling cosmetic gem into place. This instantly transforms the design from paint to a "real" tiara.
Add Starbursts and Dots
Use your round brush to add small clusters of white dots outlining the crown peaks, resembling pearls. Add a few starbursts near the eye swirls for extra magic.
Glitter Finish
While the paint is slightly damp, tap iridescent chunky glitter over the crown peaks and along the cheekbones. Focus the glitter on the highest points of the design to catch the light.
Common Mistakes to Avoid
✕ Painting Too Low
If you paint the crown too low, it will cramp the child's eyebrows and look squashed. Always start the base of the crown well above the brow line.
✕ Thick, Clunky Swirls
Princess designs require elegance. If your swirls are thick and lack tapering, the design looks heavy. Practice varying your brush pressure to achieve thick-to-thin lines.
✕ Using Craft Glue for Gems
Never use craft glue, eyelash glue containing latex, or superglue to attach gems. Only use medical-grade, latex-free skin adhesive or pre-glued cosmetic gems.
Professional Tips
💎 The Gem Hack
Pre-make "bling clusters" at home by sticking gems to medical tape. At the party, you can just peel and stick an entire elaborate centerpiece in two seconds.
🎨 Match the Dress
Always ask the child what color their dress is (or will be) and tailor the crown colors to match. A blue/silver crown for a certain ice queen, or pink/gold for classic princesses.
✨ Pearl Drops
To make perfect dot "pearls", use the back, wooden handle of your brush. Dip it in white paint and press it onto the skin for perfectly round, uniform circles.
Design Variations
- Ice Princess Use blue, white, and silver split cakes. Add snowflake stencils on the forehead and use blue chunky glitter for a wintery feel.
- Floral Fairy Crown Instead of a metallic tiara, paint a band of intertwined green vines and small, bright one-stroke flowers across the forehead.
Safety & Skin Care
- Only use cosmetic gems and skin-safe adhesives. Ensure the child does not have an adhesive allergy.
- Avoid placing gems too close to the eyes or on young toddlers who might pick them off and swallow them.
- Use only cosmetic glitter, never craft glitter.
Frequently Asked Questions
How do I keep the gems from falling off?
Ensure the skin underneath is clean and free of sweat or heavy face paint. Use a high-quality skin adhesive like Pros-Aide, and hold the gem in place for 3-5 seconds to let it set.
What brush is best for teardrops and swirls?
A round brush size #3 or #4 with a good snap and sharp point is perfect. Some painters also prefer a liner brush for very delicate swirls.
How do I remove the skin adhesive?
Most mild skin adhesives will loosen with warm water and soap, or by gently wiping with an oil-based makeup remover or baby oil. Never pull or rip a stuck gem off the skin.
Design Information
- Flat brush 3/4-inch (for the crown base)
- Round brush #3 or #4 (for teardrops and swirls)
- Sponge (for stenciling or blending)
- Cosmetic gems and skin-safe adhesive
- Chunky glitter
Available for parties across the Triangle.
Related Design Guides
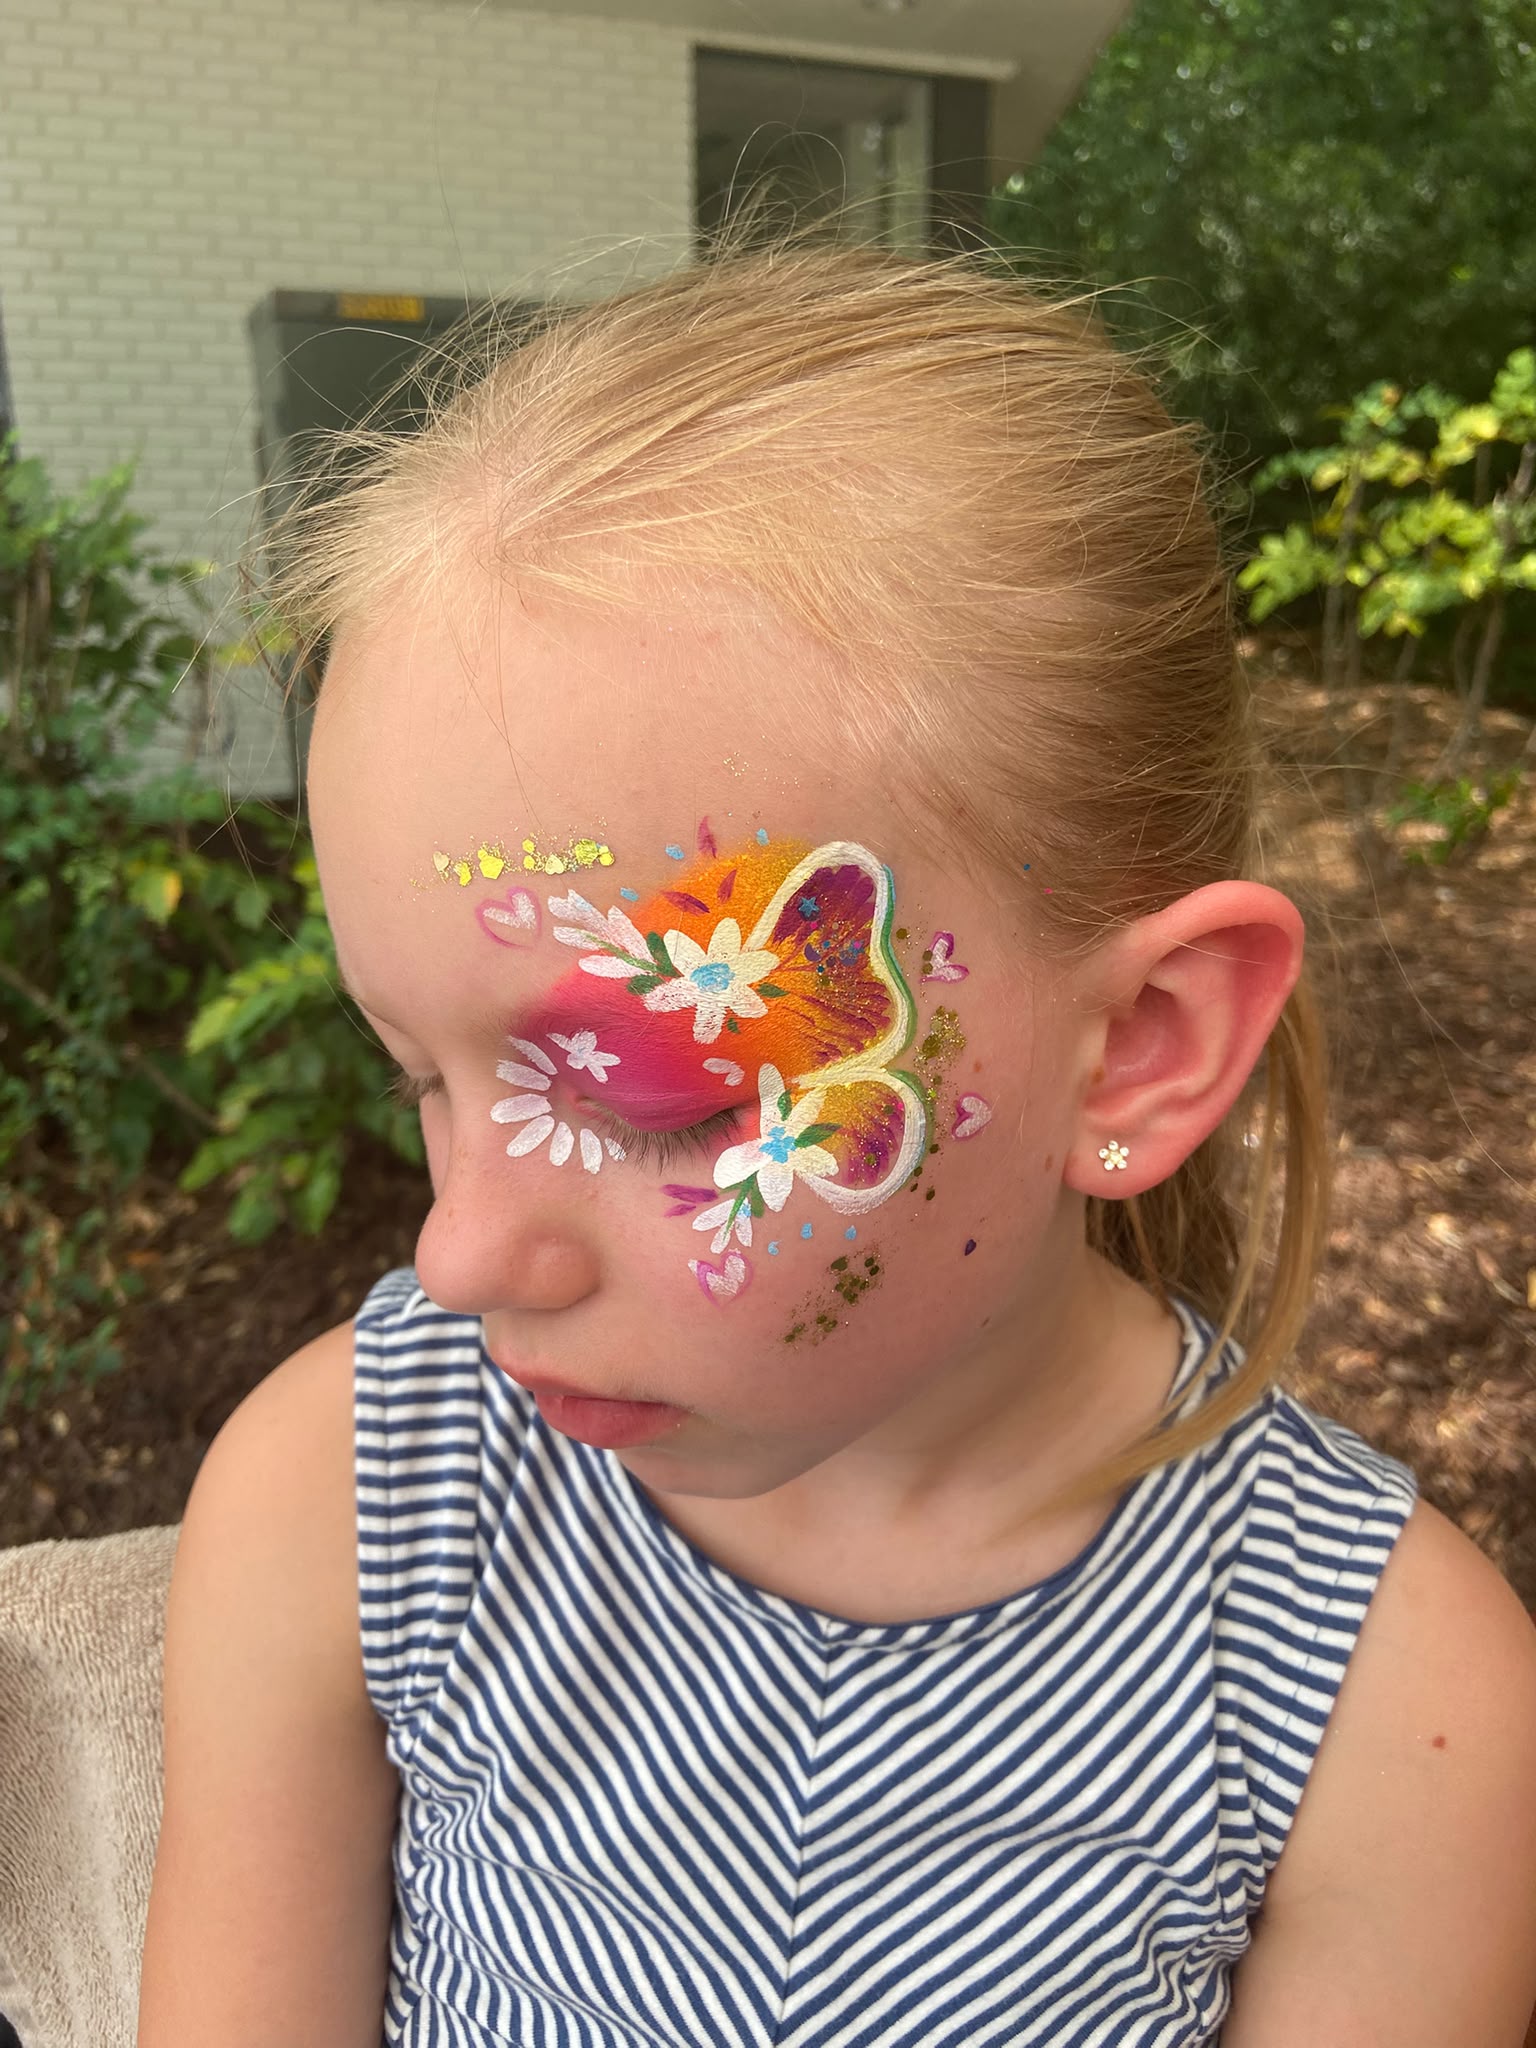
Butterfly Face Paint Guide
The most-requested design at every party — here's exactly how it's done.
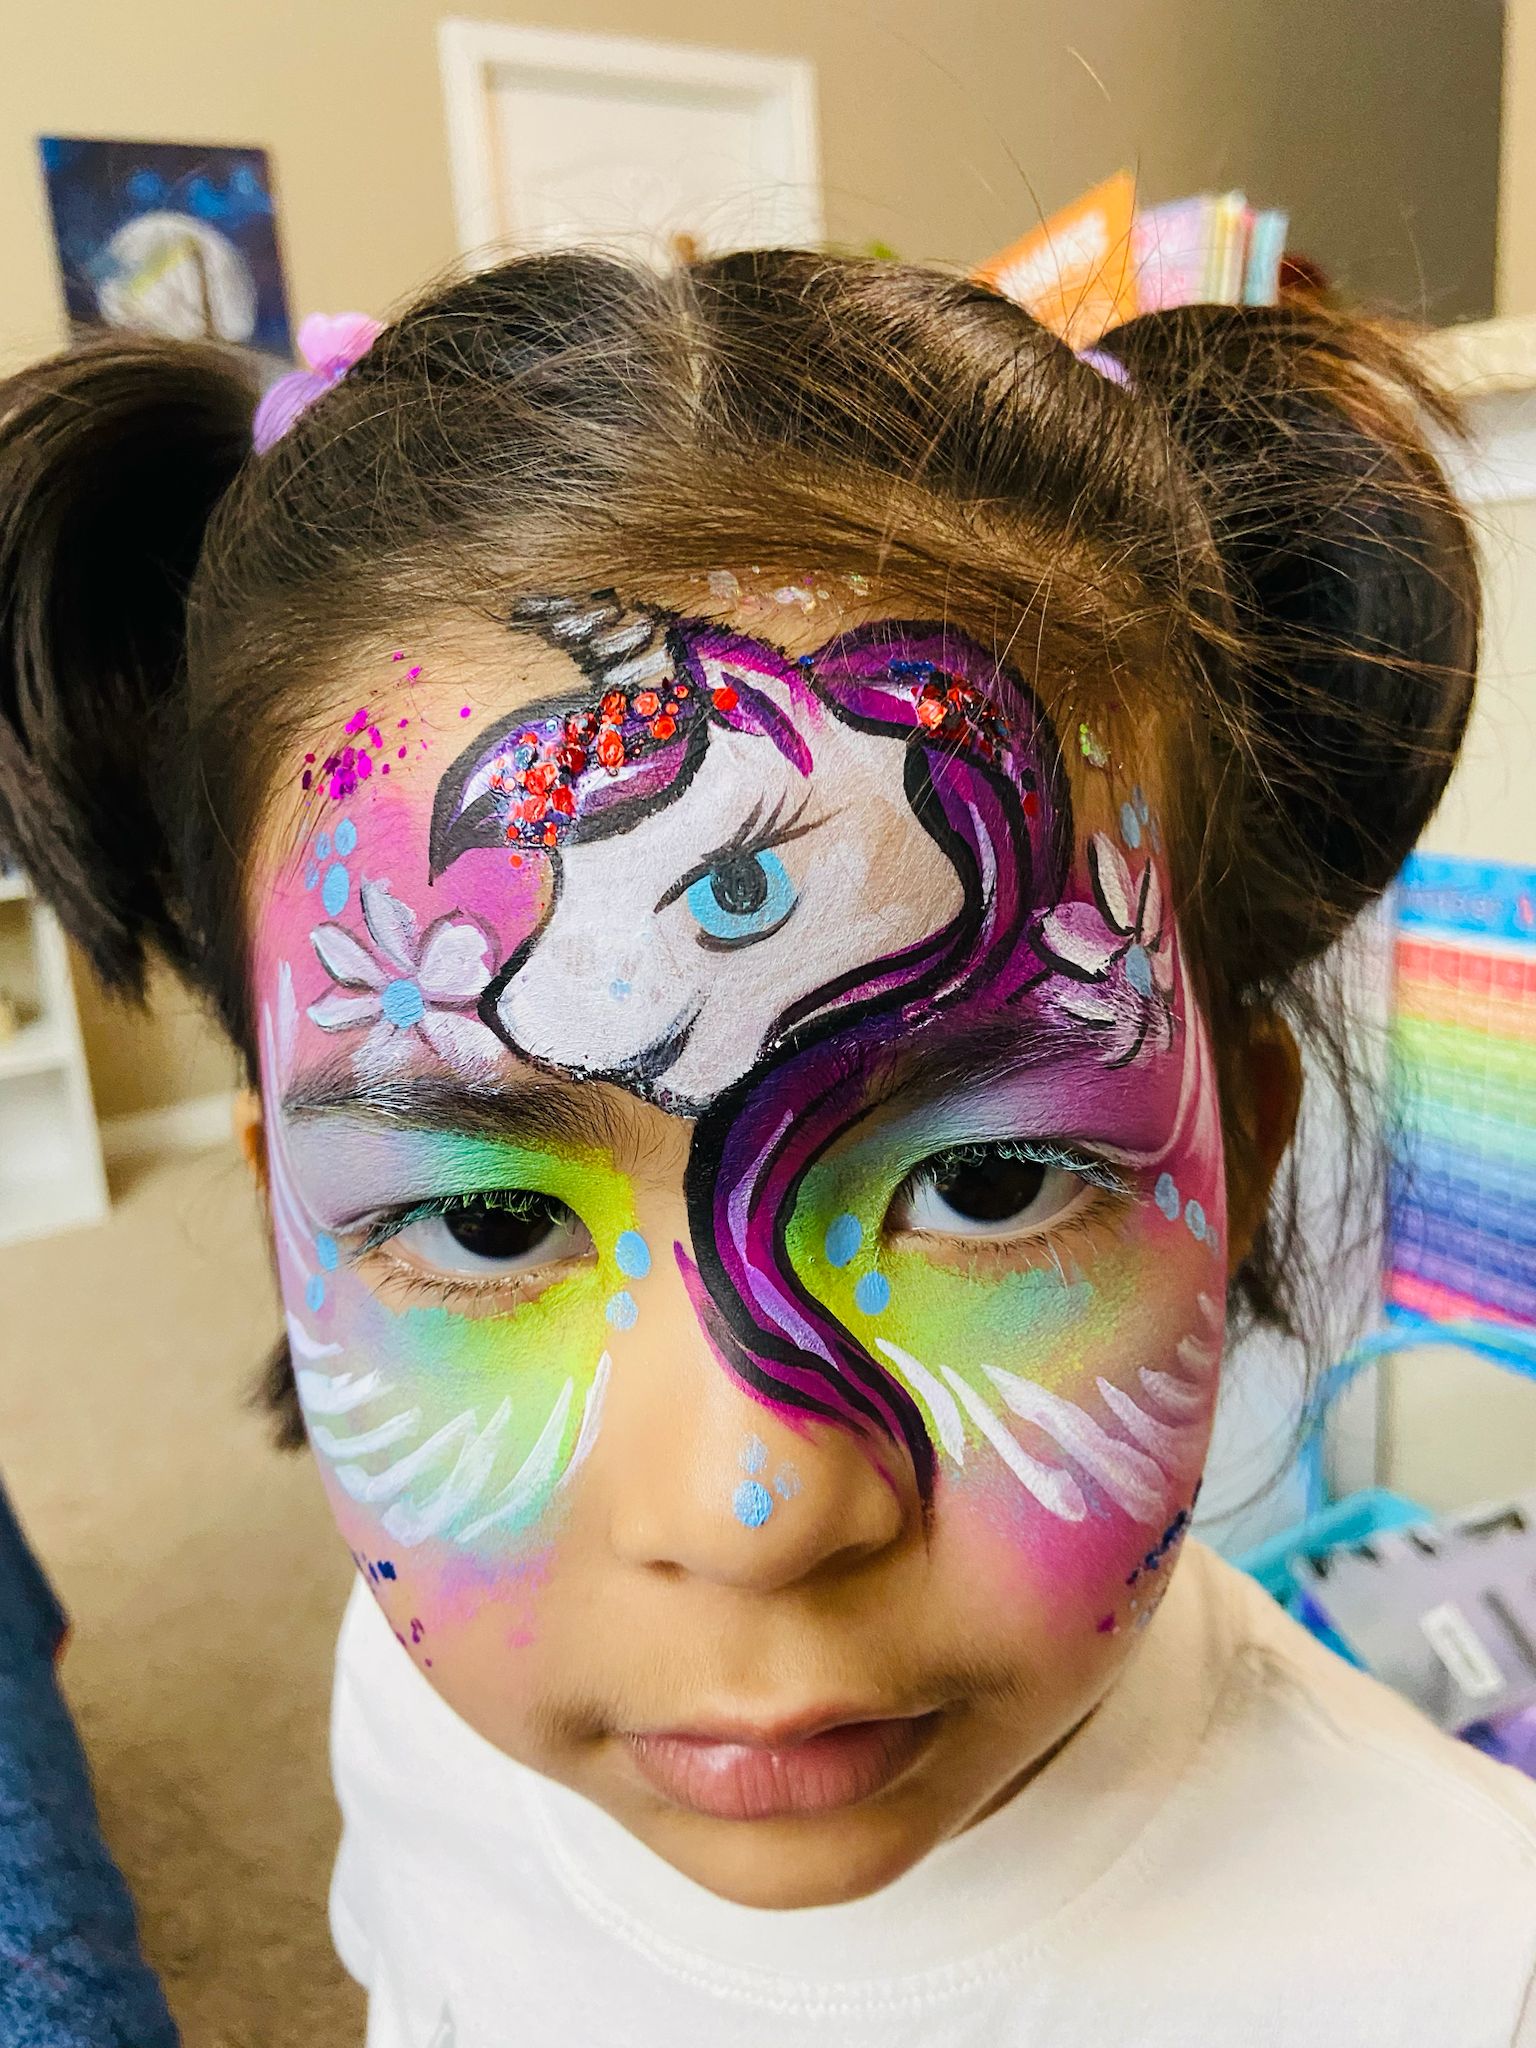
Unicorn Face Paint Guide
Sparkling horns, dreamy pastels, and rainbow shimmer — all in one magical design.